How To Take Night Photos

How To Take Night Photos

Photography Tips and Tricks

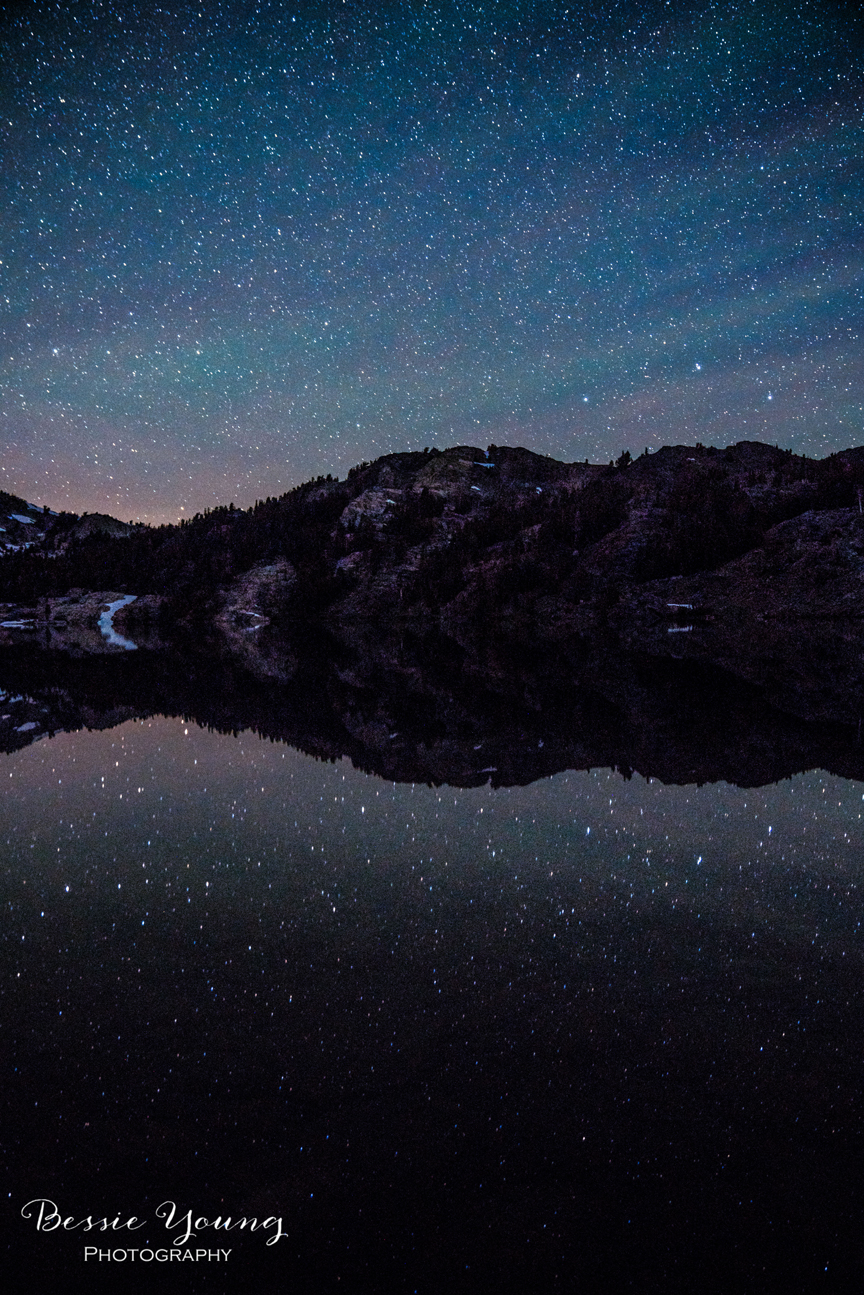
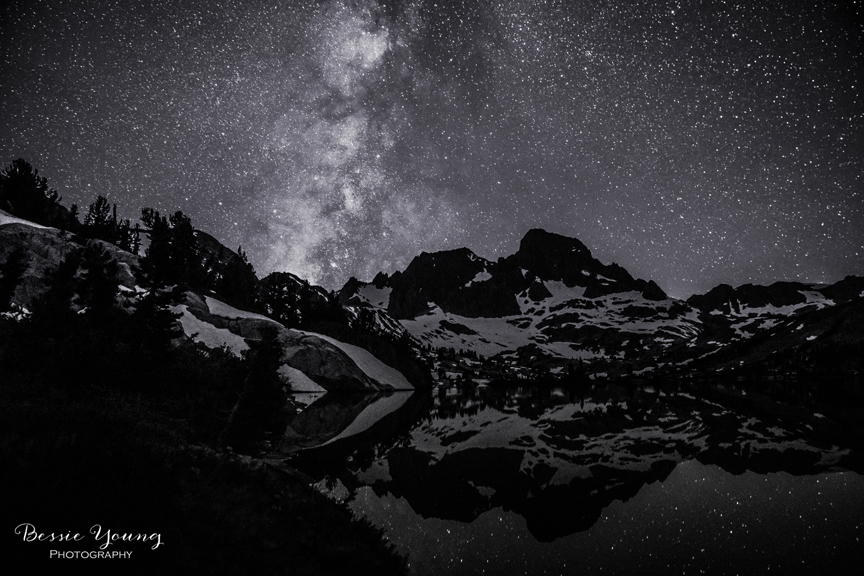
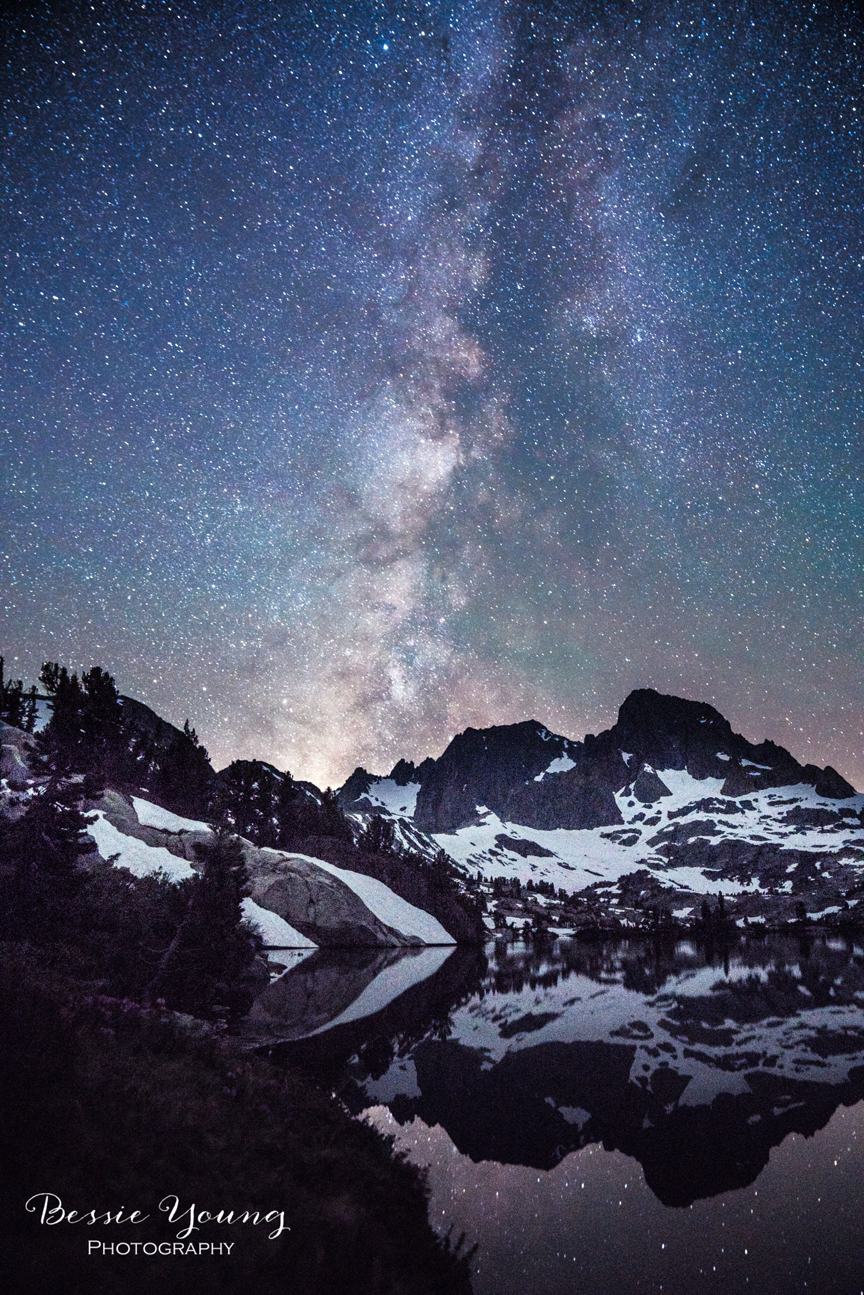
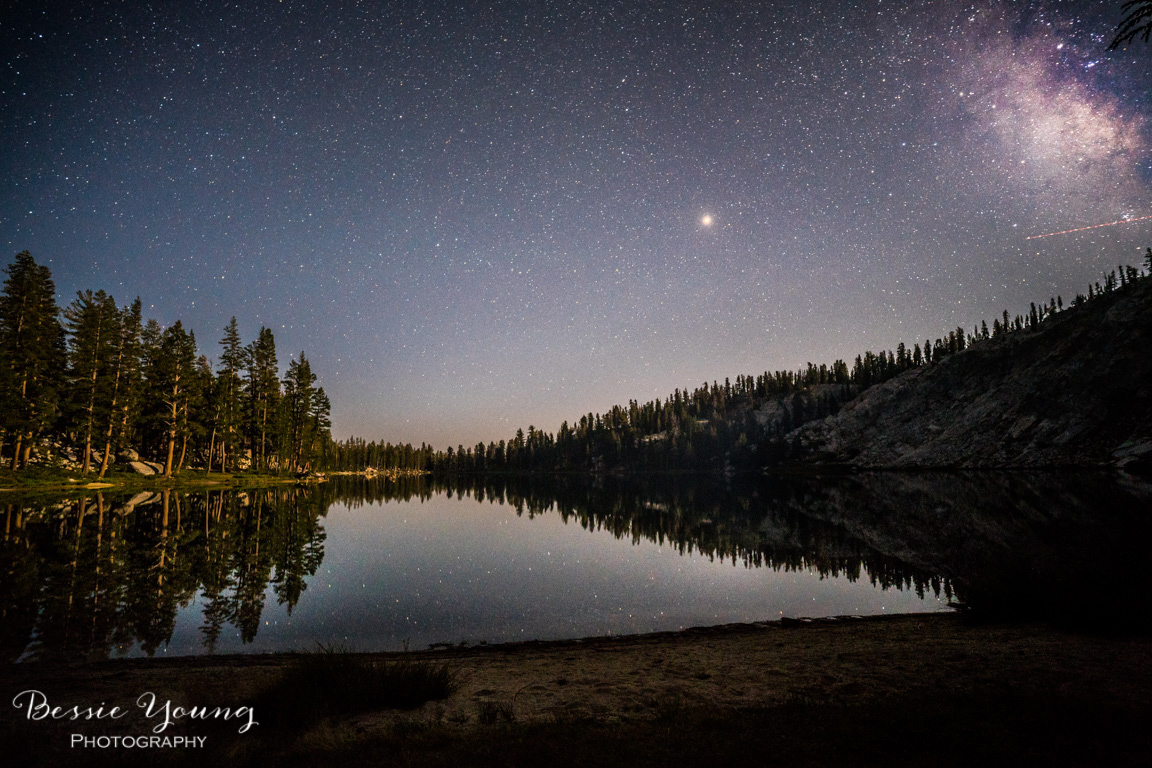
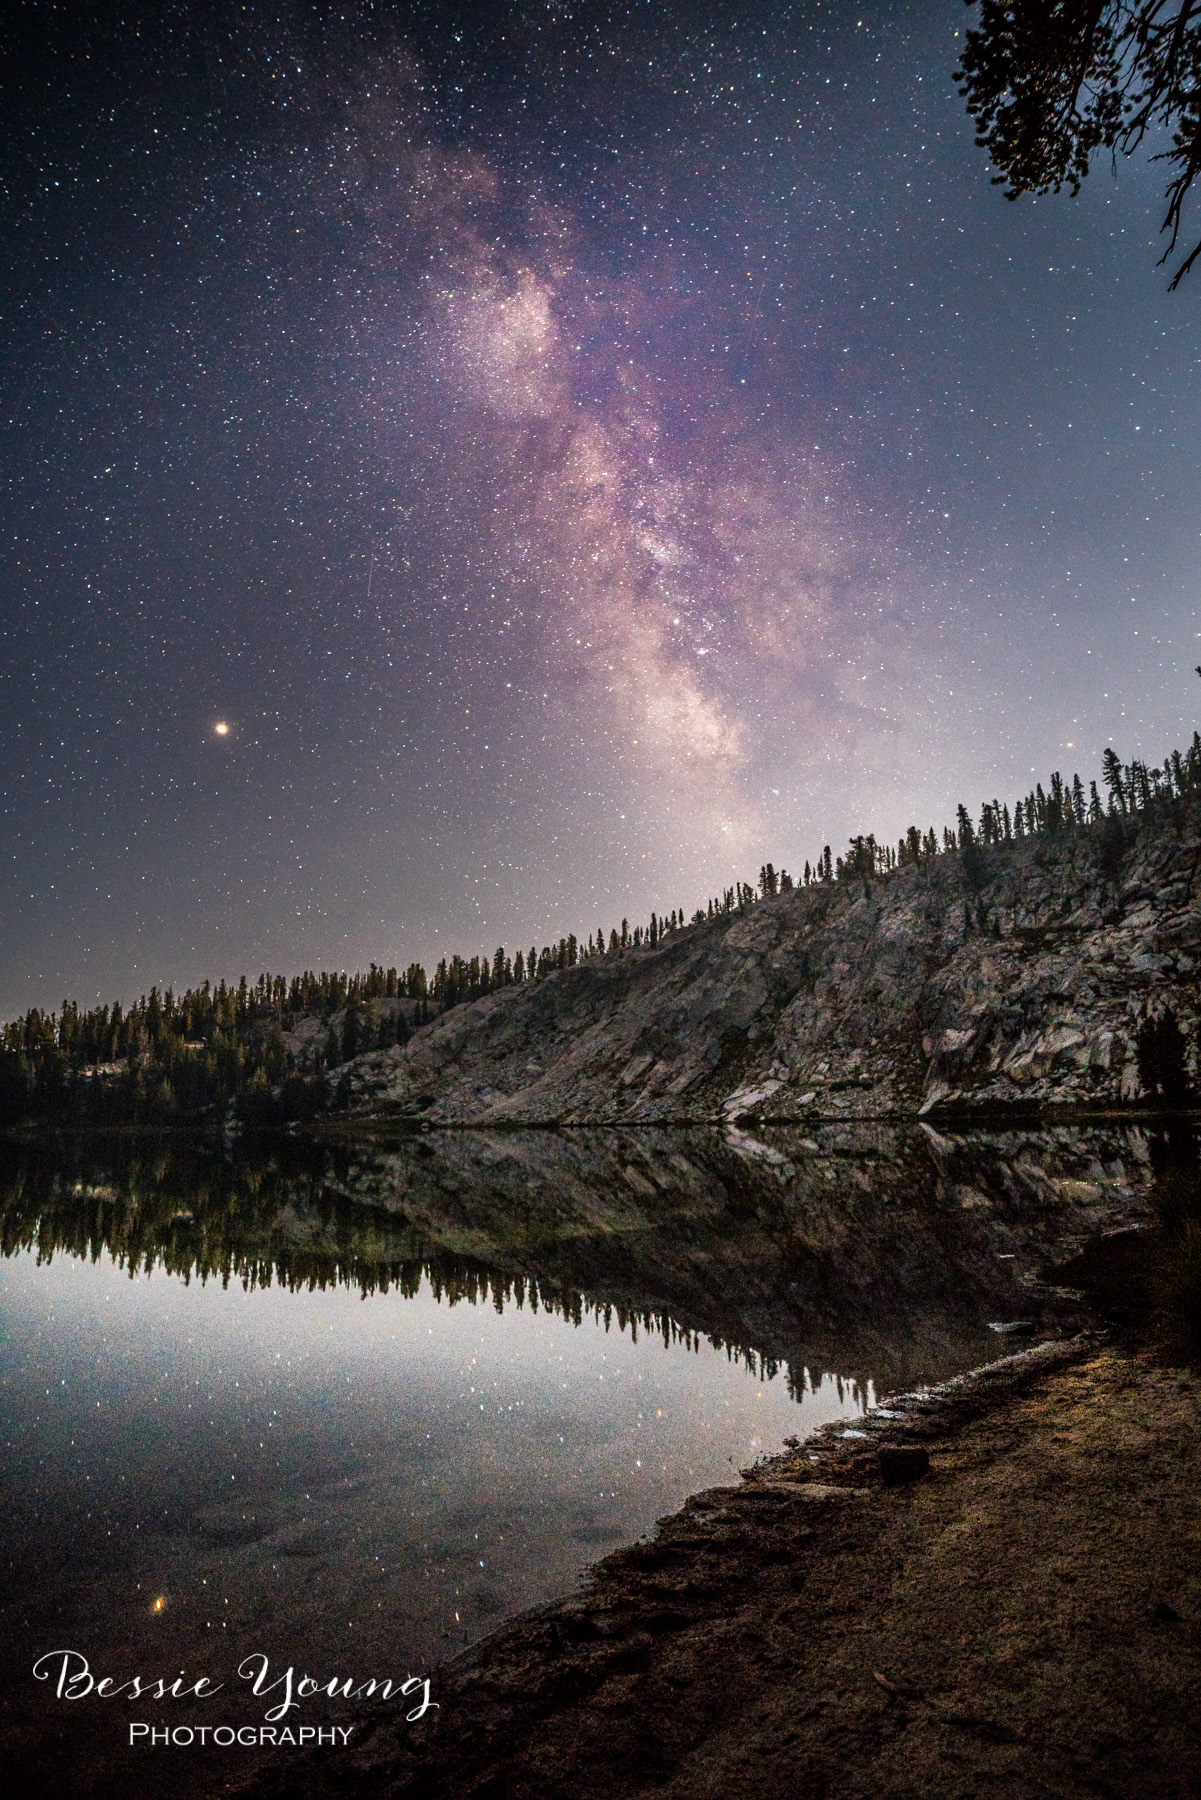
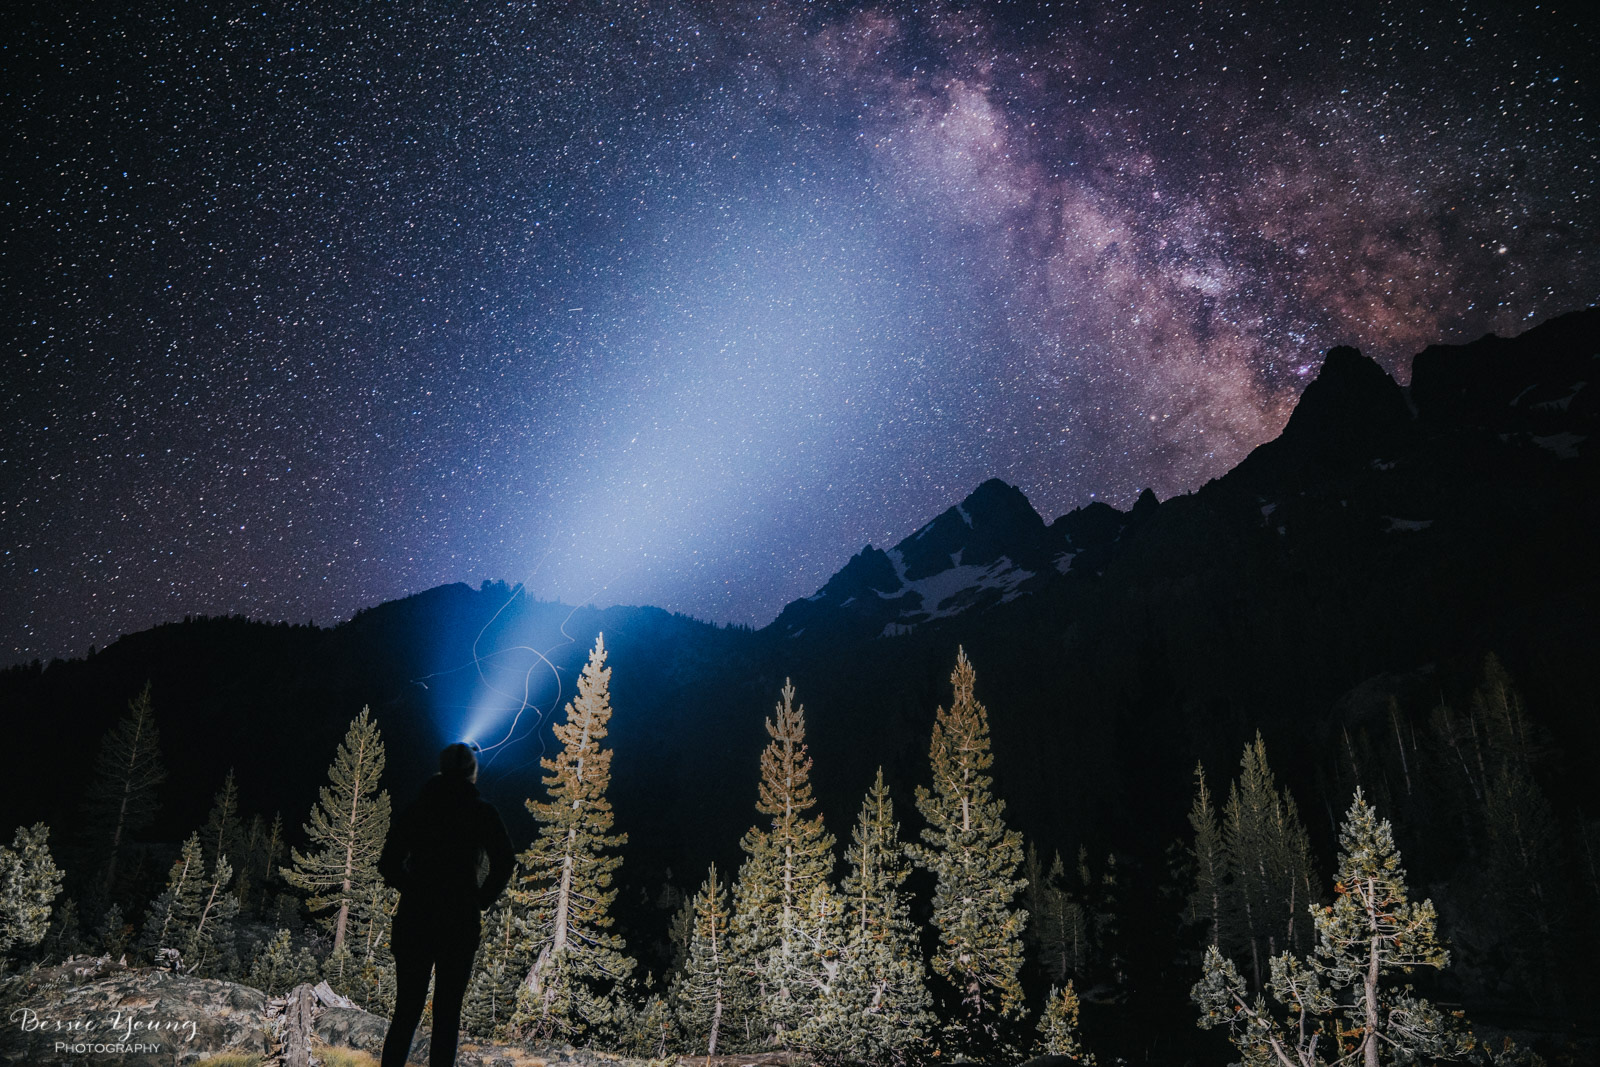
So, how in the literal heck do you even start to take photos at night in order to create a beautiful jaw dropping image?

All Images For Sale in the BYP Shop-

Click the image to purchase or click the buy me button below.

Well my friend I am here for you! I am super excited to share this video and blog with you for so many reasons, but the main reason is because for years, and years, and years I struggled with taking night photos.
I spent countless hours researching it. I had so many failed attempts testing out the tips and tricks that I was reading online , or in photography magazines, or watching YouTube videos .
I did all the things and still could not get good night photos. My pictures were dark, muddy, grainy, blurry, and everything bad about a photo.

After years of trial and error I have finally compiled some of the main tricks that I've learned and taught myself when it comes to taking night photos. I am so beyond excited to share this information with you guys to really help you , and help you not have to spend all the time doing all the research.

Tips on How To Take Night Photos

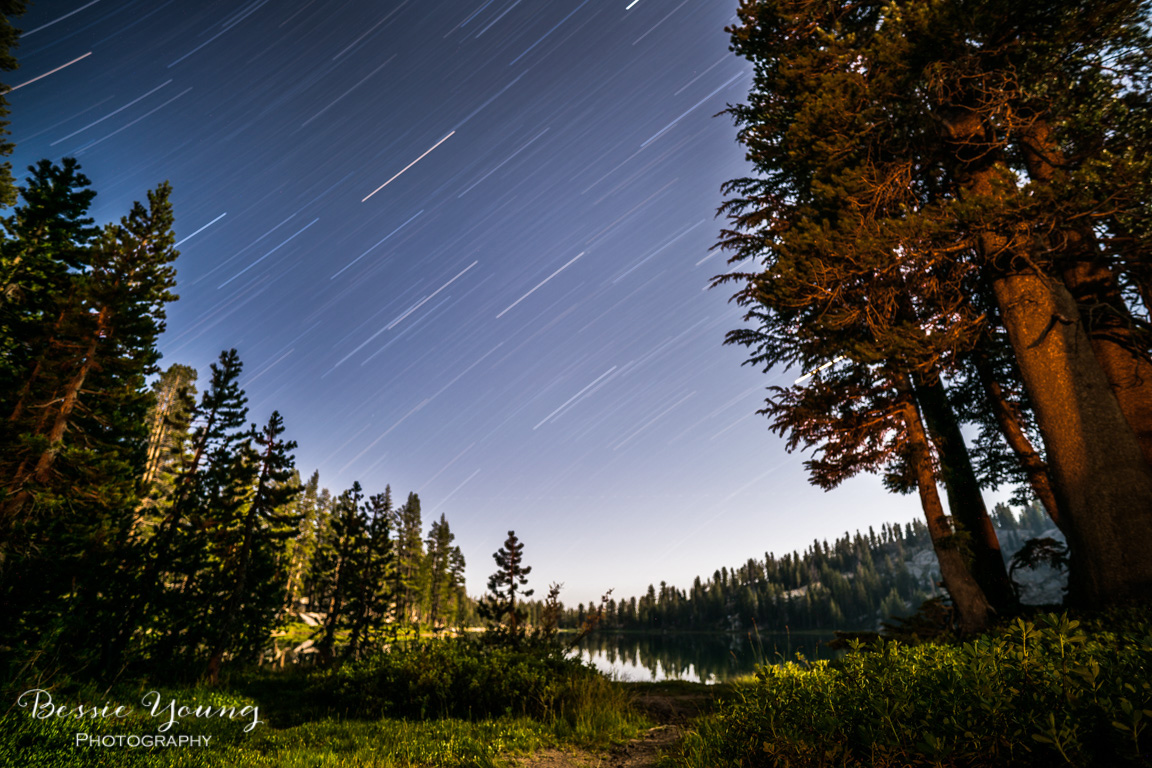
How To Take Night Photos by Bessie Young Photography Tips and Tricks - Landscape Photography.jpg
  1. Use a full frame camera

  2. Use a fast wide angle lens (aperture 2.8 or below)

  3. Invest in a good tripod

  4. Check the weather - make sure that the sky is going to be pretty much clear skies

  5. Make sure the moon is small or that there is no moon at all. A mood that is over a quarter moon is going to be way too bright.

  6. Scope out your location and find the best composition while it is day time and light outside.

  7. Focus your lens while it is day light! Oh my gosh this is huuugggeeee! I couldn't ever figure out how to get those tack sharp images. I would always "focus to infinity" because that is what everyone said to do, but guess what.... THAT DOESN'T WORK! Infinity has a little bit of wiggle room and that is really going to make or break your image. So after you are done scoping out your location (tip 5). Set up your tripod and focus your camera. This way, when it is dark outside you will not have to try to figure out how to focus. You will know already where to focus your camera at and you will be good to go!

  8. Shoot in Raw

  9. Start off with settings at ISO: 2000 | F2.8 | Shutter 10" and go from there. You are going to have to play around just like any other landscape photo. Make sure that you get a few variations and that way you can pick your favorite in post.

  10. Get a star app (I use PhotoPills)

Now go out there and try these photography tips and tricks on how to take night photos!

Leave a comment below and let me know what your favorite tips are or if you have any additional tips that I didn't mention :) . Don't forget to share this with all your shutter bug friends!

Wishing you nothing but a beautiful day!

Bessie
 

P.S. Did you love this post? Want to see more photography tips and tricks? Check this out here:

Do you take the time? Landscape Photography Tips and Tricks - Sunflower Fields in Sacramento

Do you take the time?

Landscape Photography Tips and Tricks

Sunflower Fields in Sacramento

So if you don't know by now I absolutely freaking love road trips! Growing up, that is what we did.... we took road trips. We saw some amazing things, made some of the best memories, and had the absolute most fun. Since going out on my own, I continue to road trip. It is like it is ingrained in every inch of me, it is part of my gypsy soul. To be honest, I crave road trips.

The Story

This past weekend I ended up taking a road trip up to Washington. On the way home it was late. I mean late late late. I was in Redding at about 3 in the afternoon which meant hitting Sacramento during the worst portion of the day, rush hour. This would then have me arriving around 10pm.

So I decided to stay in Redding for awhile in order to avoid traffic (i hate traffic). I went to a local brewery which was absolutely amazing called Fall River Brewery. Then I stopped at my go to out food, Chipotle. Finally, it was time that I could head on down the road and not hit crazy traffic in Sacramento.

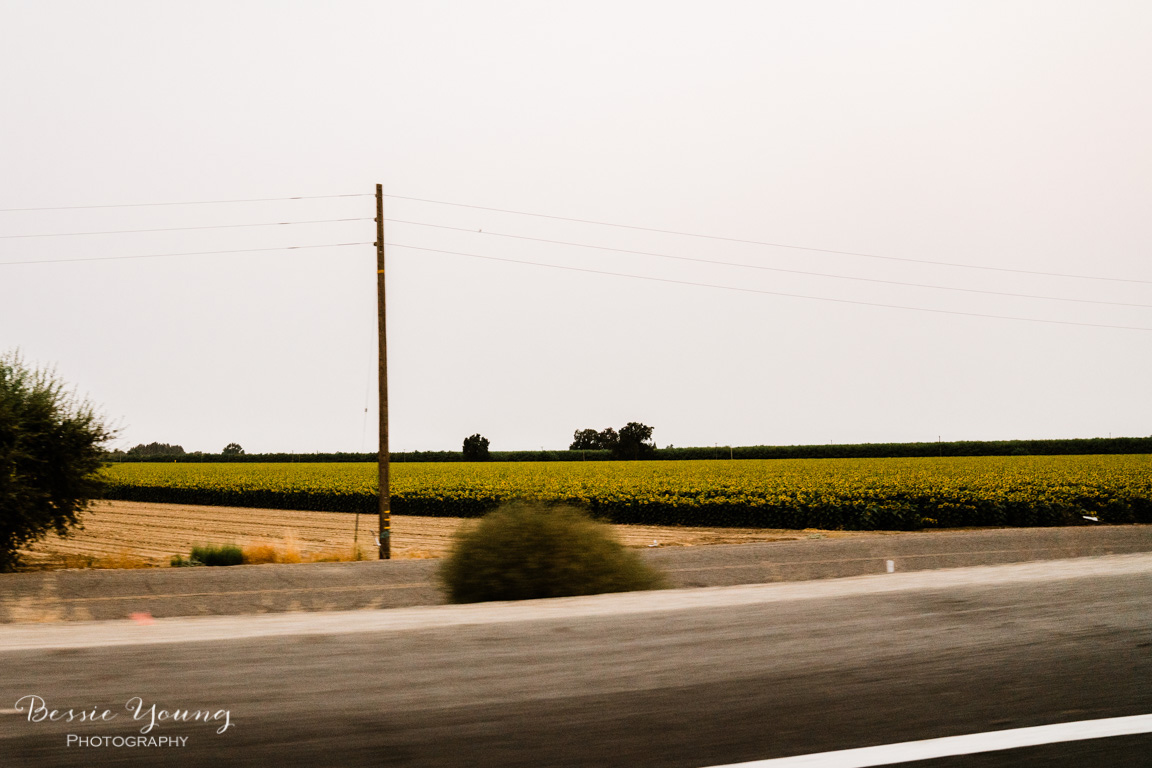
As I was passing through Yolo there was this amazing sunflower field. I had to decide, do I stop to take some pictures, or do I just keep rolling because if I stop I am going to get home crazy freaking late...

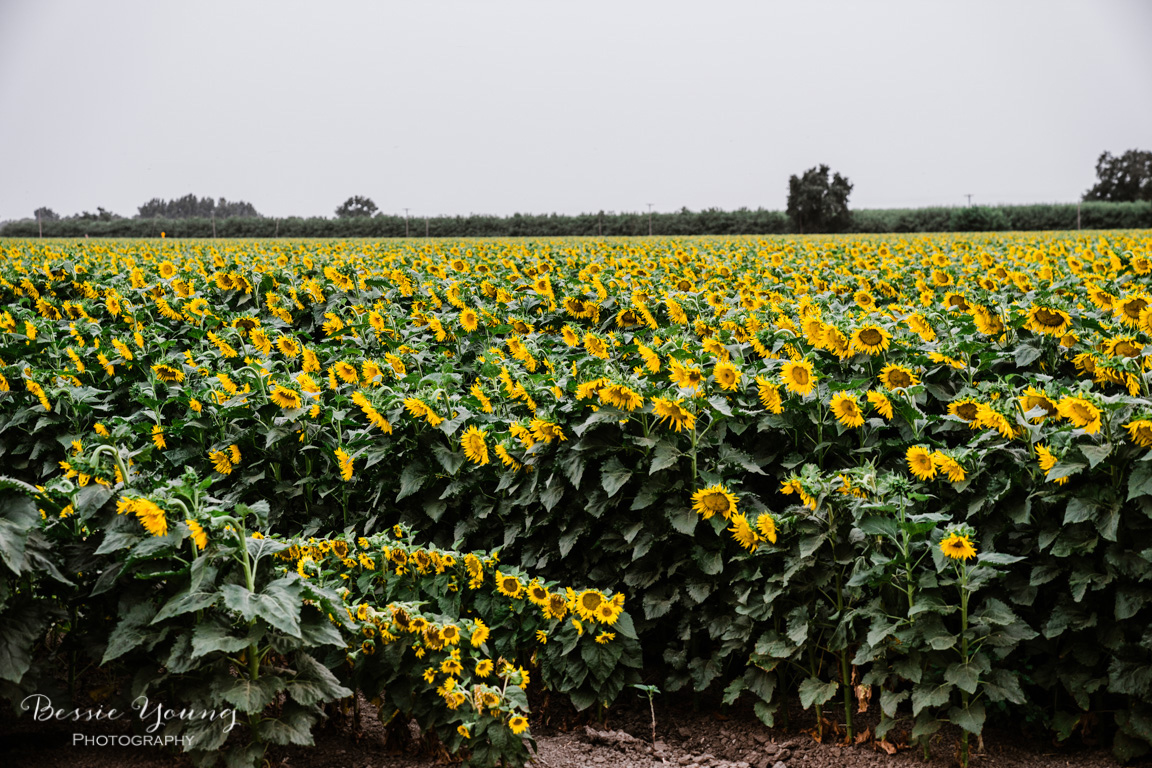
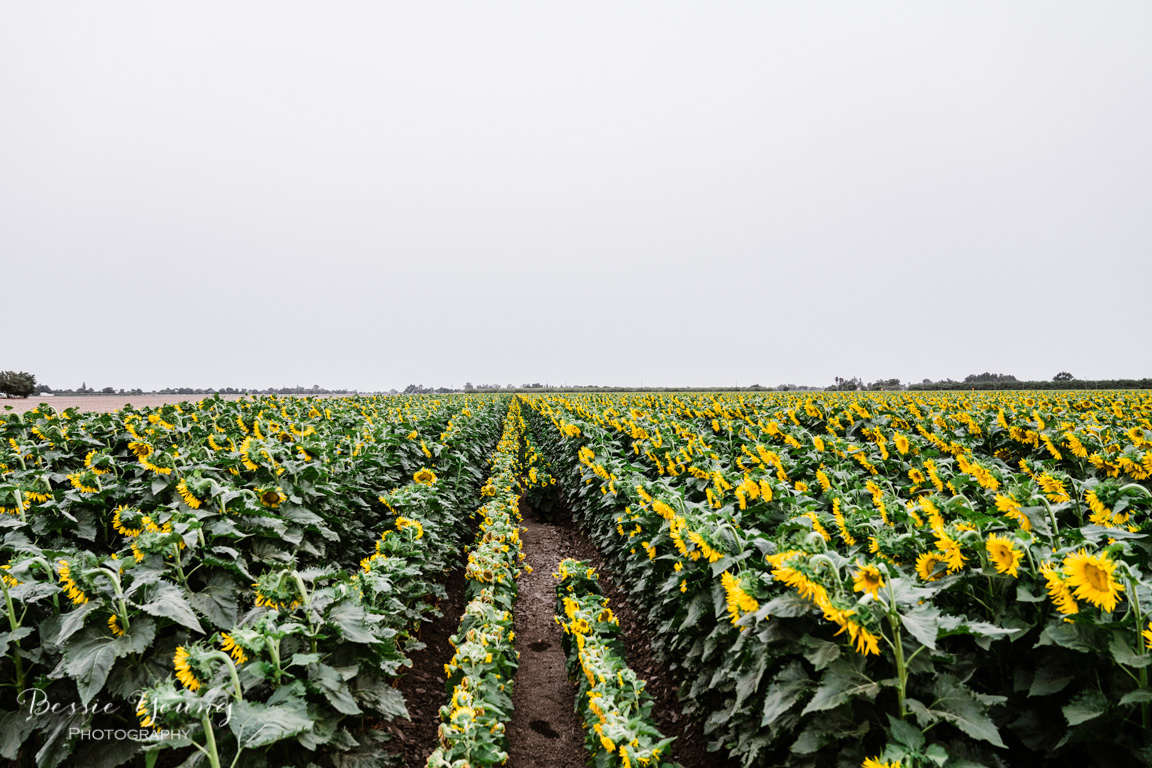
Landscape Photography Tips and Tricks - Sunflower Fields in Sacramento by Bessie Young Photography

Do you stop to take the time?

So it was decision time... do I stop or do I continue? Obviously I ended up stopping, but it really got me to thinking.

There have been so many times that I have been on a road trip and didn't want to stop to take the time to take a photo. I regret each and every one of those times, but for some reason I still have that little voice inside my head saying that I don't need to stop, that it isn't a big deal, and that I am on a schedule.

Now am I really on a schedule? No not really. So why is it that we get so caught up in the have to get there right now kind of mentality? Why is it that we feel guilty for taking the time to stop? Why is it that we put a time schedule on E V E R Y T H I N G?

You see, it is difficult to schedule seeing the sunflower fields bloom especially when you live over 4 hours away. So why was I struggling so hard? Honestly, I do not have an answer for you, but I figured if I am struggling with this, then maybe you are too.

Take the time to do what you love

I wanted to encourage you to take the time. Take the time to do what you love. Yes, it might put you back 10 minutes or even an hour, but guess what... at least you took the time to get some epic photos.

We really need to stop rushing ourselves. We really need to stop and enjoy the roses, or sunflowers in this instance. Maybe you have no idea what I am talking about, maybe you think I am crazy for struggling with this, but maybe, just maybe you needed to hear this. I am hoping that I can encourage you to take the time for you. Take the time for what you love. In the end you will not regret it, you will only regret what you didn't do.

There have been way too many times that I regret not stopping. I missed out on some epic shots, but I am learning. I am growing, I am trying to get better, trying to quiet that silly voice inside my head.

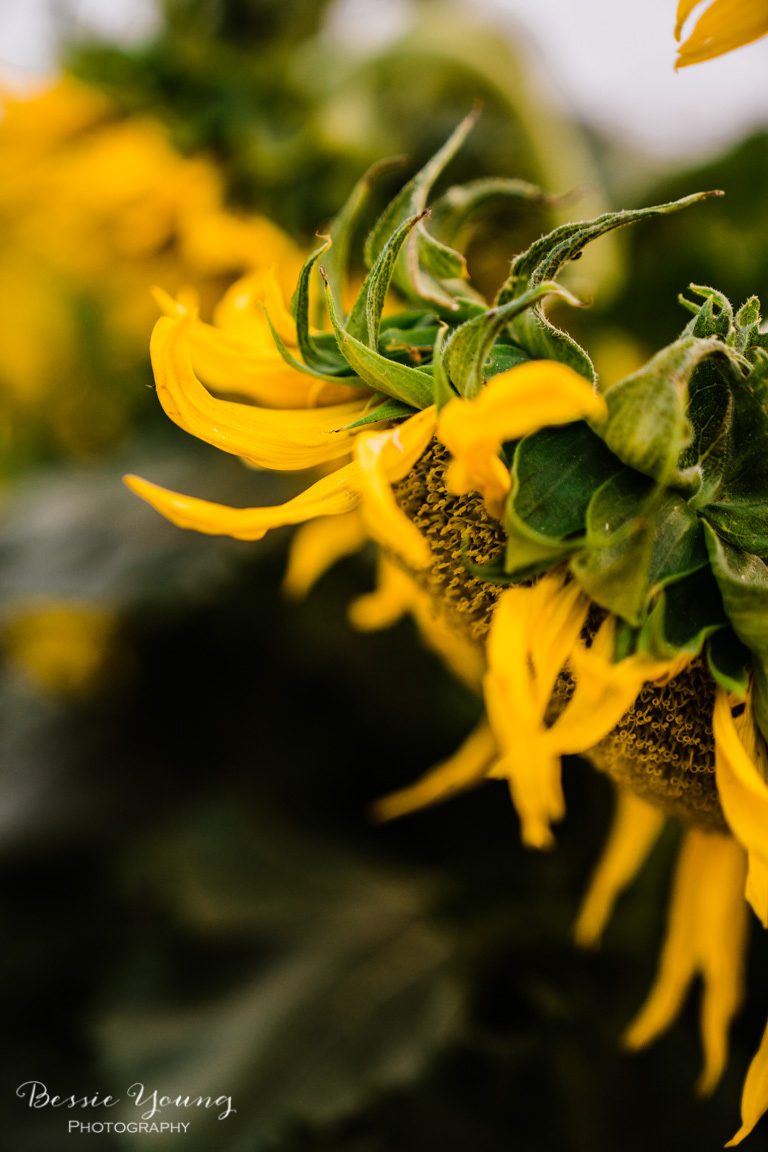
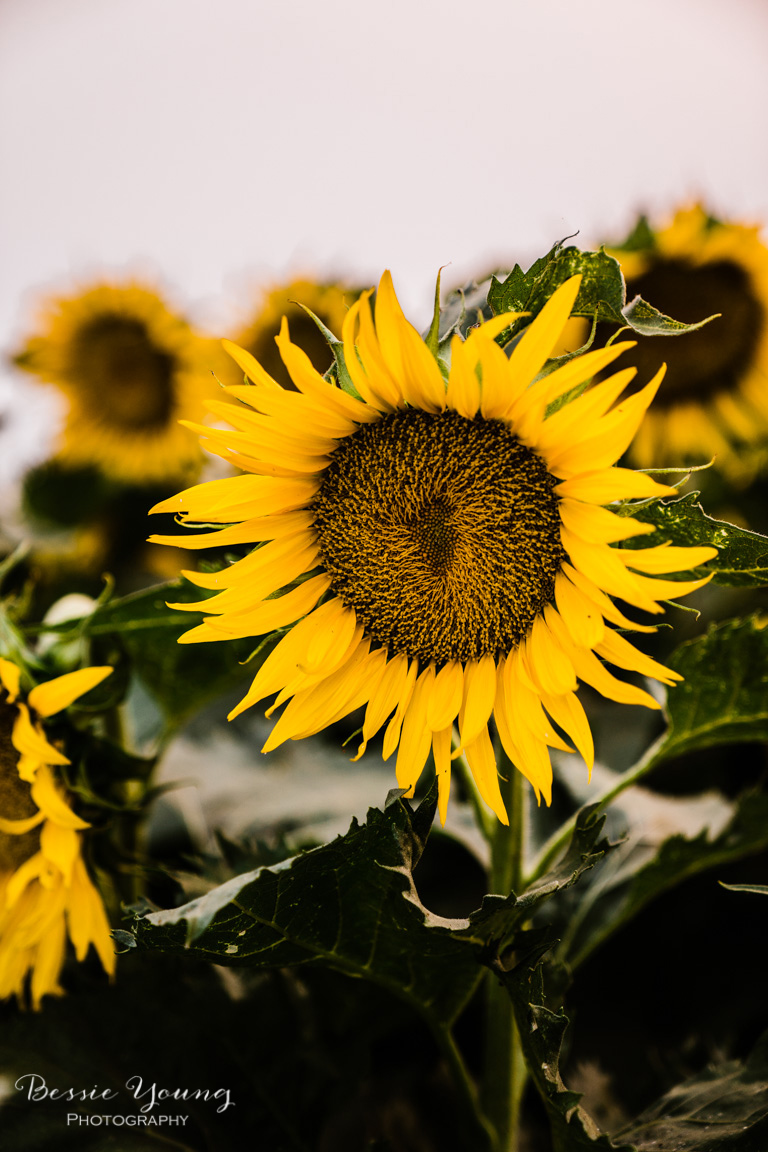
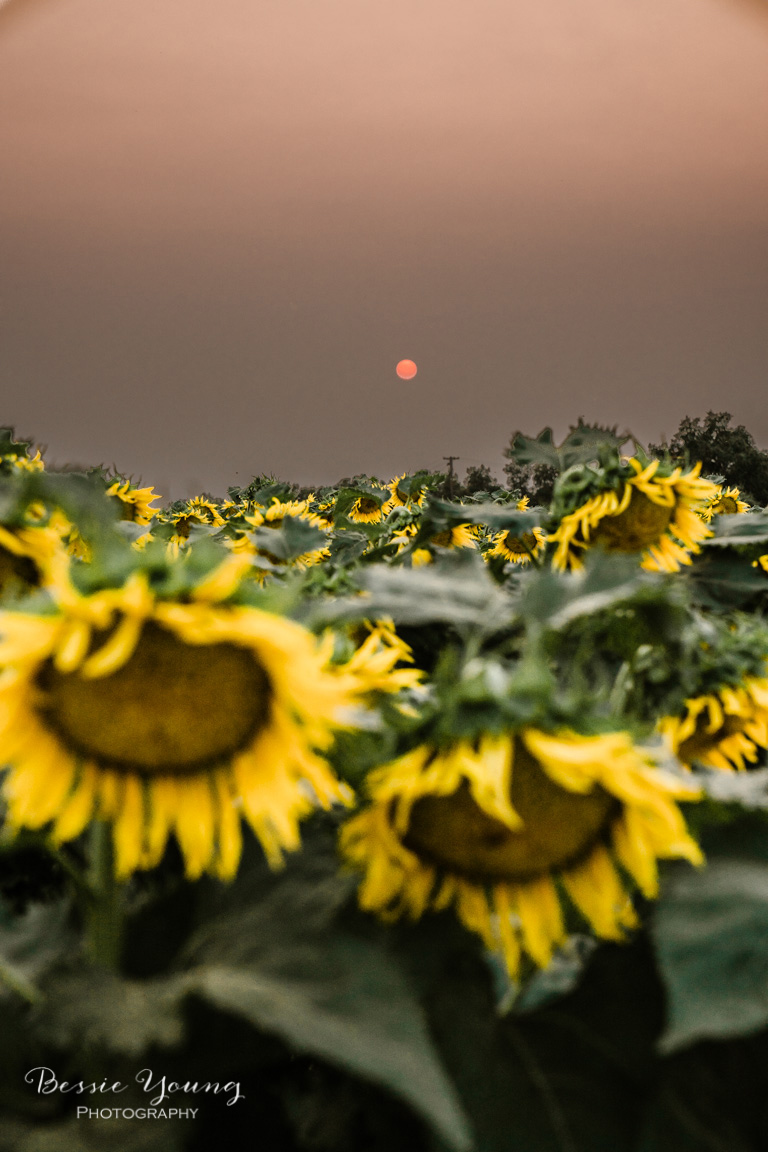
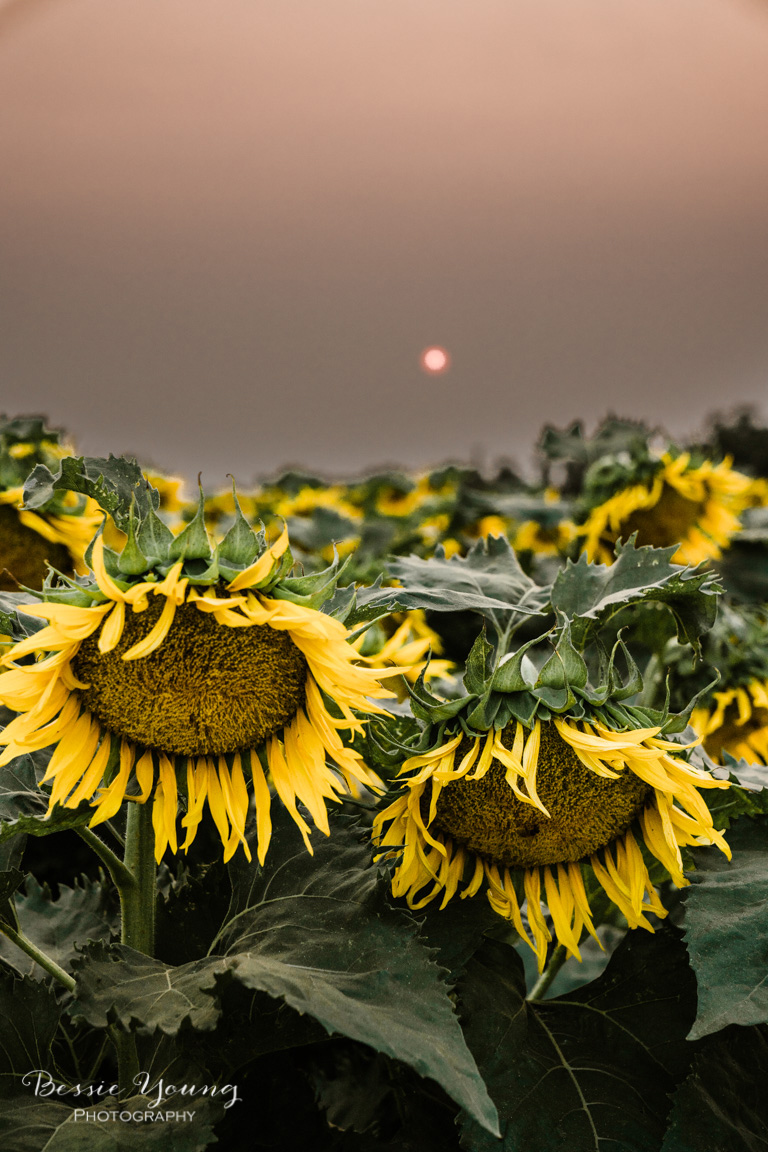
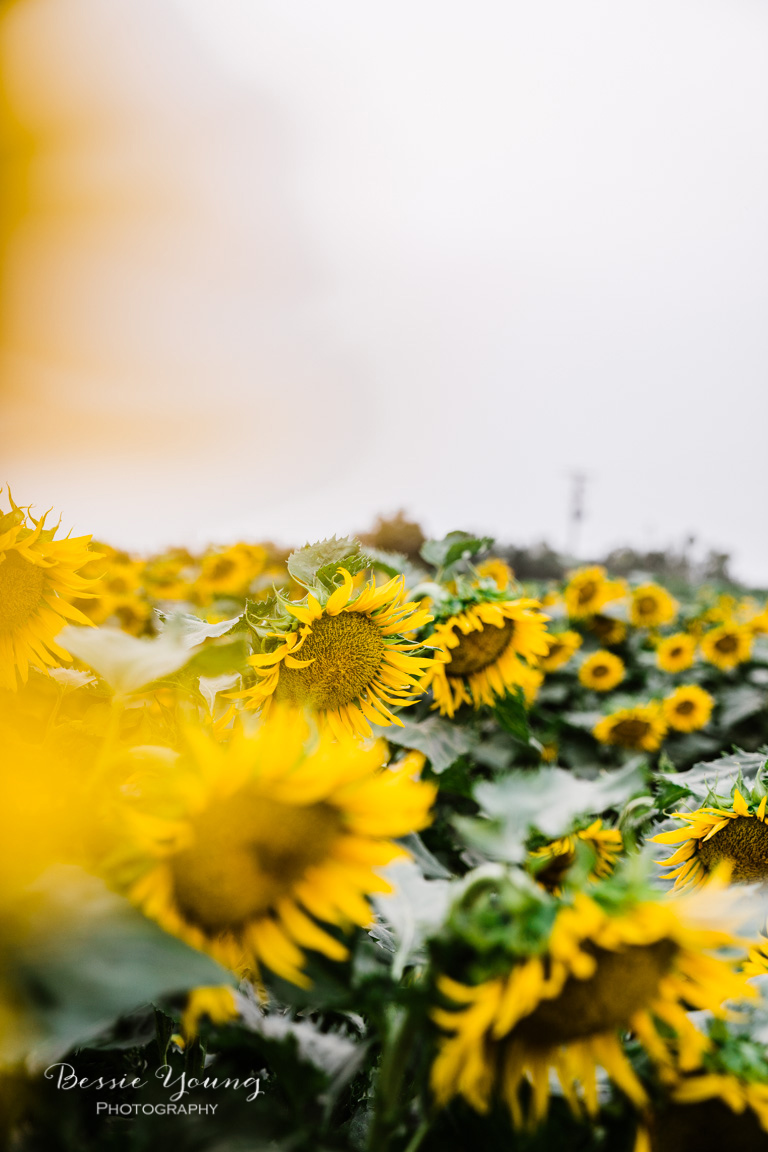
You see, if I wouldn't have stopped I would have missed getting these epic shots:


This is my little message to encourage you to keep doing what you love, to stop and take the time to do what you love, and to not feel freaking guilty about it.

I hope you enjoyed this blog, and the video. Do you struggle with this? Leave a comment down below. I would love to chat with you!

Until next time my beautiful friend,

Bessie


p.s. do you like this post? Check out these similar ones:


Should I Quit? - Photography Tips

Should I Quit?

When is the right time to quit?

This is a question I have asked myself throughout this photography journey. Should I quit? I'm not the best at what I do, hell I'm only half decent to say the truth.

As I look at other photographers work I sit there is utter amazement and awe. I have so much to learn and so far to go before.... before I make it.

Am I a fraud? You know the saying is, fake it until you make it, but what if we never "make it"? What is making it anyways? When do you decide to stop? When do you decide to stop trying, to stop pursuing your dreams? When do you finally recognize that you won't "make it"?

I was talking with my dad the other day and asking him when do you decide enough is enough? When do you give into the pressures of society and just stop pursuing your dream? When do you decide that you are just wasting your time?

My dad just looked at me and smiled. He took a deep breath and said

Oh sweet Bessa, you never stop. You are never wasting your time pursuing your dream. you never stop doing what you are passionate about, and you never stop doing what you love. Why would you?

So I ask you this my beautiful friends, why would you stop? Why do we believe this false idea that we aren't good enough? You are good enough. Let me just repeat myself on that... YOU ARE GOOD ENOUGH!

When should you quit? The answer is never. Not as long as you love what you are doing. You should never quit, never give up, and never stop trying. If you are loving what you do why would you quit? 

So what if you aren't the best. So what if you don't make if... for whatever that might mean to you. If you have passion to create then just freaking create. If you love what you are doing then never stop doing.

Never quit my beautiful friends. Never stop creating.

Bessie


p.s. do you like this post? Check out these similar ones:


Camera Gear for Backpacking

Camera Gear for Backpacking

What's in my bag

Recently I was out backpacking on my first trip of the year and I thought what better time than to make a video about camera gear for backpacking!?

Camera Gear For Backpacking Landscape Photography by Bessie Young Photography.jpg

I'm not going to lie, I debated on making this video because I was freaking exhausted. Yes... I had just hiked a bunch in the heat and all I wanted to do was zone out, but I got my lazy booty outta my chair and made this video just for you!

So, here are all the Camera Gear for Backpacking Things:

1. Camera and Lens:

  • Sony A7rii
  • 18mm Batis f2.8.
  • 24 - 70mm G master f2.8

2. Filters:

3. Cleaning Kit

4. Spare lens cap

5. Batteries:

  • Sony batteries
  • Anker Battery pack

6. SD Cards: Bring all the SD cards :)

7. Tripod

8. Peak Design Clip and foot

That's it!

Let me know what camera gear you take backpacking in the comments below.

Wishing you a beautiful day and dust free photos!

Bessie


p.s. do you like this post? Check out these similar ones:


How to Photograph Waterfalls - Glenn Alpine Waterfall South Lake Tahoe

How to Photograph Waterfalls

Glenn Alpine Waterfall South Lake Tahoe

Landscape Photography

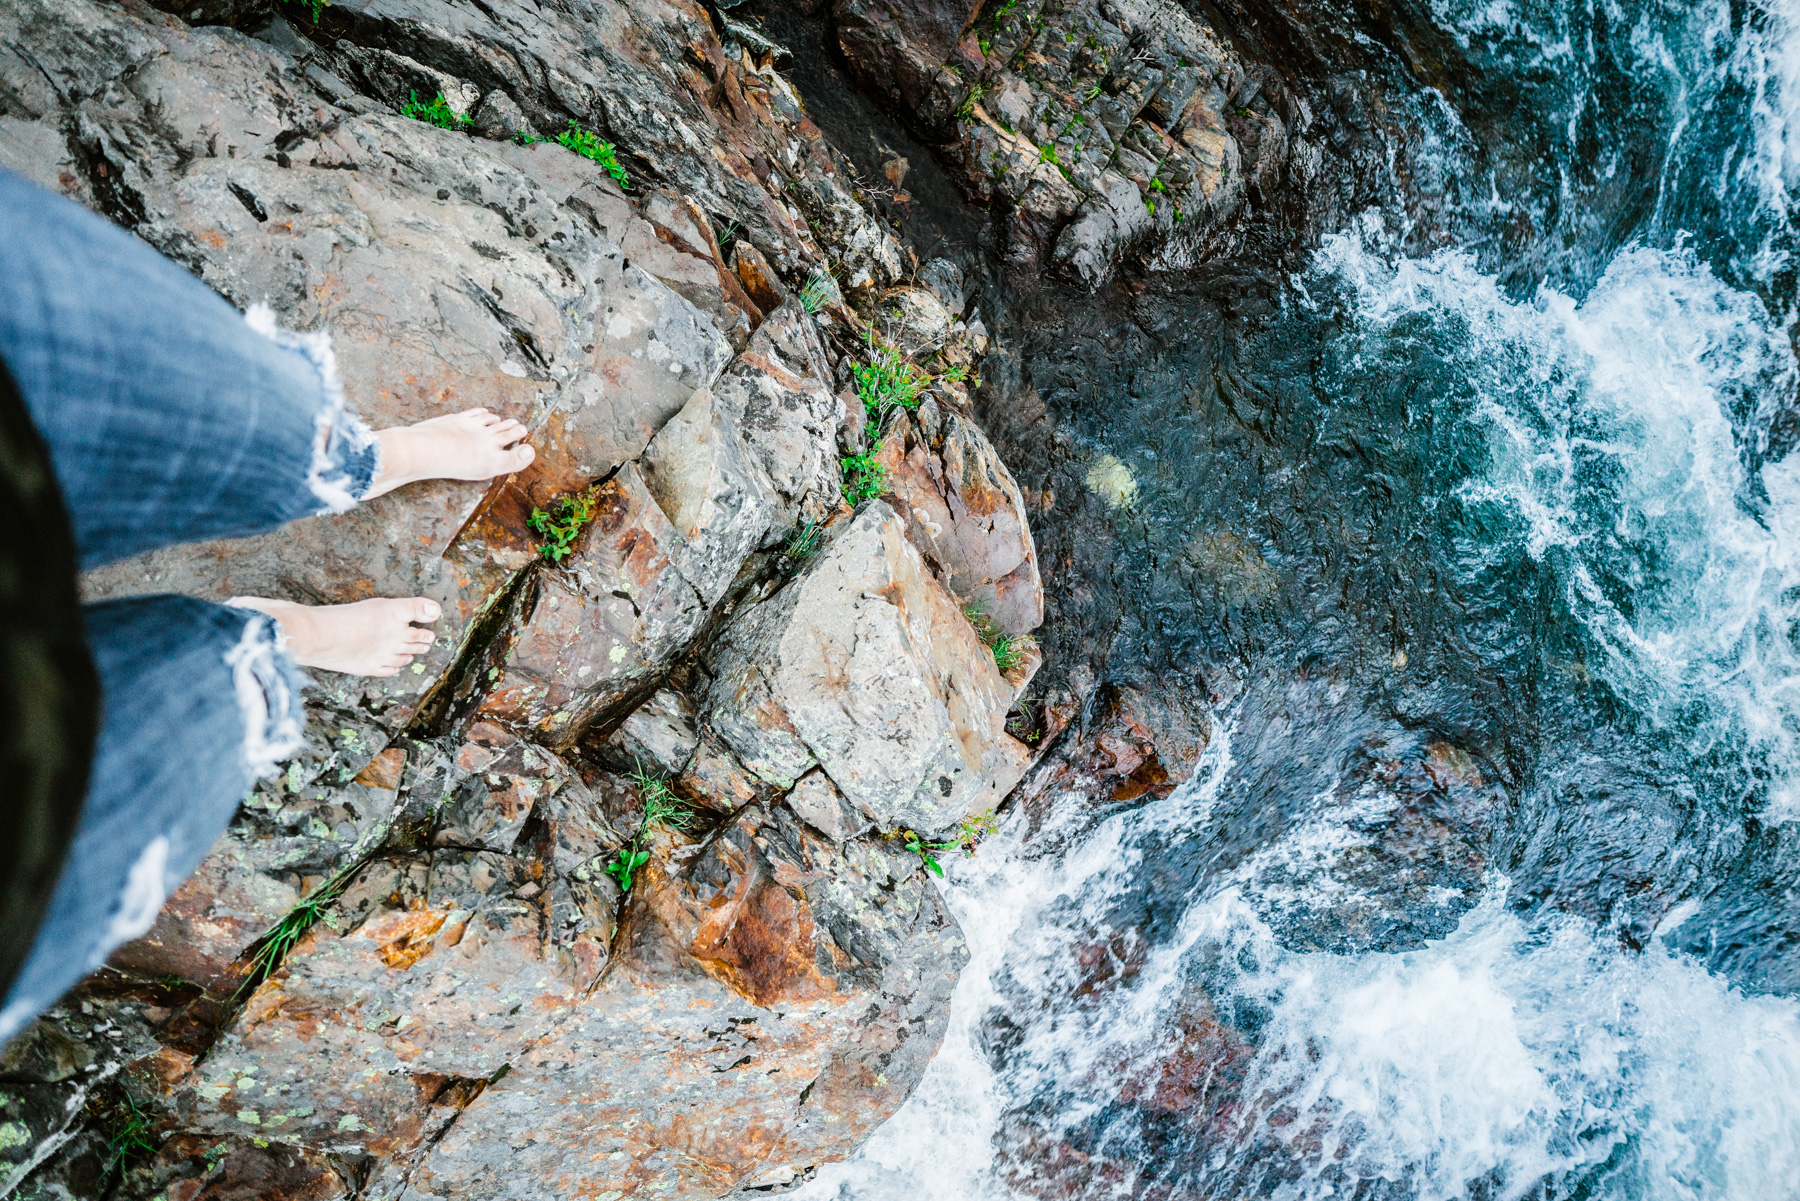
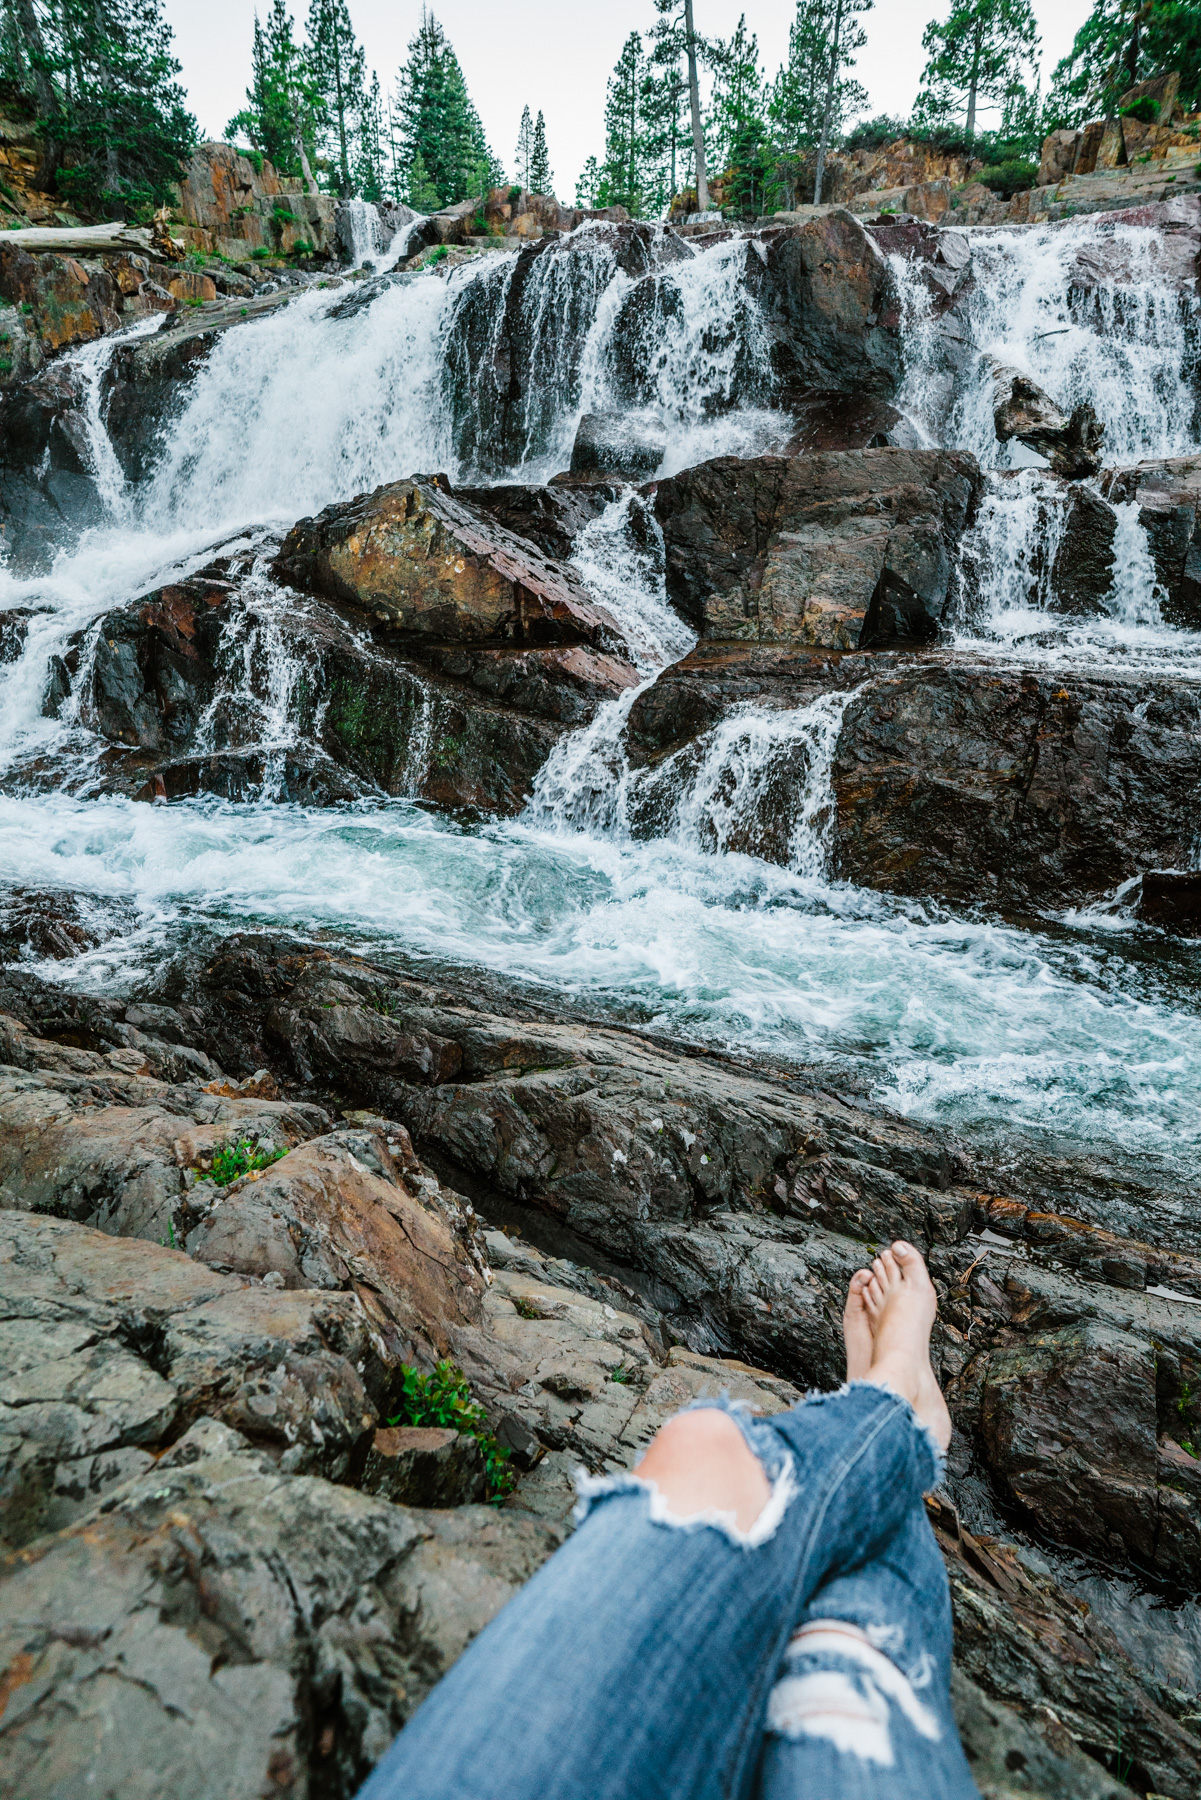
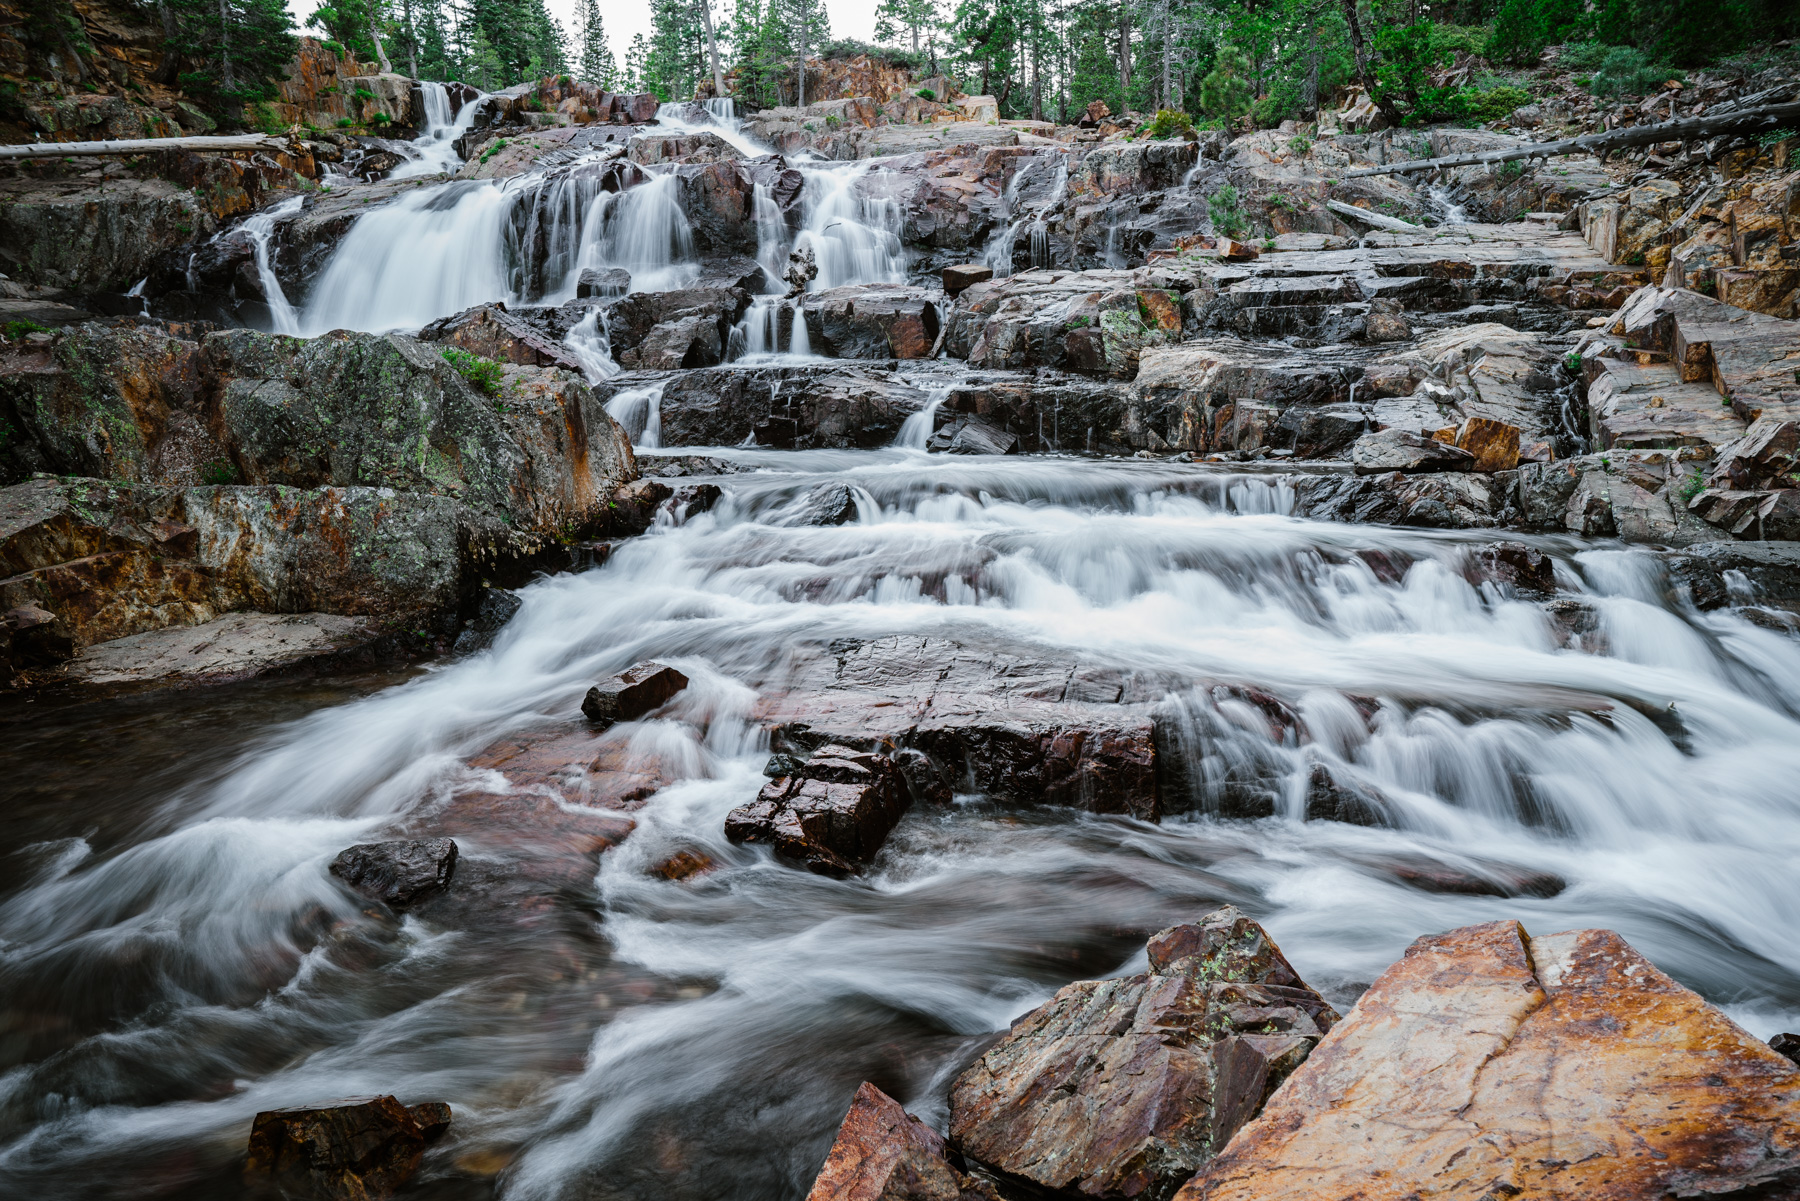
If you don't know by now, I am completely obsessed with waterfalls. I love going to new places and searching for waterfalls. They are so much fun to photograph and just amazing to be around. The rush of the river, the sound of the water, and the creative touch that you can add to each photo is beyond awesome.

So a few weeks ago I just so happened to find myself in South Lake Tahoe for an amazing Destination wedding. You guys, it was freaking awesome! I ended up going up the night before, and like I always do, I had to get out of the hotel and find a pretty landscape image. I am always saying "take advantage of where you are".

I have been to South Lake Tahoe a bagillion times; however, I have never been to the Glenn Alpine Waterfall near Fallen Leaf Lake. To be honest I didn't even know it existed. So off I went to catch a pretty waterfall landscape photograph during sunset.

The drive took about a half our from the boarder of California and Nevada. The road was pretty much a one lane road and quite rough, but the waterfall was beyond beautiful!

Let me tell you, I could have stayed here all night just sitting by the water, but the mosquitoes were out in force. They weren't your average mosquito either. They were like pterodactyl mosquitoes. So unfotunately I had to leave before I became one big mosquito bite.

If you get a chance, make sure to stop by the Glenn Alpine Waterfall along the Glenn Alpine creek in South Lake Tahoe. It is right off the road only about 200 feet and totally worth the trip.

How to Photograph Waterfalls:

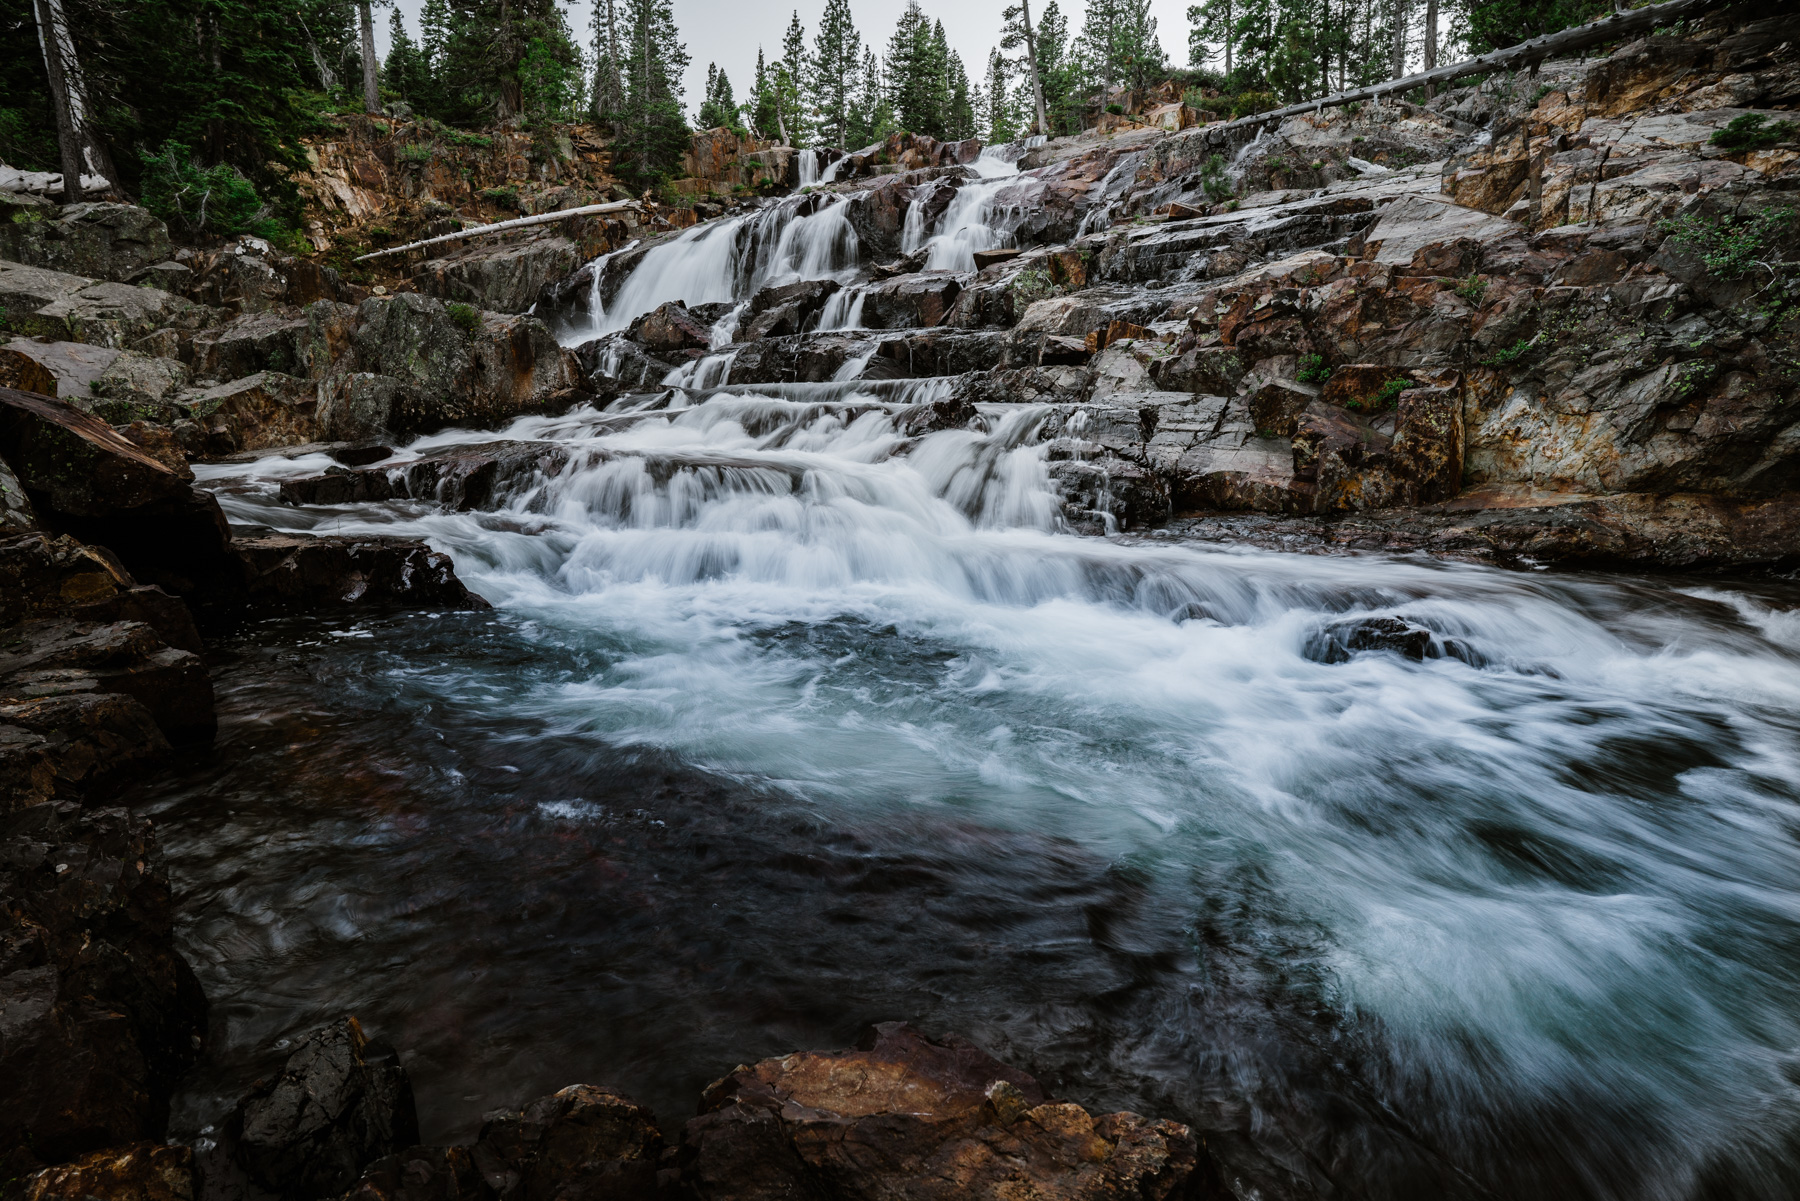
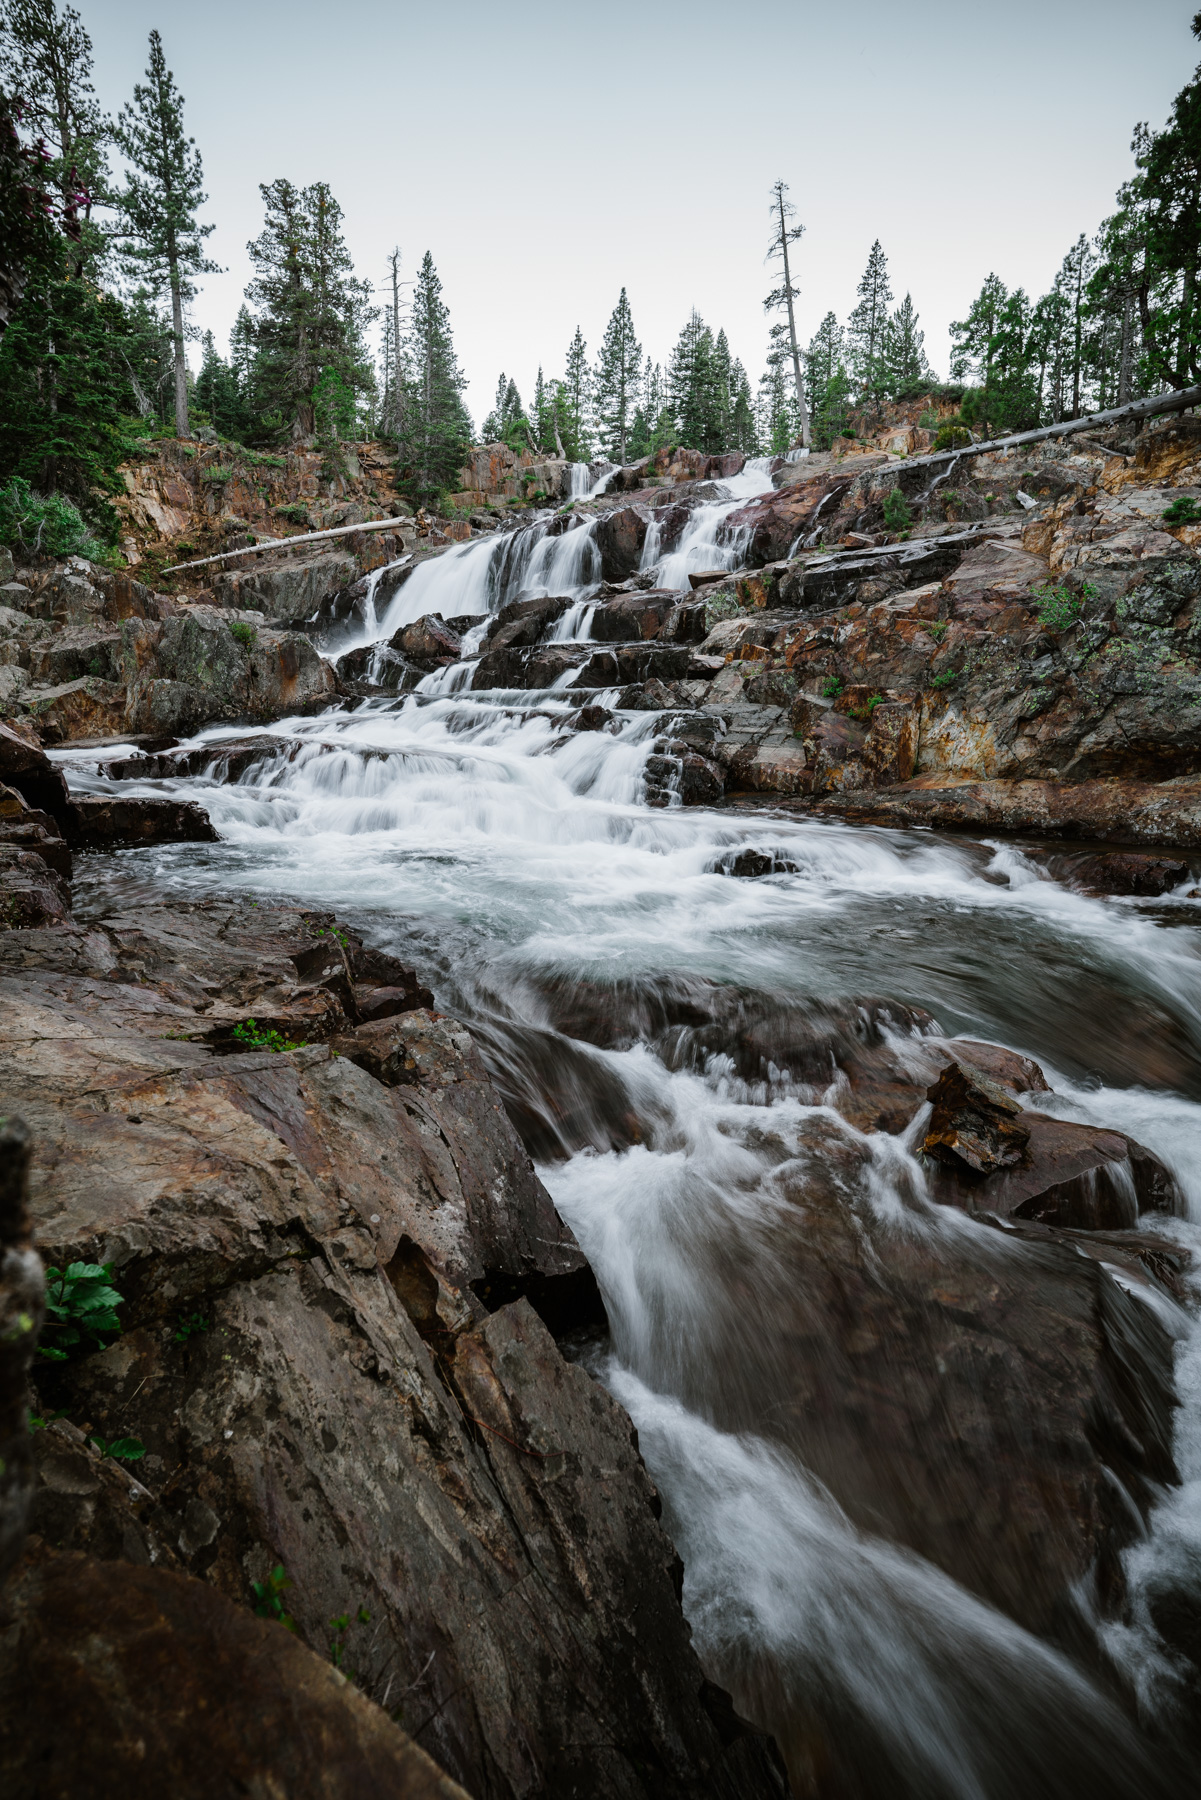
  1. Use a low shutter speed for smooth water
  2. F 6.3 - F11 for a good depth of field
  3. Keep your ISO low (like always)
  4. Shoot when there is soft light (best at sunset or sunrise)

These steps will get you a nice smooth beautiful waterfall image.

Have you ever been to Glenn Alpine Falls or are you also obsessed with shooting waterfalls? Leave me a comment. I would love to hear about your trip and see your tips for shooting wateralls :)

Wishing you nothing but the very best!

Bessie


P.s. Did you love this post? Check out these similar ones:

5 Things Every Beginner Photographer Needs

If you are debating on getting into photography, but aren't quite sure where to start then you came to the right place! Photography can get overwhelming. When you first get started, it seems like you are going to have to spend an arm and leg to actually get set up. Well, you could actually spend all that money, but what are the essential things that you need to get you going? Lets talk about only the necessities:

5 Things Every Beginner Photographer Needs

1. A Camera

Alright I know what you are thinking... DUH. Well hold on just a minute. You don't want to get just any camera. You want to get a camera that allows you to use manual mode plus change lenses.

2. Memory Cards and Batteries

SD cards for capturing your image and batteries because everything takes batteries. When purchasing an SD card make sure you get fast SD cards in order to allow you to use the burst mode on your camera.

Free Photo Basics Cheat Sheet! Learning Photography? If you are trying to learn manual mode or are just dabbling in it, this cheat sheet is for you! It is going to make life easy.  An easy go to guide for getting the perfect photo. Completely Free!

3. Camera Bag

Let's face it, you spent alot of money on your gear. Make sure you protect it with a nice camera bag. Now, don't do what I did and buy the cheapest one out there, because sure as can be you will eventually realize that it sucks and you want / need the nicer one.

4. A Tripod

Seriously though, you need a good sturdy tripod. Don't go cheap on this one either. Buy once cry once. Seriously, you will spend more money buying the cheap stuff over and over until you eventually buy the expensive one. Just buy the nice one and call it good. You will have it for a very long time.

The tripod is going to allow you to be creative as well as get some incredibly beautiful crisp images.

5. An Editing Program

The two main editing programs are Lightroom and Photoshop. These programs are great and very flexible.

6. BONUS: A wide aperture lens

The wider the aperture (the lower #) will give you much more flexibility when it comes to your photos. It will allow you to get those beautiful image where the background is completely blurred. It will also allow you to get star images! Think about getting an F2.8 lens.


Now get out there, get your gear, and get to shooting those amazing images that you have dreamed about. If you have any questions just leave a comment below. I would love to chat!

Wishing you nothing but beautiful pictures and fun adventures,

Bessie

p.s. like this post? Check these out:


How To Create Better Composition

So you aren't happy with your photos. That's ok! We are all learning and growing; however, there are certain things that can really help our photos stand out from the crowd. Today I want to talk about one rule that will change it all...

Free Photo Basics Cheat Sheet! Learning Photography? If you are trying to learn manual mode or are just dabbling in it, this cheat sheet is for you! It is going to make life easy.  An easy go to guide for getting the perfect photo. Completely Free!

How to create better composition:

 Fill your frame with what you love... Simplify!

That's it! Sounds easy right? Well it is, but sometimes we just get too caught up in trying to add so many elements into our image, that we create a jumbled mess. Don't try to put everything into your picture.

If you find yourself having trouble deciding on what the main subject is take a deep breath, stop, and then pay attention to what your eyes are doing. Wherever they keep going back to, shoot that. Make sure that you remove all the distracting items in your image, simplify, and only shoot what you love.

Now get outside and go shoot that amazing image that you have been wanting to get. Try out this one tip and let me now how it went by leaving a comment below!

Wishing you nothing but beautiful pictures and fun adventures,

Bessie

p.s. like this post? Check these out:


What Camera Strap To Get - My Favorite

Camera straps are super important, but how do you know which one to get? Well today I am going to chat a little bit about camera straps and also share my favorites.

So What Camera Strap to Get:

Wrist Straps:

So I just started checking these out. I typically hold my camera with no strap while I'm out on a shoot, but I started to think of how bit of a bummer it would be if I accidentally dropped it. Then I was talking to a fellow photographer, Danyelle Dee, and she was saying that she stepped on a bee during a shoot, got stung, and dropped her camera; however, she had a strap which saved everything! Then and there, I figured I needed to purchase one, so I ended up getting the Peak Design Wrist Strap: I will let you know what I think of it as I use it more. I chose the peak design one because of how easy they are to switch back and forth with their clipping system. There are also some leather Ona Wrist Straps that I saw which look pretty neat.

Traditional Camera Straps:

So there are a bagillion different camera straps out there, so how do you decide? For me, I like them to be a bit wider of a strap. I have found that the smaller, thinner straps seem to dig in to my shoulder and neck too much . Another think I like is if there is a little bit of a cushion on the shoulder area. My favorite so far is this peak design camera strap. I love the color options, how thin and light they are, and how easy they are to switch between cameras. Another option are these beautiful leather camera straps by Ona. I have heard great things. The only con to buying leather is taht it will stretch overtime.

Harnesses:

These are awesome if you are a wedding or portrait photographer. They have the option of holding two cameras, one on each side. I haven't ever tried them; however, I have seen them in action and they are amazing!


Clips:

Ok not really a camera strap but a clip is totally an option and something I use for all my backpacking adventures. I absolutely love the Peak Design Clip.


Do you have a favorite camera strap? Leave a comment below and let me know :) I am always on the look out for good things :)

Wishing you the best,

Bessie

p.s. like this post? Check these out:

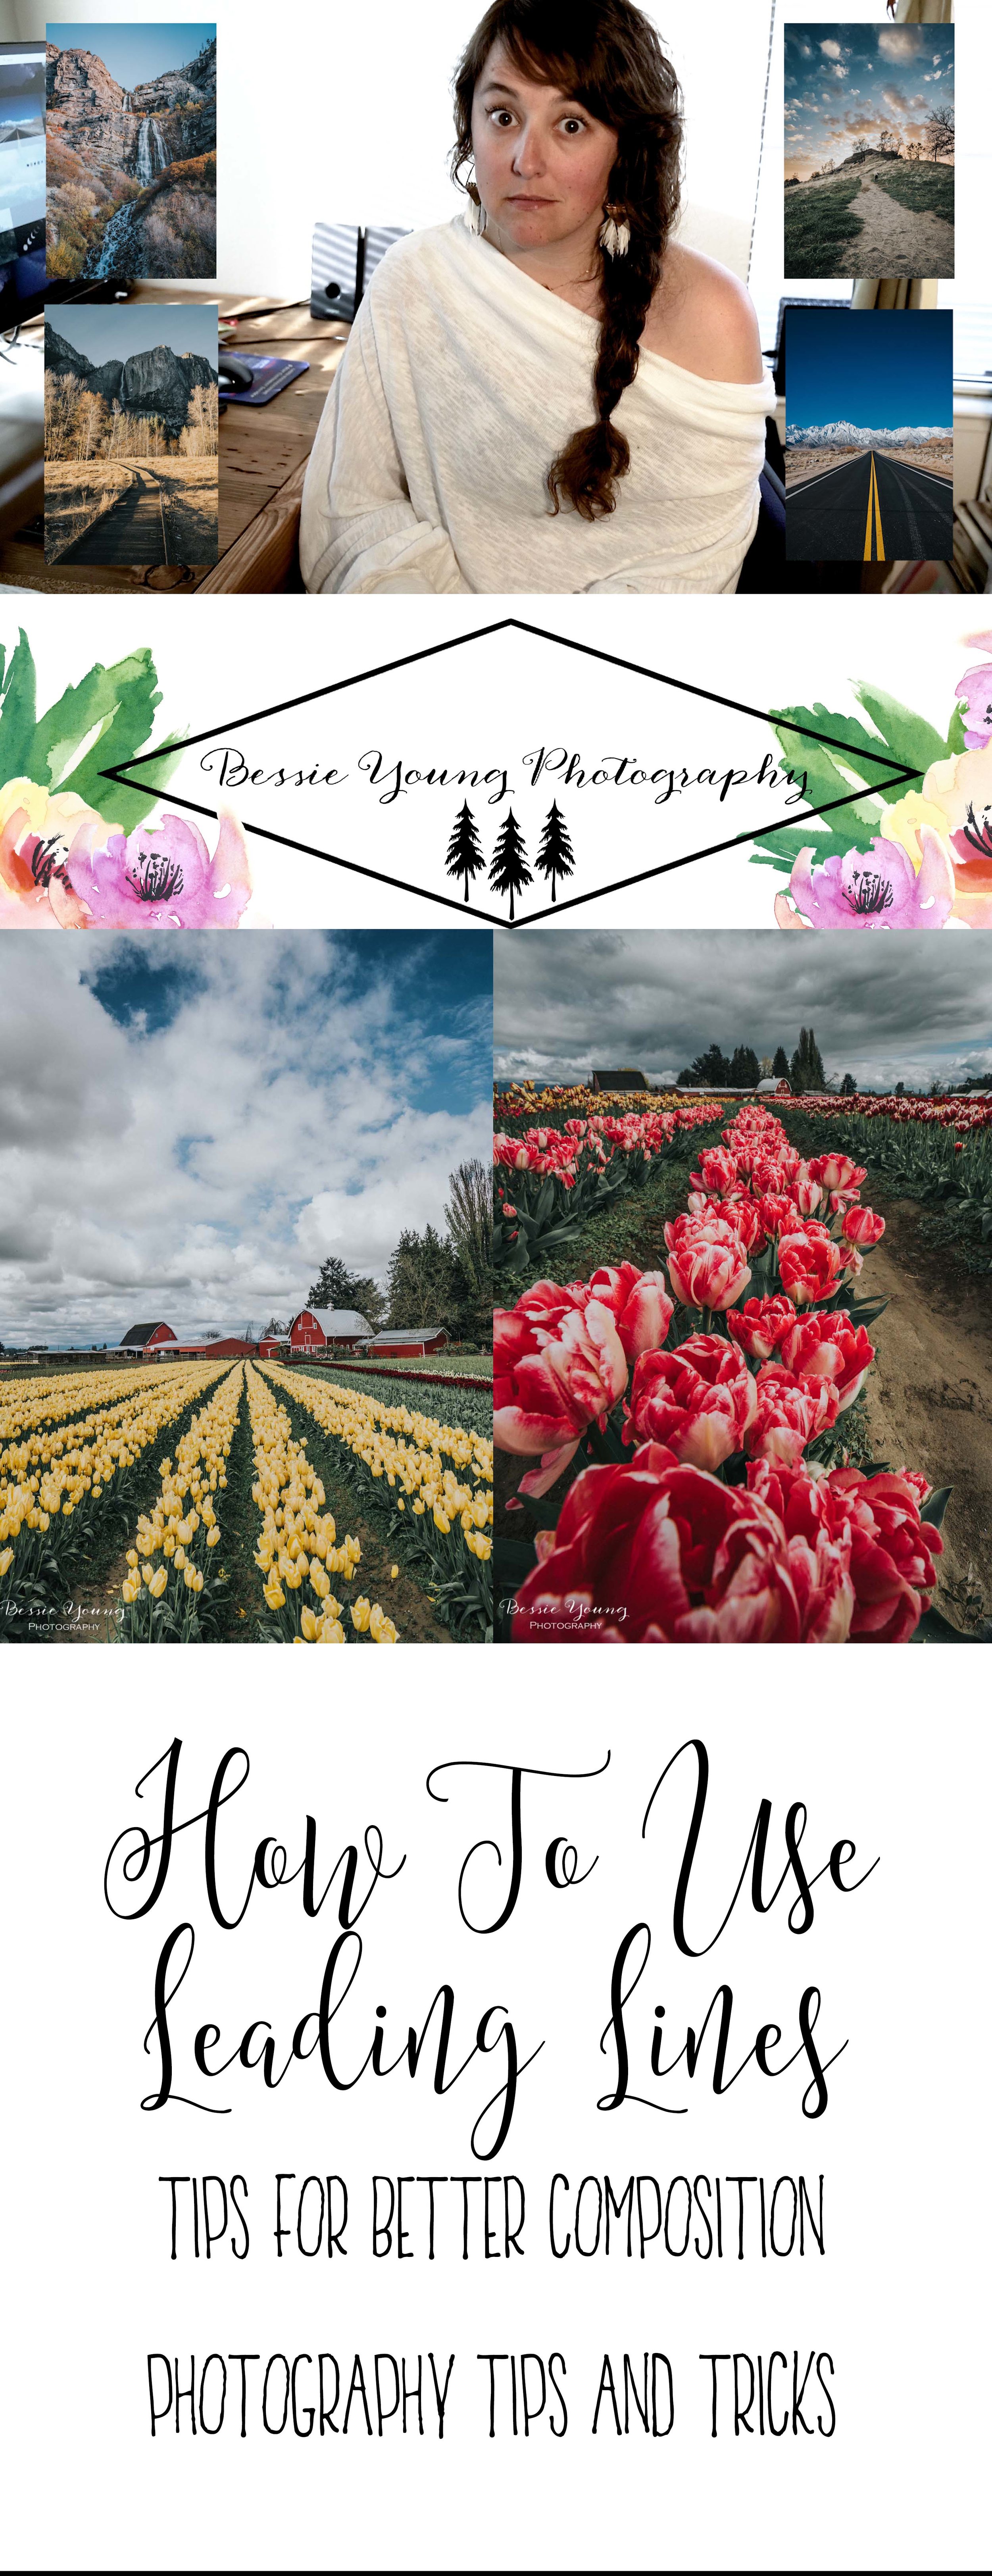
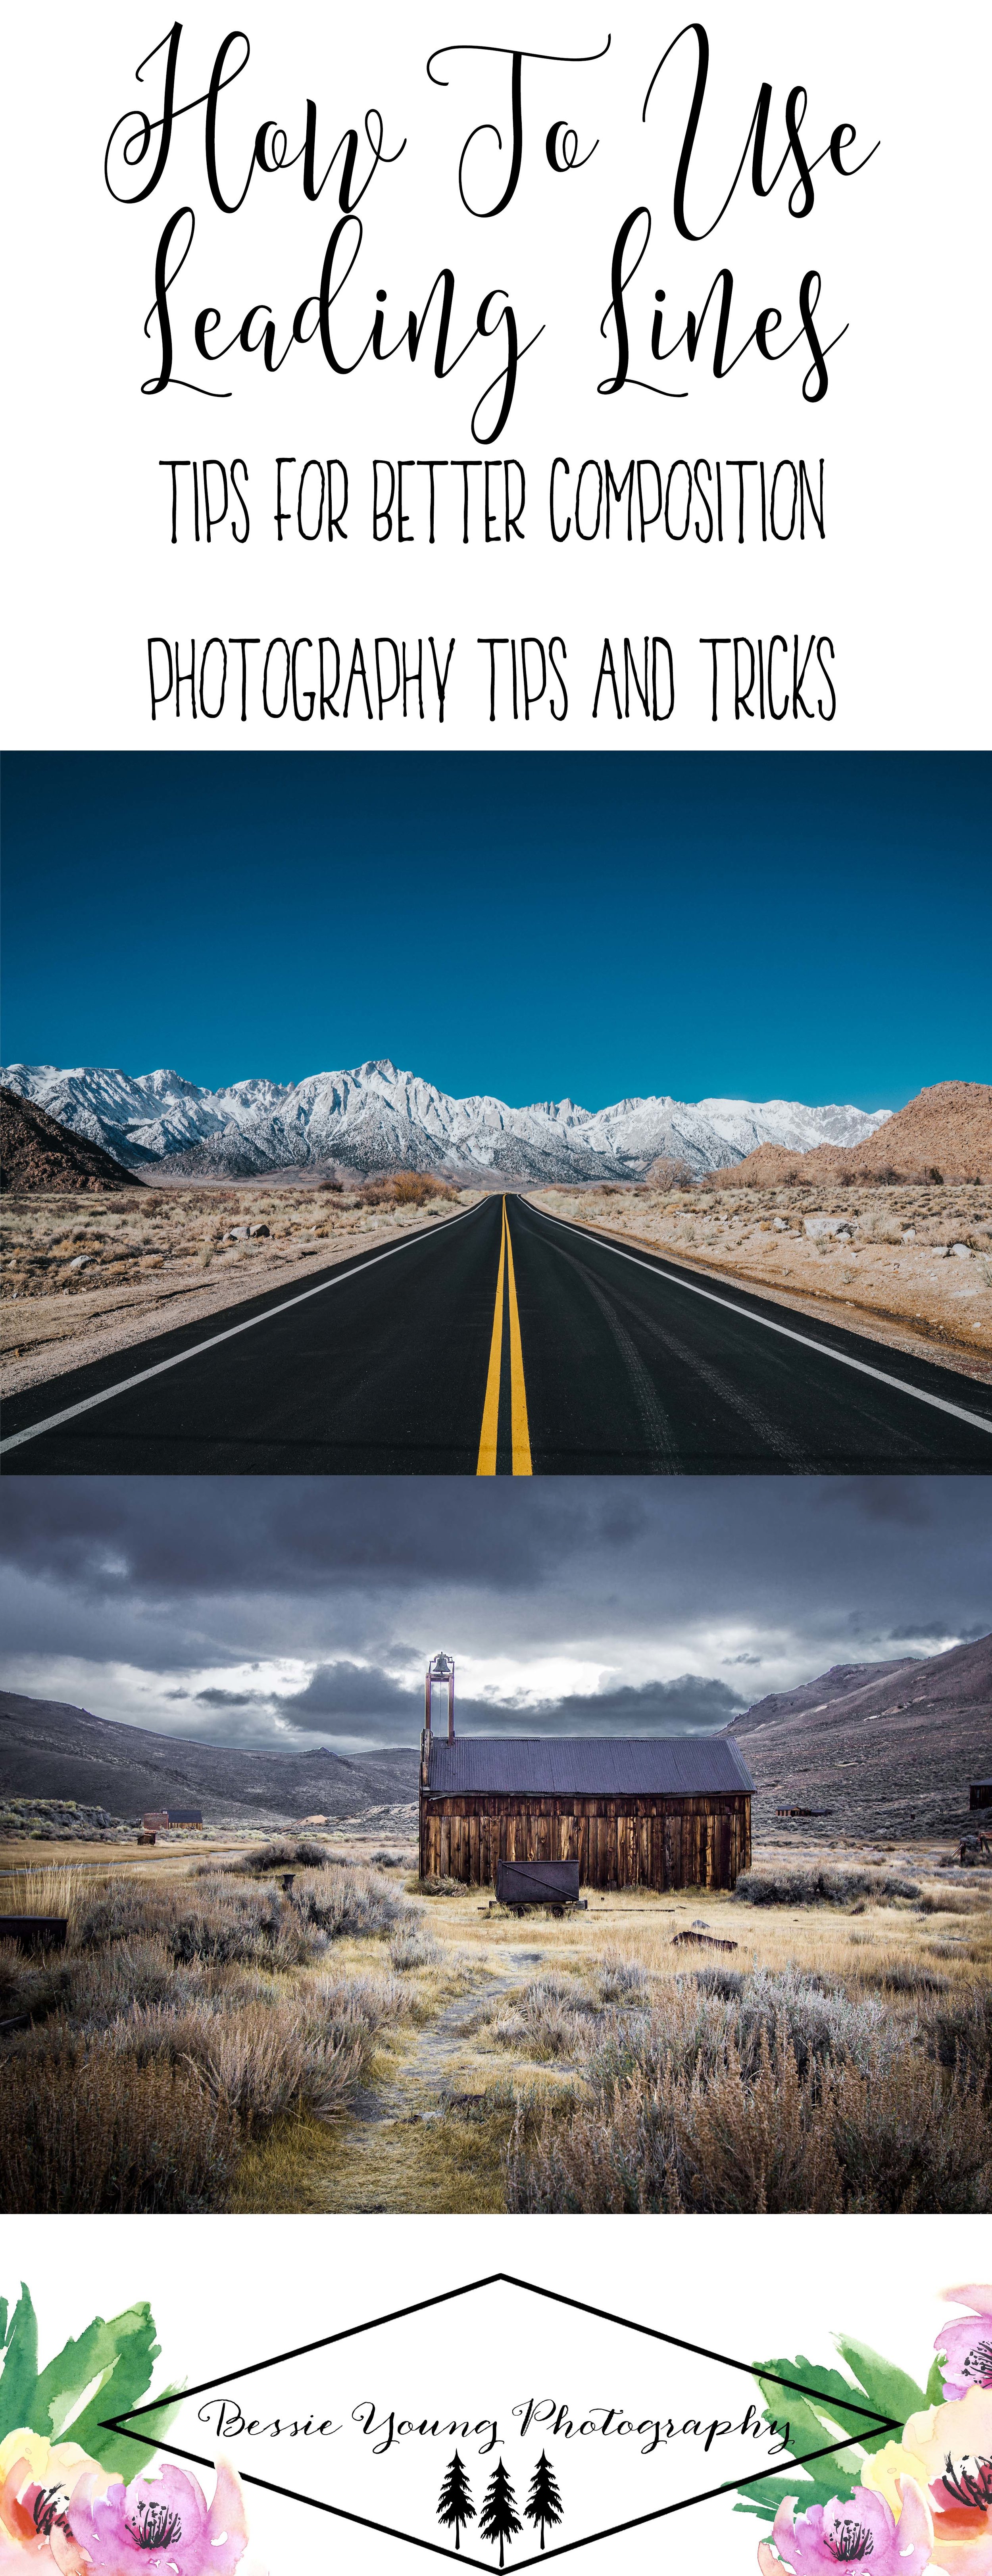
How To Use Leading Lines - Tips for Better Composition - Photography Tips and Tricks

How To Use Leading Lines - Tips For Better Composition by Bessie Young Photography.jpg

How To Use Leading Lines

Tips for Better Composition

Photography Tips and Tricks

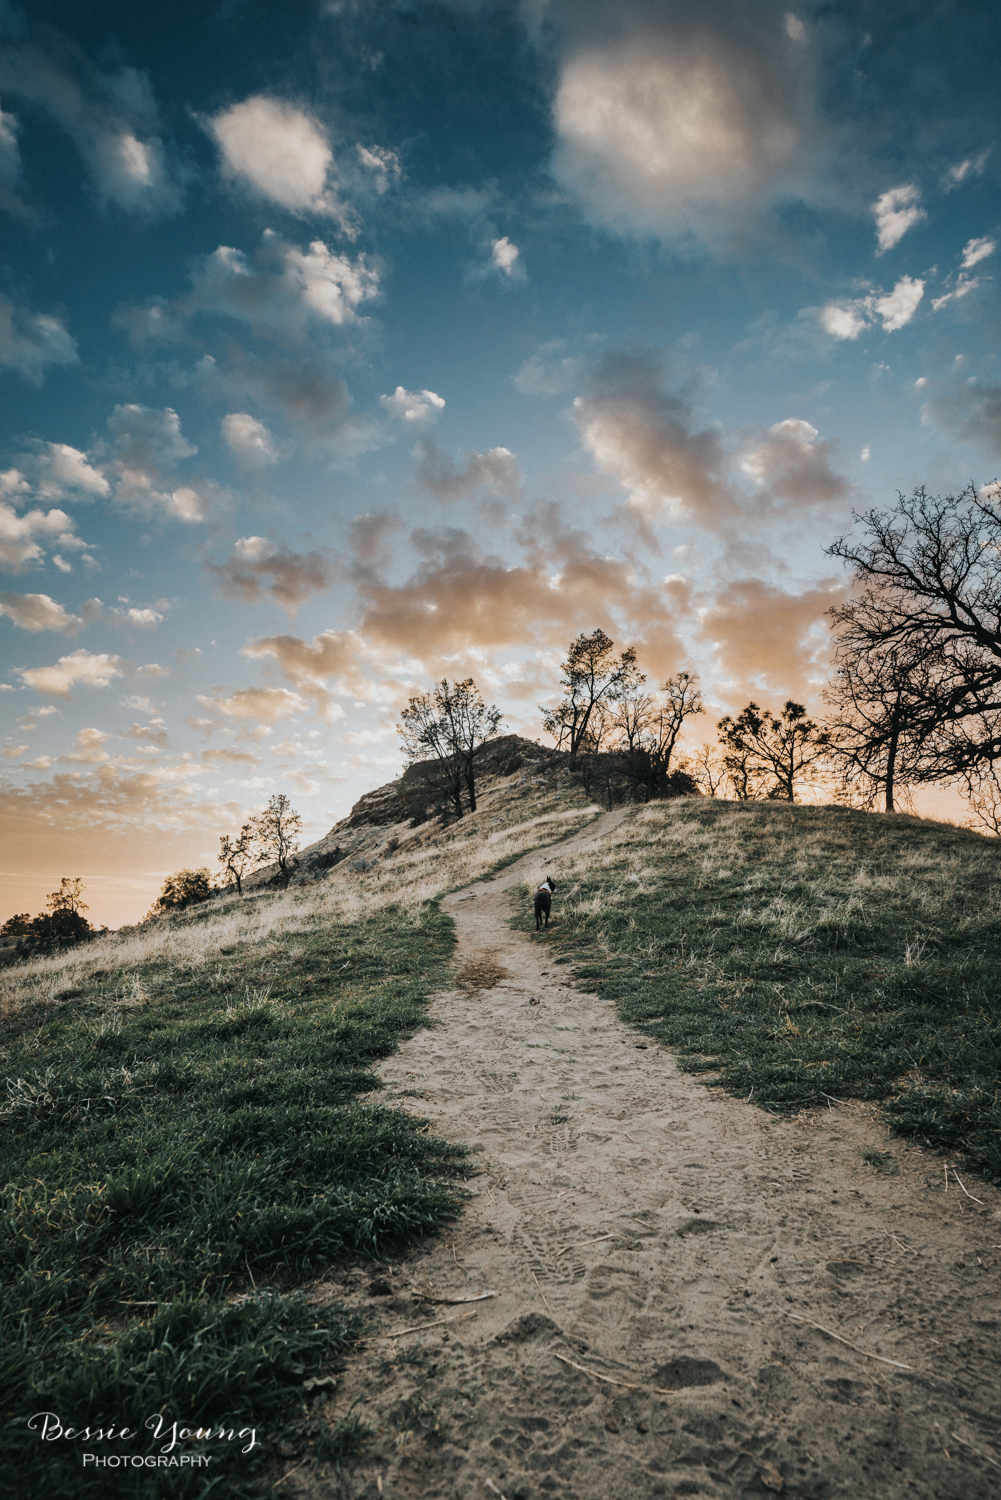
There are so many different rules of composition, but leading lines is one of my favorites. So, what is a leading line and how do we use it to create a beautiful jaw dropping image?

So what are leading lines?

Leading lines are one of the most simple composition tips yet one of the most powerful. They grab the viewers eye and bring it into the image to a main point of focus.  Basically they are a line that leads some where, hence where it got it's name. The world is full of leading lines. Thing of things such as rivers, piers, railroad tracks, roads, foam on a beach, so on and so forth.

So what is the key to using them?

It is best if the lines flow into your images. This creates a visual pathway and ends at the main point of focus in your image. In order to successfully use leading lines, you have to position yourself in the correct place. You need to move your feet!

Find your key subject and then position yourself to point the lines to that key subject. Make sure to avoid straight vertical or horizontal lines because that is going to split your image into 2 and also cause your viewers eye to flow off your image.

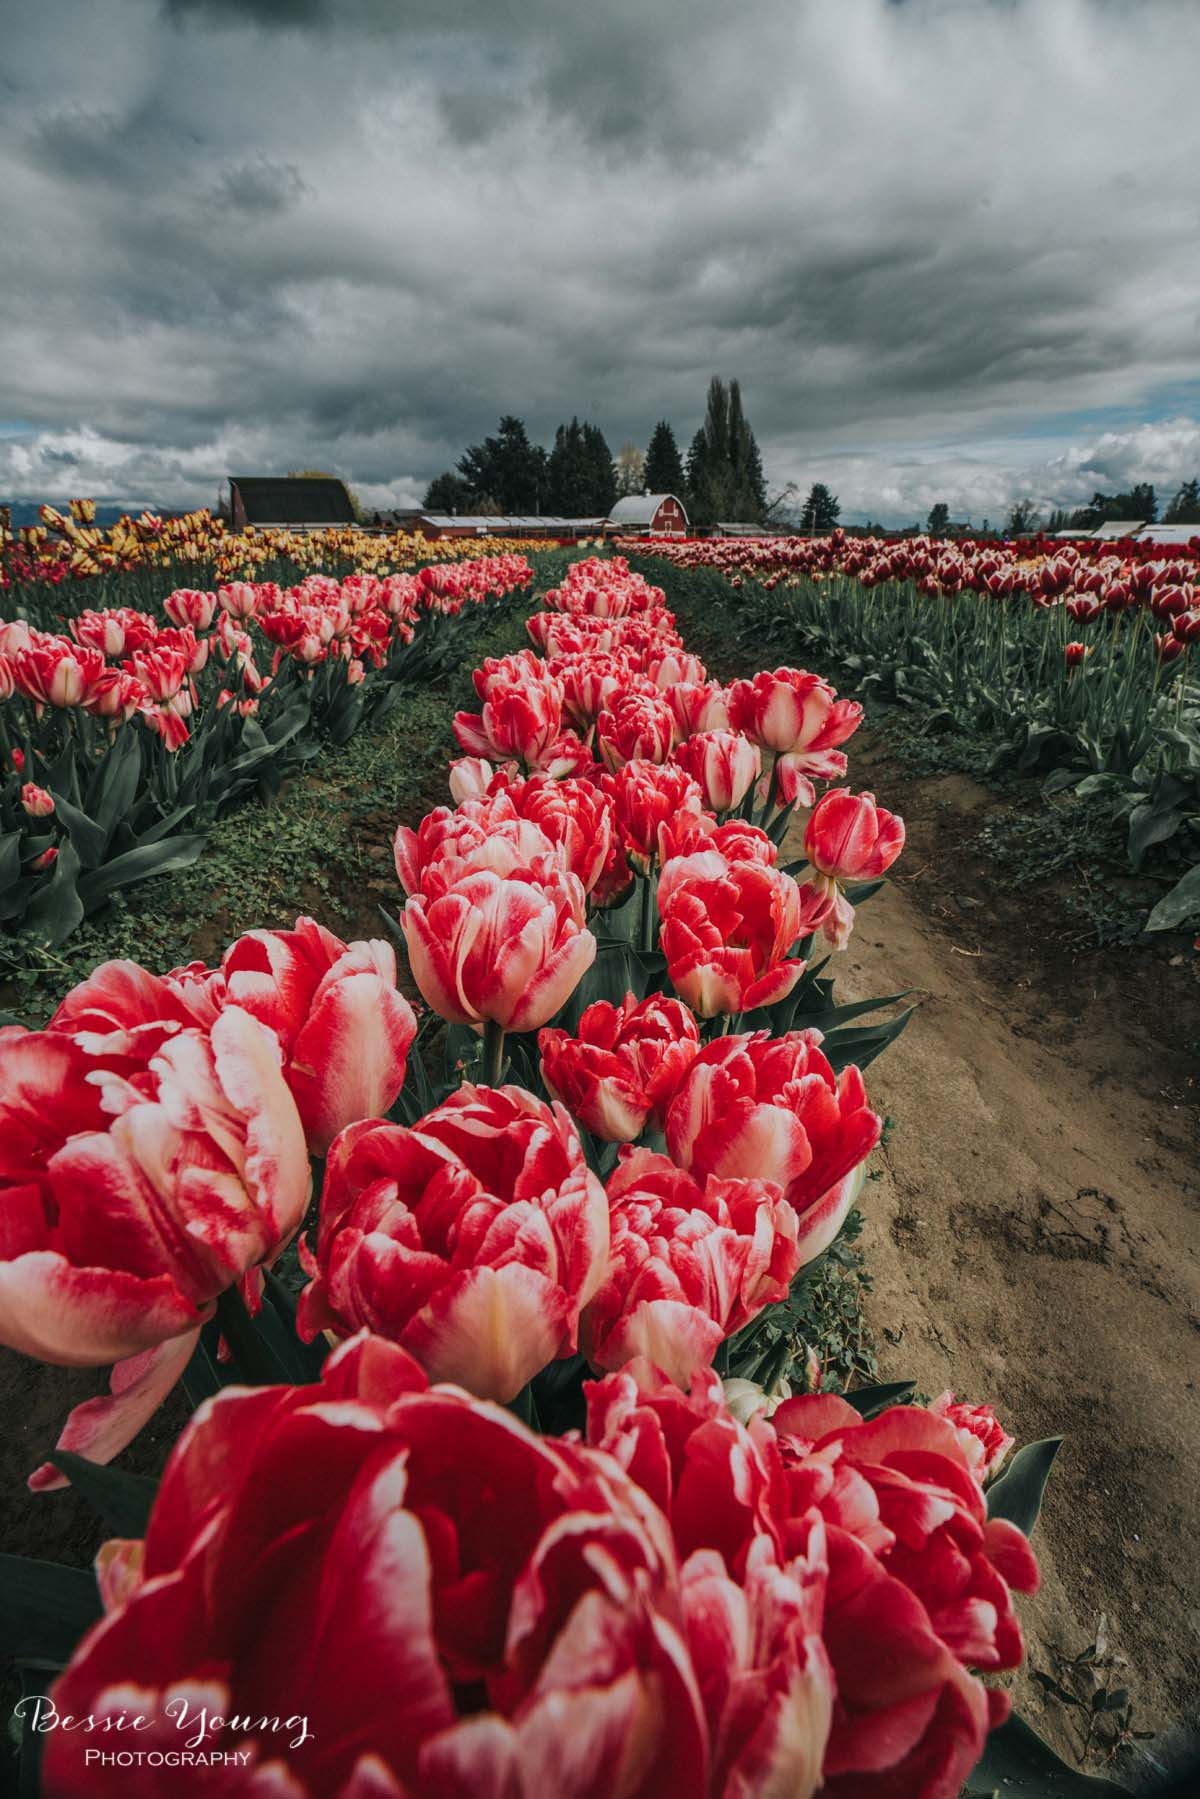
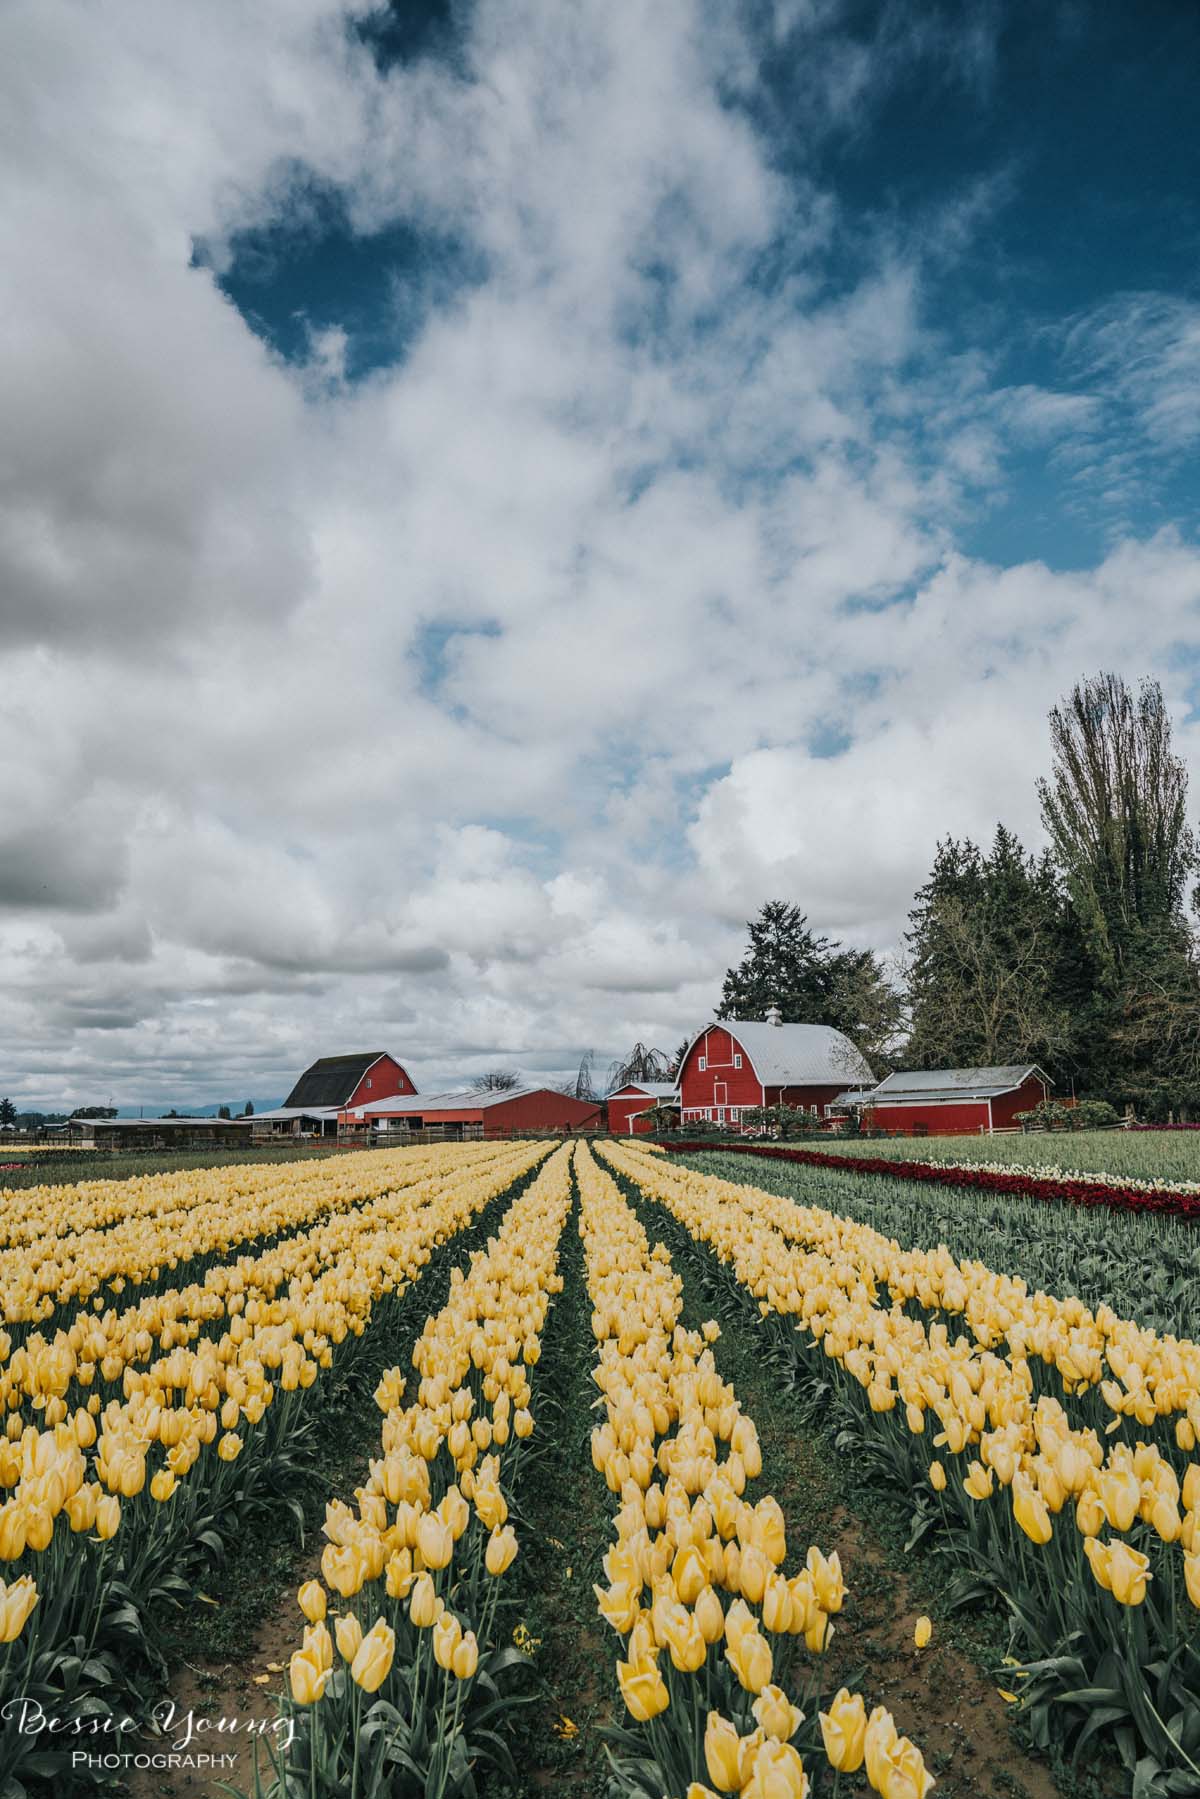
Here are some examples of How to Use Leading Lines for Better Composition:

Really study the image. Pay attention to what the line is doing, where it is going, and how your eye follows the line through the image.

Now go out there and try this rule. Pay attention to the lines that the world creates and think about how to use them to create a jaw dropping image.

Leave a comment below and let me know what your favorite rules of composition are. Don't forget to share this with all your shutter bug friends!

Wishing you nothing but a beautiful day!

Bessie
How To Use Leading Lines - Tips for Better Composition by Bessie Young Photography - Photography Tips and Tricks


P.S. Did you love this post? Want to see more photography tips and tricks? Check this out here:

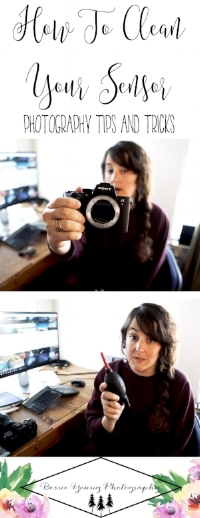
How To Clean Your Camera Sensor

How To Clean Your Sensor by Bessie Young Photography.jpg

How To Clean Your Camera Sensor

The One Tool You Need

So I wanted to let you in on a little secret of mine and that is a tool that I use on a regular basis. When I switched to a mirrorless camera I was coming across the issue of constantly having dust on my sensor. Now, this rarely happened with my Canon DLSR camera so I wasn't sure what to do.

Now, with a mirrorless camera everytime you change out a lens you expose your sensor to the wide open world. This allows all the tiny little dust bunnies to attach to your sensor in a heart beat. No matter what I did to try to protect my sensor from dust, it seemed as though it always collected dust when I changed a lens.

You don't notice the dust while you are out on location. You look at your LCD screen, think the shot is amazing, and move on. Then you get your images in home and notice all the tiny little dust spots scattered throughout your image completely ruining it. Talk about incredibly frustrating!

I was doing quite a bit of research and I found what is known as the Rocket Blower! OMGEEEE you guys this changed

E V E R Y T H I N G!

How To Clean Your Sensor by Bessie Young Photography Photography Tips and Tricks

It actually has enough force to clear the sensor of the majority, if not all, dust and better yet it does it with out having to touch your sensor!

Now, how did I not know about this before, don't ask me. I guess I just never really needed it, but with a mirrorless camera you need this in your life! You seriously need this in your life! Like right now! Plus it is only $12 so it is a no brainer ; )

Alot of you might be like, DUH Bessie, but I figured that if I didn't know about it, some of you didn't know about it as well. If I can help at least one of you to save the frustration and the ruined images then I did my job.

Let me know what you use to clean your sensor in the comments below.

Wishing you a beautiful day and dust free photos!

Bessie


p.s. do you like this post? Check out these similar ones:


Essential Filters for Landscape Photography

Essential Filters for Landscape Photography

What Filters I use

Oh Filters how I love you...

3 Essential Filters for Landscape Photography tips and tricks by Bessie Young Photography tips and tricks - 4 Minute Friday - Learn Photography.jpg

Camera filters are truly an amazing thing. They help you really create a photo in the field rather than create the photo in your post processing. There is something about creating the photo at the moment that you took it. As you know, I am not a huge fan when it comes to post processing. I want to create the image in camera rather than add different effects in post processing. My goal is to reduce my time at the computer and increase my time taking pretty pictures ;)

So, here are a few filters that I have and love:

1. Heliopan Circular Polarizer

This is my go to filter for everything Landscape Photography! I love this filter and a filter I consider a must for any landscape photographer.

2. 10 Stop ND Filter

This filter has truly allowed me to get some amazing shots during the middle of the day. It is like sunglasses for your camera.

3. UV Filter

This filter is a must to protect your gear! That is pretty much all I have to say about this. If you end up dropping your lens, you will crack your UV filter rather than your lens glass. These UV filters are insanely expensive, but worth it in the long run. A lens can be thousands upon thousands of dollars. It is worth the extra $100 for that just in case... it is a security blanket in my opinion.


Leave a comment below and let me know what your essential go to apps are. I am always looking for awesome apps when it comes to photography and adventure.

Wishing you the best,

Bessie


p.s. like this post? Check these out:

2 Essential Apps for Landscape Photography

2 Essential Apps for Landscape Photography


2 Essential Apps for Landscape Photography by Bessie Young Photography - Photography tips and tricks

Let's get real here for a minute. There are so many dang terrible Apps out there to download. The struggle is real! It seems as though there are more bad, not helpful, clunky apps than there are good ones. Now I have downloaded, played with, and unistalled more apps than I can count. I'm talking probably over 100. I have been looking and searching for helpful Apps for Landscape Photography and I have finally found 2 really awesome ones!

2 Essential Apps for Landscape Photography:

1. Photo Pills

This App is awesome! It is everything you need to schedule your landscape photography trips. It will tell you when sunset is, when sunrise is, where the galaxies are in the sky, what the moon is going to do, so on and so forth.

It is a one time payment of $10, but it is totally worth it. This app is what made this image possible:

2. Backcountry Navigator

This app is definitely for navigation and safety. It is always a must to be able to know where you are at any given moment. When you are out in the wilderness you never know what the wild is going to through at you. There is no reception, no internet, no nothing so you need to make sure you have all the right equipment.

Backcountry Navigator is a must! You can download quad maps, topo maps, aerial images, and so much more. This app will show you where you are and help you navigate your way to your destination, or your way to safety. I love this app. It is another app that costs $10 one time, but its necessary.


Leave a comment below and let me know what your essential go to apps are. I am always looking for awesome apps when it comes to photography and adventure.

Wishing you the best,

Bessie

p.s. like this post? Check these out:

Batis 18mm Lens vs Sony 16-35mm Lens

Batis 18mm Lens vs Sony 16-35mm Lens

Photography Gear

I switched lenses! Yep, I sure did! So ultimately why did I choose the Batis?

  1. Weight Savings (saved about a half a pound)

  2. Wider Aperture (f2.8)

  3. Cheaper (saved about $1100)

Weight Savings:

As you all know I do a bit of adventuring where I have alot of weight on my back. During the summer days you can find me on road trips, hiking long trails, or backpacking. I love being outside and being out in the high country is where I get some of my best landscape images.

Wider Aperture:

Ever since I started getting into astro photography, I wanted to get a wide angle lens with a wider aperture than what the Sony 16-35 mm has. The Sony is an F4 and I wanted to get an F2.8. So the research began.

Price:

The Sony 16-35mm F2.8 came out and man it is drool worthy; however, it is expensive  coming in at $2100+ and a heavy pig. Then there is the Batis 18mm F2.8. This one comes in at about $1400 plus it is significantly lighter than both Sony lenses. See specs below.

One day I was in my local camera shop and there just so happened to be a Batis in the used gear section. Hmm.... do I buy a used lens? So I asked about the history of the lens and it just so happened that this lens was like brand new. The guy started out with... "well, funny story". You always know you are in for a treat when that is the very first comment. This lens was bought and returned within a few months due to its size hahaha! So, I was basically going to get a new lens for a used price..... SOLD!

Just for kicks... here are a few specs of each lens:

Filter ThreadFront: 77 mm

Dimensions (DxL)Approx: 3.94 x 3.15"

Weight: 11.64 oz

Price: $1400


Sony 16-35mm G Master F2.8

Filter ThreadFront: 82 mm

Dimensions (DxL)Approx.: 3.48 x 4.79"

Weight: 1 lb 8 oz

Price: $2200


Sony 16-35mm F4

Filter ThreadFront: 72 mm

Dimensions (DxL)Approx. 3.07 x 3.88"

Weight: 1lb 2oz

Price: $1250

So that is it! I am excited to begin sharing images that come from this lens, and am equally excited for how light my entire set up is! Yay!

What lens is your favorite? Leave a comment below. I would love to chat!

Wishing you a beautiful day!

Bessie

P.S. Did you love this post? Want to see more photography tips and tricks? Check this out here:

4 Things All Great Photos Have in Common - Photography Tips and Tricks

4 Things All Great Photos Have in Common

Photography Tips and Tricks


Have you ever wondered why your photos aren't as good as the 'Pro's'? Have you ever just felt a little down about your images knowing that you can do better, you just don't understand why the image didn't turn out the way you wanted? Well, then this blog is for you!

Here are 4 things all great photos have in common:

1. Interesting Subject

You have to love your subject. If you don't like your subject then that is going to reflect in your image.

2. Good Composition

You need to show off your subject using good composition . Stop, take a look around, and figure out what you think is neat in the scene and then compose your image to show that off. There are many different tips on composition such as leading lines, the rule of thirds, and so forth.

3. Good Technique

Figure out what the most important part of your scene is. Then use good technique to emphasize that. You will need to learn manual mode and be able to tweak your shutter speed, aperature, and ISO to be able to accentuate what you like in the scene.

4. Good Light

Basically I love shooting during golden hour. This creates some beautiful soft light, no harsh shadows, and the images are just dreamy.

If you are stuggling with figuring out what is good light, I would suggest looking at other photographers images. Really study the image and the light. Where is the light coming from, what time of day was it taken, how did they use light to get the final result?

I hope you all enjoyed this one. Make sure to share it with all your buddies :)

Wishing you a beautiful day!

Bessie

4 Things All Great Photos Phave In Common By Bessie Young Photography - Photography Tips and Tricks - 4 Minute Fridays


P.S. Did you love this post? Want to see more photography tips and tricks? Check this out here:

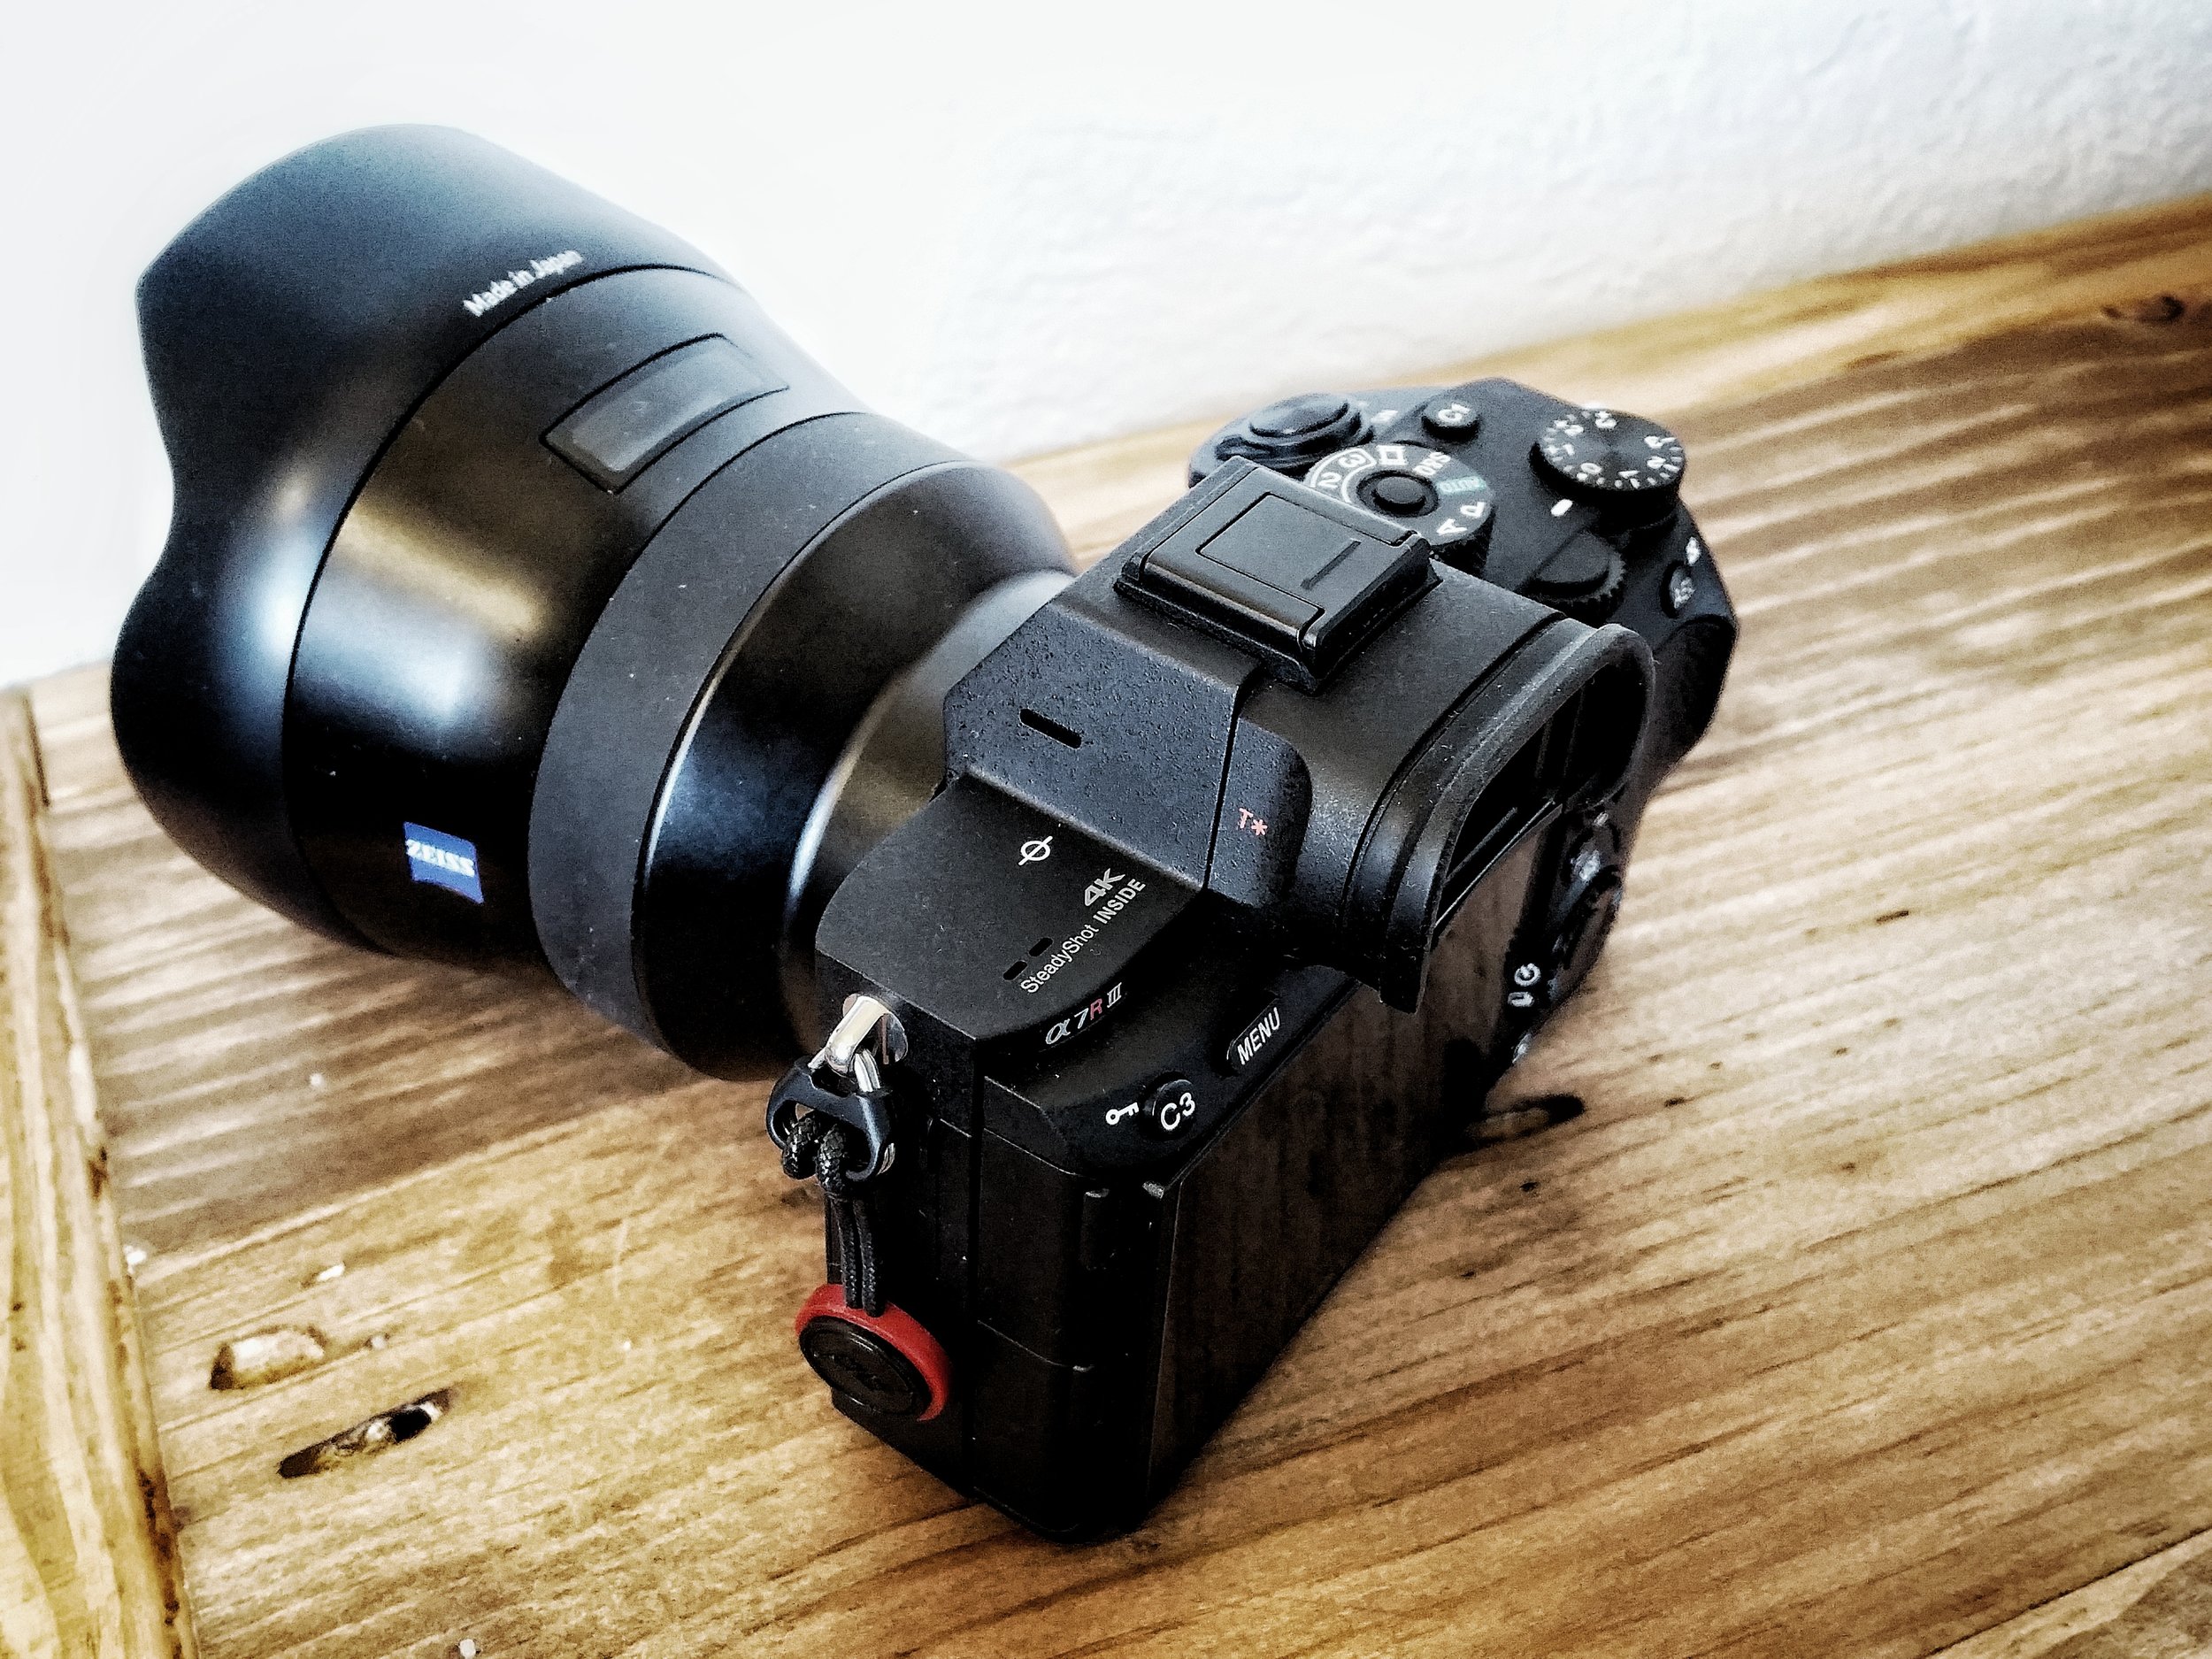
Sony A7riii Review - 2 Things No One Tells You

Sony A7riii Review

2 Things No One Tells You

Sony A7riii Review - 2 Things No One Tells You by Bessie Young Photography

So as you all know I got the Sony A7riii. I take forever to decide on actually purchase new gear. I research it, ask around, and then research it some more. Let me tell you, I looked everywhere (or so I thought) on the internet to see if the Sony A7riii was something that was going to be a good purchase for my photography and my business.

Every site that I found had raving reviews. It has faster burst mode, longer battery life, better LCD screen, recognizes skin tone better, better continuous focus mode, so on and so forth. Everything sounded beyond amazing.

I thought I knew exactly what I was getting; however, there were 2 things that no one ever talked about. These two things were a pretty big deal in my opinion.

1. No More PlayMemories!

This is no joke. All the apps you purchased for your previous cameras, you cannot use any more.

I opened up my camera, inserted the battery, and began looking through the menu. It looked different, but that is expected since it is a new camera. As I started to change my settings and preferences the thought popped in my head 'oh I need to download my apps! How do I do that? Where is the symbol?"

The symbol was no where to be found. No Where! I thought that it must be in a different part of the menu, so I headed to trusty ole Google to see how to get my apps on my camera. Low and behold.... there is no PlayMemories App. Let me tell you, I was in disbelief. Seriously. Why would Sony decide to remove the PlayMemories? What is the purpose?

So, what I gathered is that Sony asked it's Professional Photographer users and the result was that the professionals do not use the Apps as a whole so Sony decided to remove the feature. To me this is just silly. I would think that the majority of Sony users are Amateur photographers. Wouldn't they want to cater to the majority of their customers?

For me, the two Apps that I used the most were the smart phone remote and the time laps app. Sony did create a smart phone remote feature in the menu so we are good to go there. There is also a work around for the time laps as well, so even though you don't get the goodness of the app you can at least still get a little bit of a time laps.

Now you are warned. All the apps that you purchased previously you cannot use on your new A7riii.

2. Your Desktop Lightroom Does Not Work!

This is such a big deal! Ok, so what am I talking about....

Adobe has indicated there will be no more updates for Lightroom 6. This means that Adobe will not be adding any additional camera's to the list of recognizable camera files. It just so happens that the Sony A7riii is not on the list. You read that right. So now what?

You will have to upgrade to Lightroom 7. The only way that you can upgrade to Lightroom 7 is by purchasing the Creative Cloud subscription. So now you will be renting Lightroom by the month.


Even though these two things are pretty big things, I still would have eventually purchased the Sony A7riii, but I might have had to think about it for quite a bit longer than I did.

Hopefully this article helps you with you decisions.

Wishing you nothing but the best,

Bessie


Like this post? Check out Similar ones like it:

Four Minute Fridays are Here!! Photography Tips and Tricks

Four Minute Fridays are Here!!

Photography Tips and Tricks

Four Minute Fridays are here! Wait what is that even a thing?
Heck yes it is, I just made it up 😂.

Ok on a serious note... I made a YouTube video all about it to kick off 4 Minute Fridays! Go check it out.


This year I decided I wanted to add more how to tips and tricks videos for this YouTube channel. I put out a poll on my social media both Instagram and Facebook. That pole was asking if people would be interested in 4 minute Fridays and every single person voted yes.

Ok so what the heck am I talking about? Four minute Fridays are going to be a series of how-to videos. Each video is going to be under four minutes long and get straight to the point. I will be posting these videos every other Friday throughout this year and if I get crazy I will post them every Friday.

Now don't worry I'm still going to be sharing my behind the scenes and how I got the shot videos along with my Adventures. The Four Minute Friday series is only going to be an addition to my landscape photography. I hope you guys are as excited as I am for this series of videos. I can't wait to begin sharing all the things that I have for you in this upcoming year.

So until next Friday I hope you guys have an amazing day.

Bessie


Hey Photogs! Wanna know what gear I use? Check these out:

Camera Gear

Electronic Gear


To see photography tips and tricks:

Top 3 Questions Photographer’s Are Asking

There are so many questions that I get asked from photographers or aspiring photographers. Many of them are the same, and I always have the same answer. This post is to answer the top 3 questions photographers are asking:


I’m brand new, where do I start?

Q: "I'm new, like I just bought my camera kind of new. I don't really know how to use it, I don't have any clients or a portfolio. What should my first step be? Where do I start?

A: Let me tell you Friend, I have been there. When I first started I had an old Canon T2i and a kit lens. I only had pictures of my family as my portfolio. I typically shot in auto while dabbling in manual mode.  I focused on the business side of things and worked hard on setting up systems that would be not only sustainable but profitable.

Starting a photography business isn't all about photography or how good you really are. WHAAATTTTTT? Yes, I said it, a photography business isn't all about the pictures. Weird right? The truth is, you have to know how to run a business or you will most likely not be able to make a living being a photographer. So, honestly, and I know it isn't what you want to hear, but you are going to have to learn the business side of things. Invest in this.

As a photographer the art is our passion. We want to be better, we challenge ourselves as artists, and we are always motivated to improve because it is what we love. Learning the strategies that keep your business afloat is the difficult part and a place that you need to focus your energy on.

Now with all that being said, have you gotten your FREE photography basics cheat sheet? Make sure to head on over to my Freebie section and download yours for free today.

How can I build my confidence up?

Q: "How do I build my skills and my portfolio so I can feel confident in charging money, running my business, and pursuing my dream? Do I really have what it takes?”

A: Fear is taking over your thoughts. You need to allow your self to pursue your passion. Listen to that little voice inside your head, your intuition. The voice is telling you a photography business IS possible; therefore, it is! Make it happen!

When I first started my business I only a handful of family portraits. Yes, these family portraits were of my sisters and their families. That is it. Now, with that being said, the experience you create is just as important. You want to make the people you are serving feel important and valued. I know that I am not the best photographer out there, but I treat my customers like they are the absolute top priority for me (because they are and always should be!).

Don't let your fear and what you think is 'rational reasoning' to stop you from starting your dream. Just start it. You have to start somewhere right? A few things I did when first starting out is I reached out to a few friends and family, set up a few styled shoots, and began building my portfolio. I even did a few shoots for free in order to build up my portfolio. Create work you are proud of and that will build your confidence. Also, let go of all your worries and stop stopping yourself.

I’m afraid to put myself out there…

Q: I am afraid to put myself out there. I don't want to be rejected and I don't want people to judge me. I want to reach my ideal customer, but when I put up my images I feel like a fraud, like I'm not a 'real photographer'. I feel stuck...

A: This is where the pep talk comes in! In order for people to love your work, they have to love you. Your work is your art, and there are so many photographers out there it is unbelievable, but there is only one you in this world and that is your power. Don't believe the lie that you are "just another photographer, and oh all those photographers are just the same, just pick the cheapest one." NO! Let me say it again, there is only one you in this world and that is your POWER. You need to share a bit about yourself before people can trust you. You need to be present in your business, and not just show your portfolio. People need to learn more about you, and get to know you before they can trust you.

So my question to you, is are you showing up on your feed? Can I find a picture of you? The more people can connect with you, the more they will know, like and trust you. Once you get this, then you can focus on serving and then providing content.

Before you post something anywhere (blog, social media, email, etc ) make sure to ask these questions...

1. Who is this serving? Is it my client?

2. How are you telling the story with the image? You want to be personable.

3. Does this sound like me, or am I hiding behind the image. Would people know that this is me talking, or just a robot? Does it others connect with me?

Hopefully this helps a little bit with addressing your fears.

Now Go Get Em!

Bessie
What do you need? How can I help you?

Please take just one minute for me, because this is for you....

I am working on creating a few Freebies for my website! One of my main goals in my Landscape photography is to help you! I want to serve you, but first I need to know exactly what you need.

What are you wanting? What are you needing? Where are you stalling on? What questions do you have? How can I help?
So, I have a few ideas on Freebies to offer, but first I wanted to see what all your thoughts were. Please vote!


Survey: What do you need? How can I help with a free gift?

These are just some of my ideas that I think would help you. Please make sure to leave a comment to let me know what exactly you need :) Thank you so so much for participating!


Thank you so so very much for taking the time to participate in this quick survey. I truly appreciate it!

Also, don't forget to sign up for my newsletter to be the first to know about new freebies when they come out!

Wishing you nothing but beautiful days and fun adventures!

Bessie


How Can I Help You in Learning Photography by Bessie Young.jpg