Ansel Adams Wilderness Day 1 Backpacking
Mammoth Lakes, CA
by Bessie Young
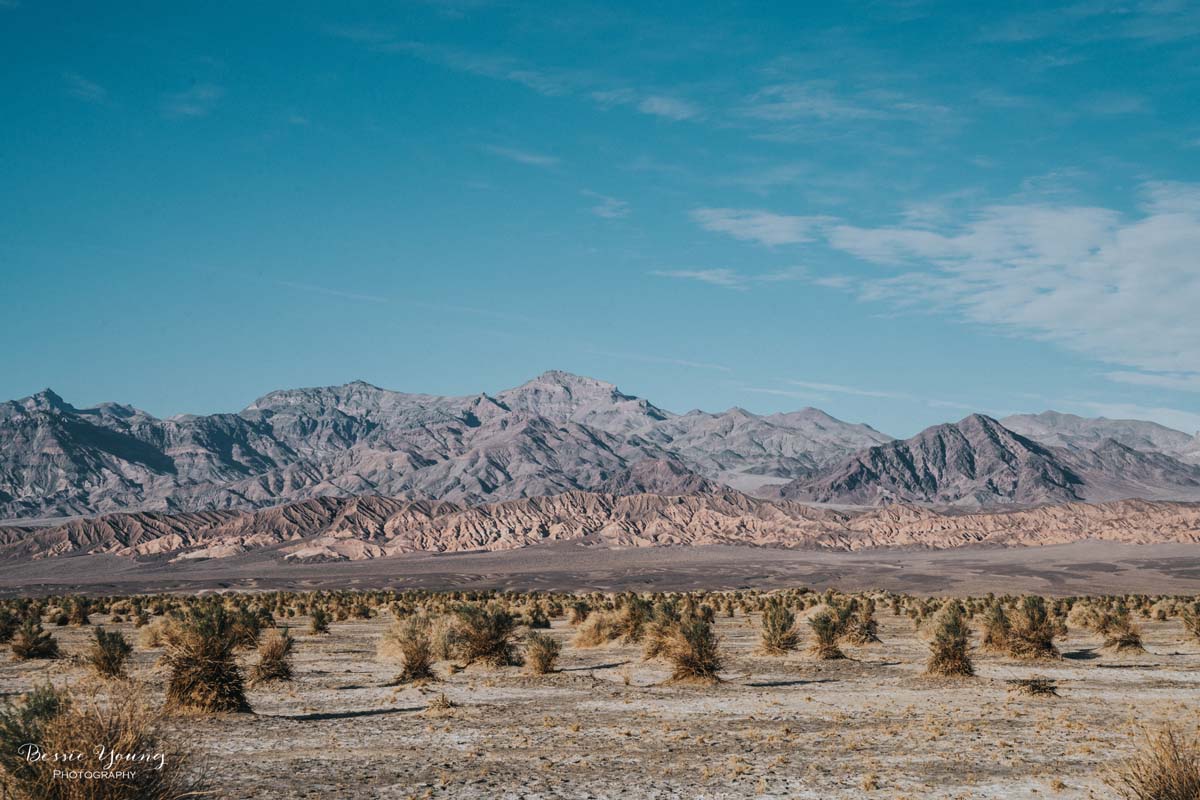
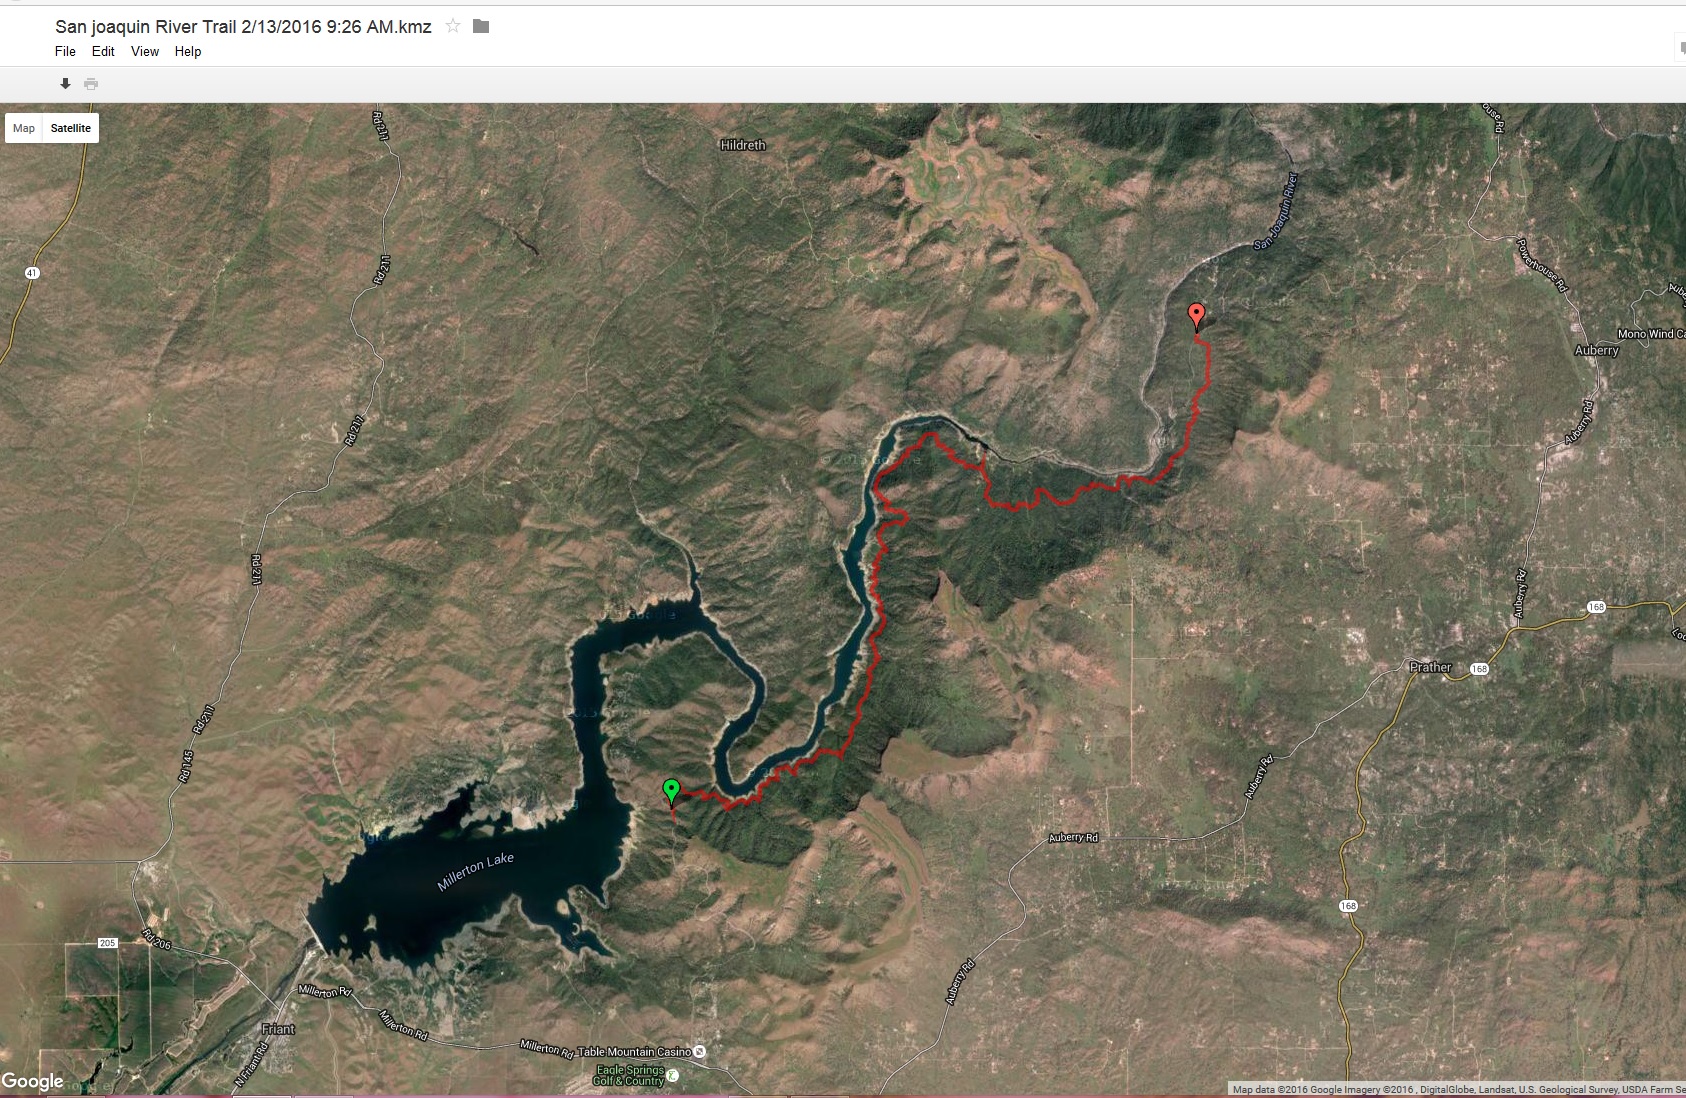
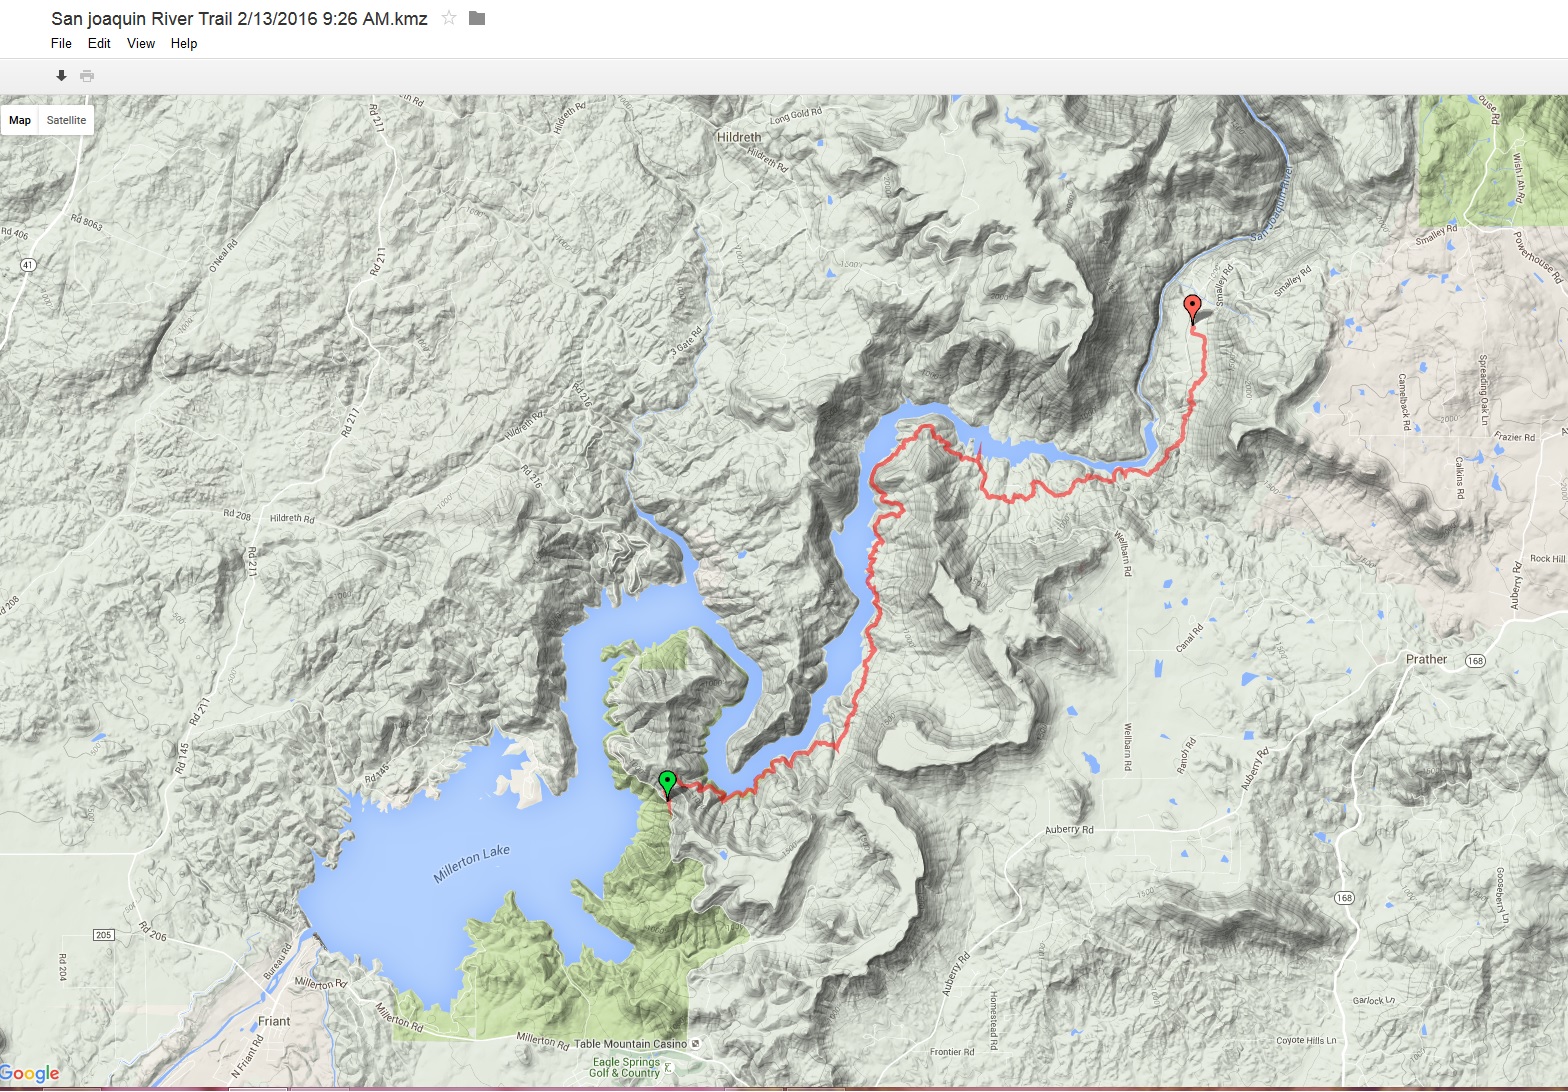
This year’s backpacking trip took me onto portions of the Pacific Crest and the John Muir Trails within the Ansel Adams Wilderness. It was such an awesome adventure and I am so excited to share the images with you all.
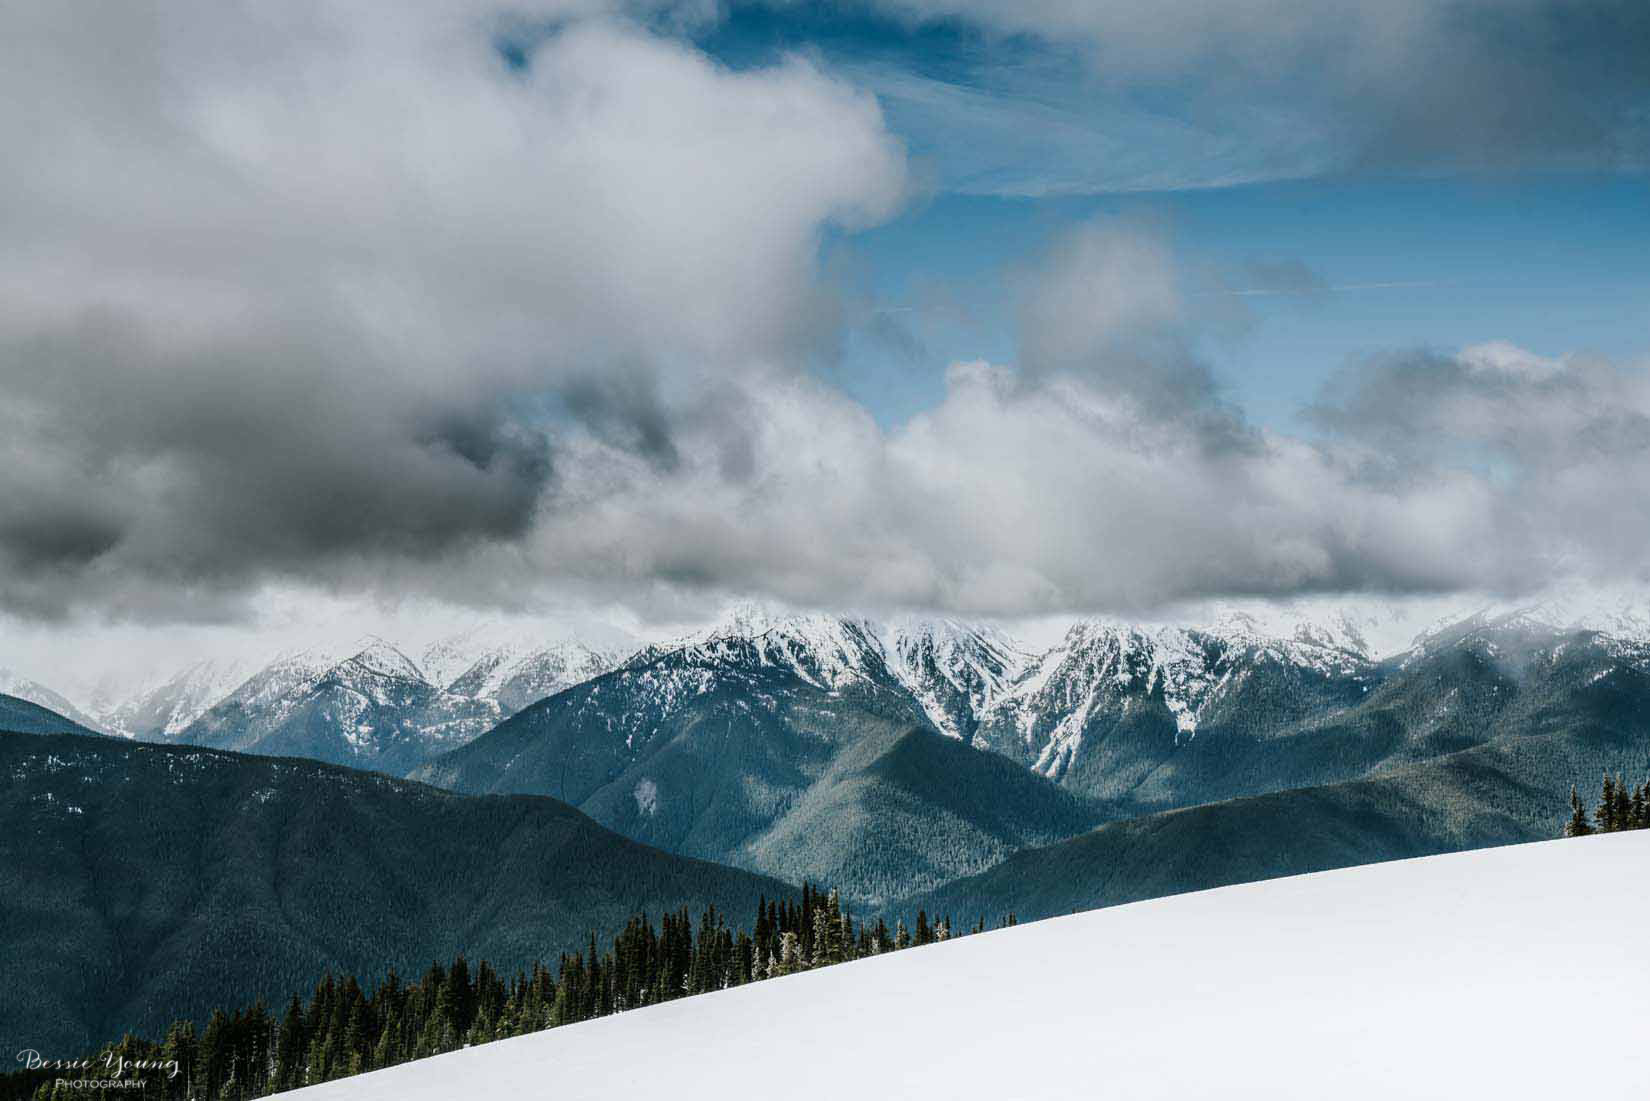
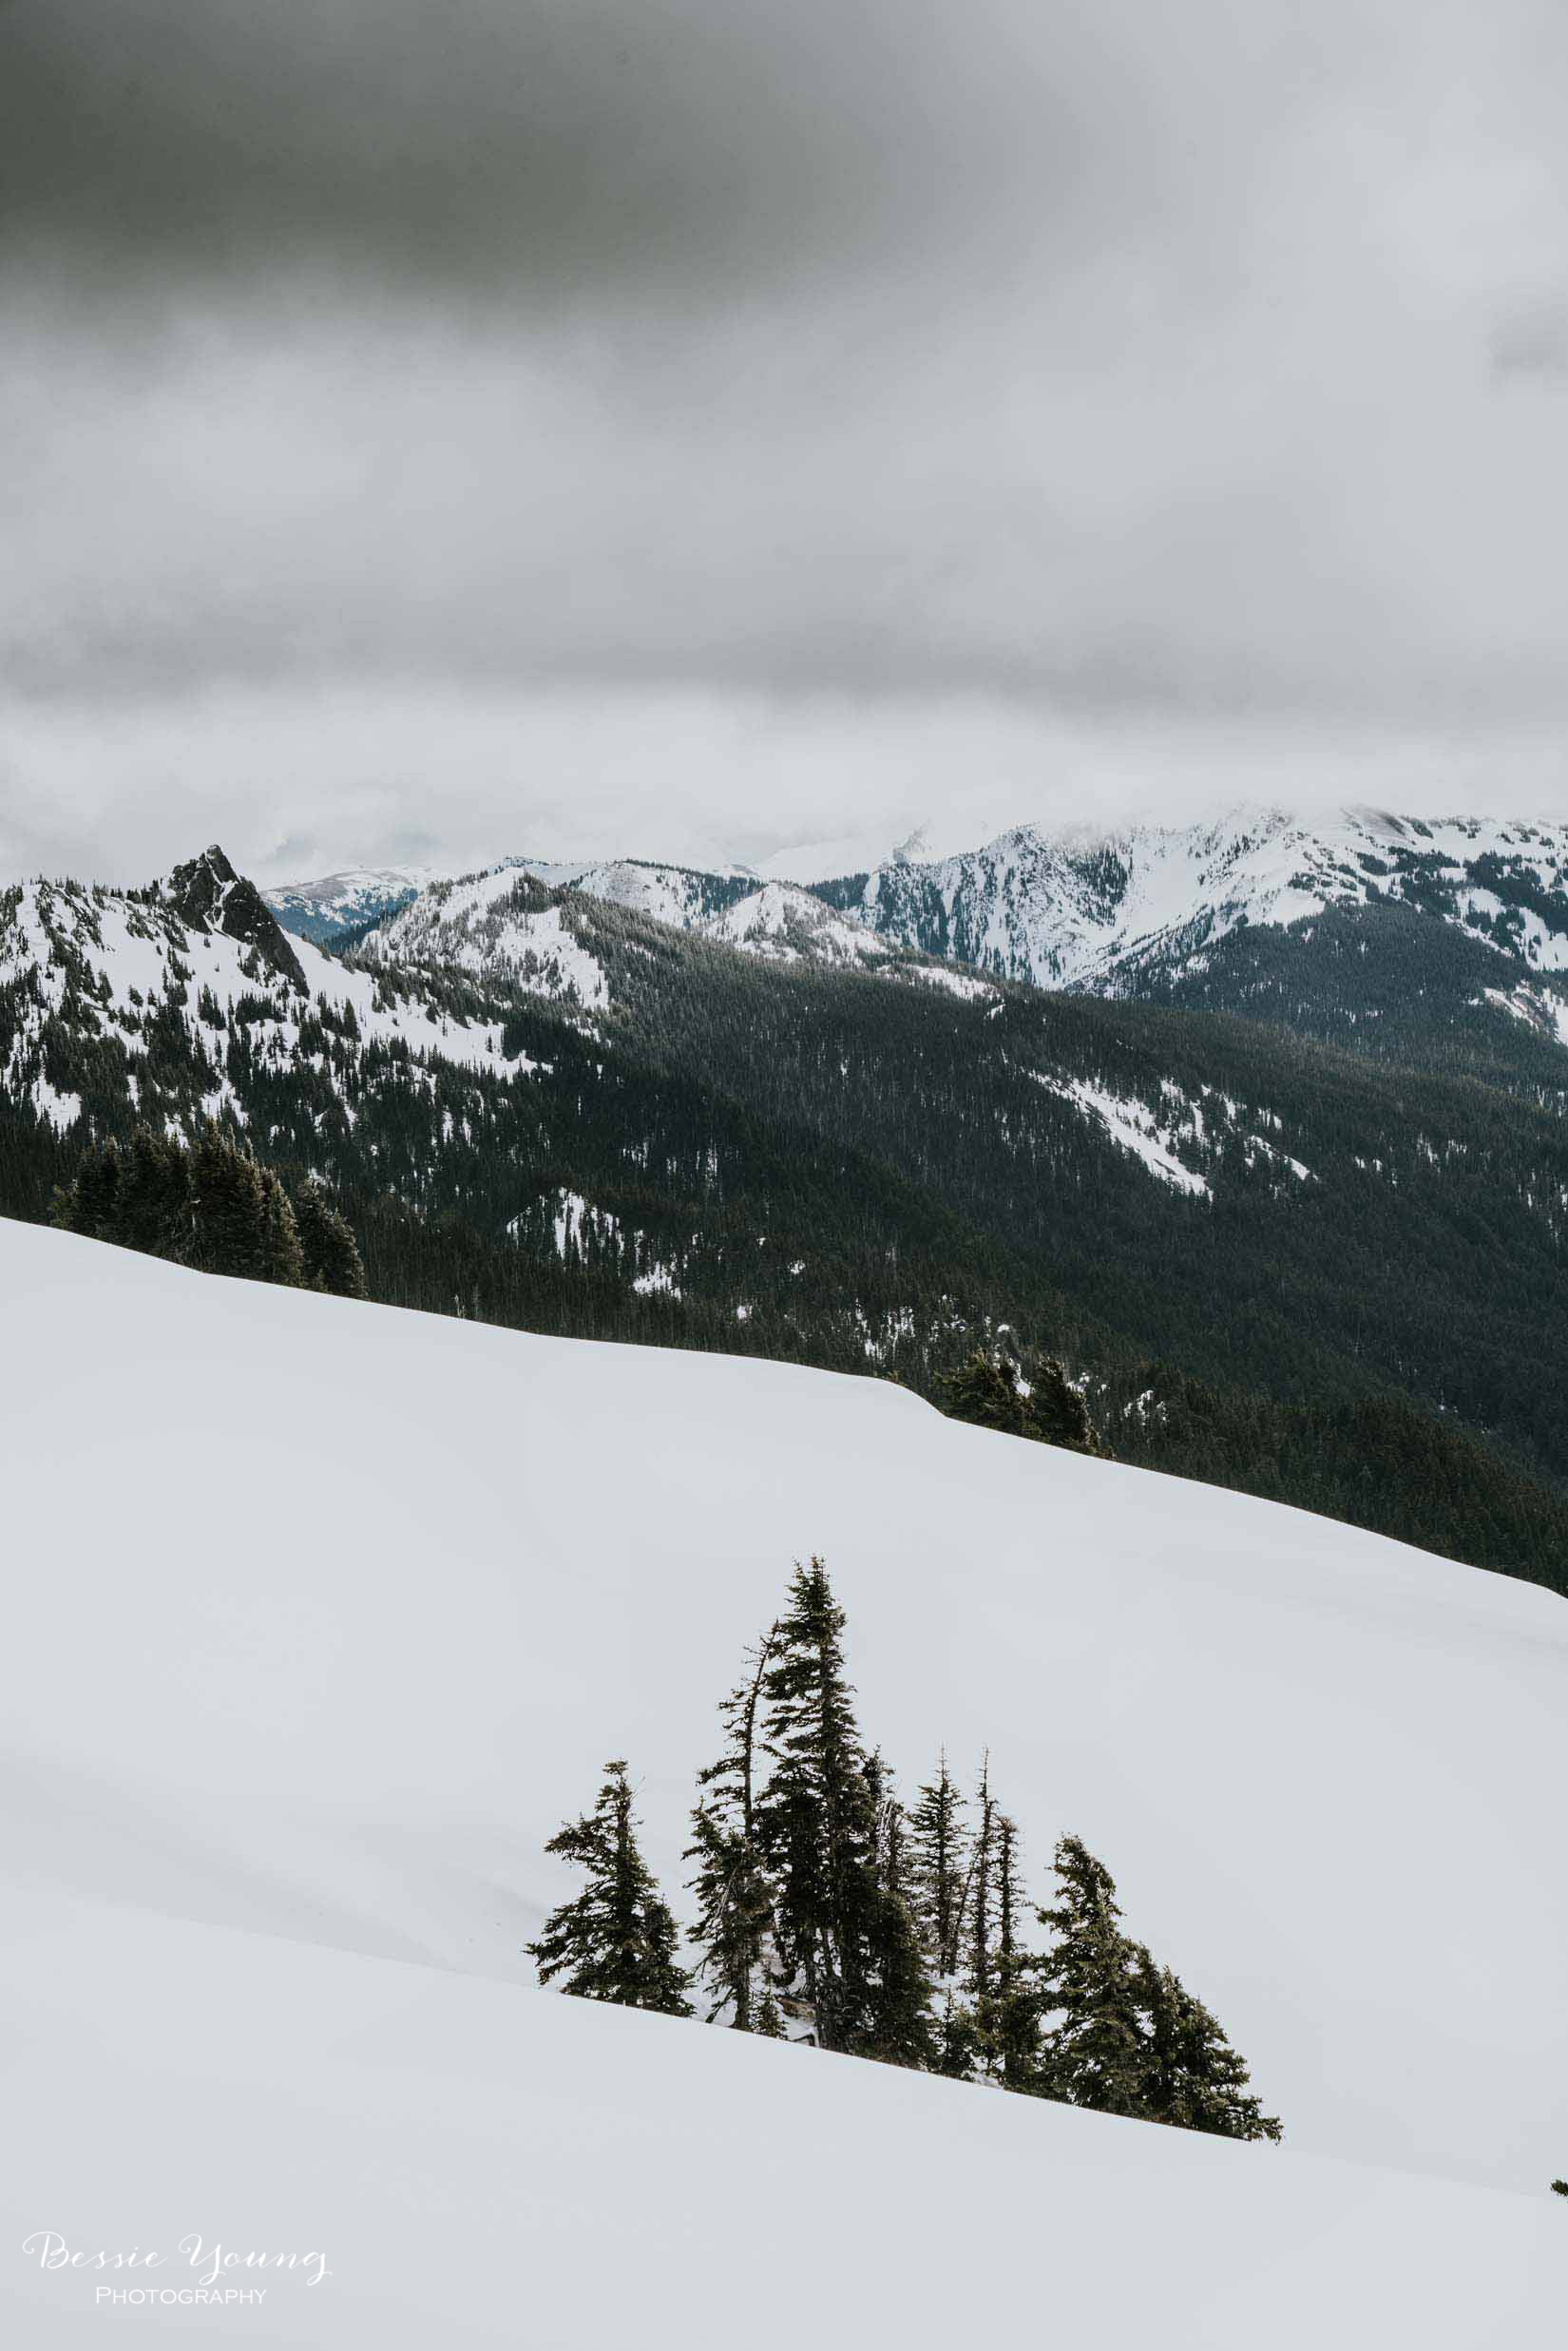
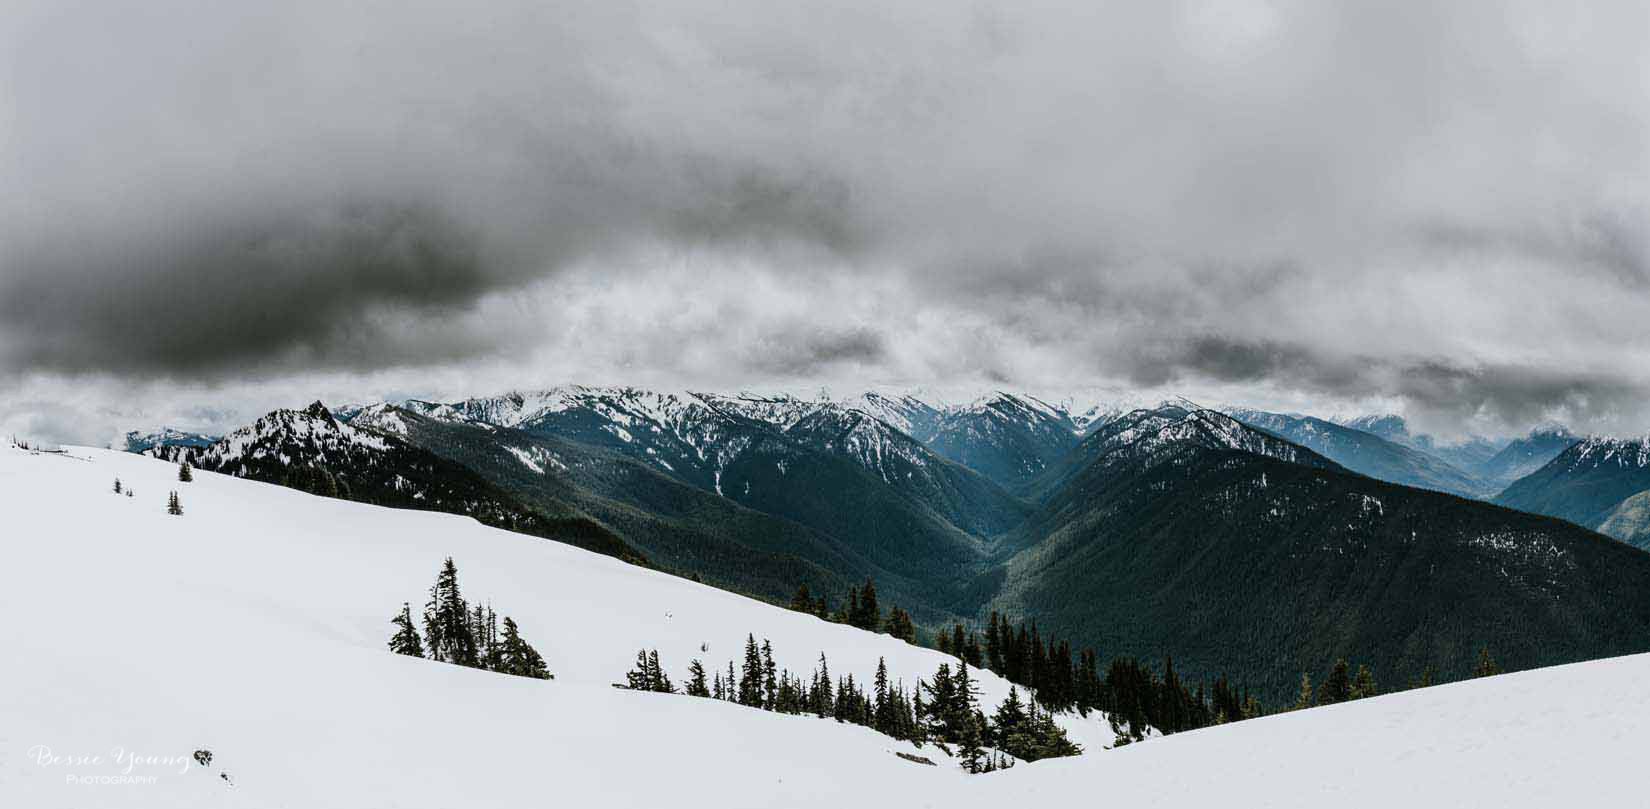
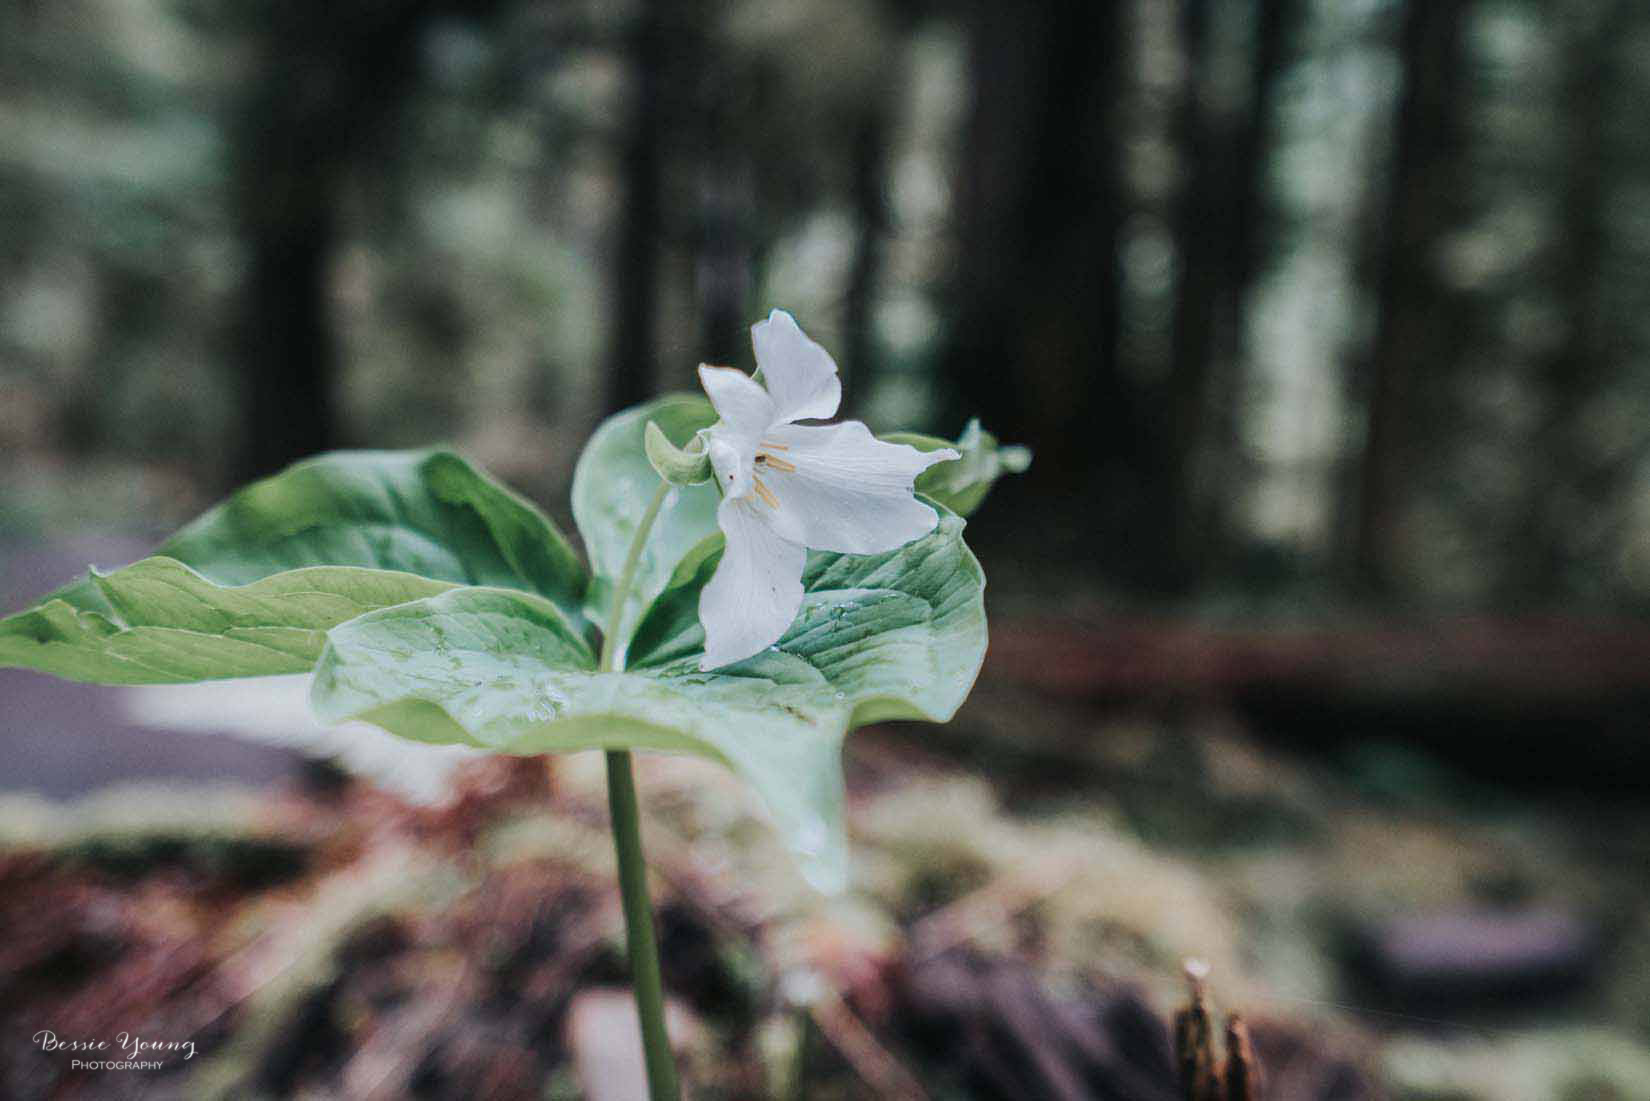
The planning of the trip was a bit difficult as California received quite a winter with over 200% of normal snowfall and I wanted to be there when the flowers were in bloom. As a result of all the snow this caused me to postpone the trip until late July. It also made for some last minute travel changes as certain areas of the trail still had quite a bit of snow. Luckily the permit gods smiled upon me and everything worked out perfectly.


Starting the Day
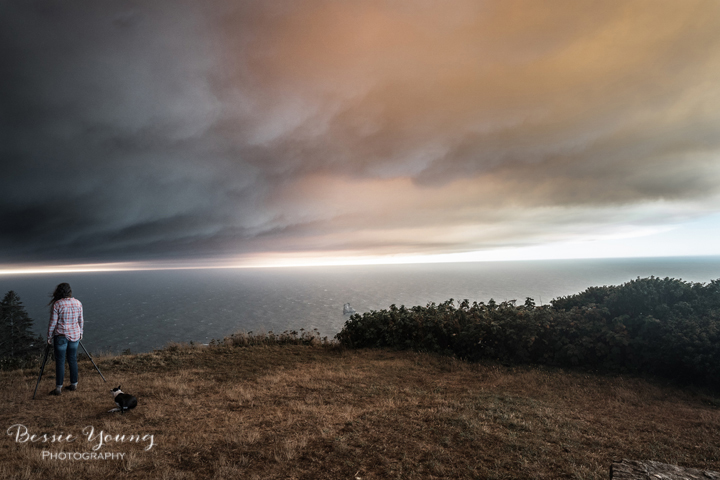
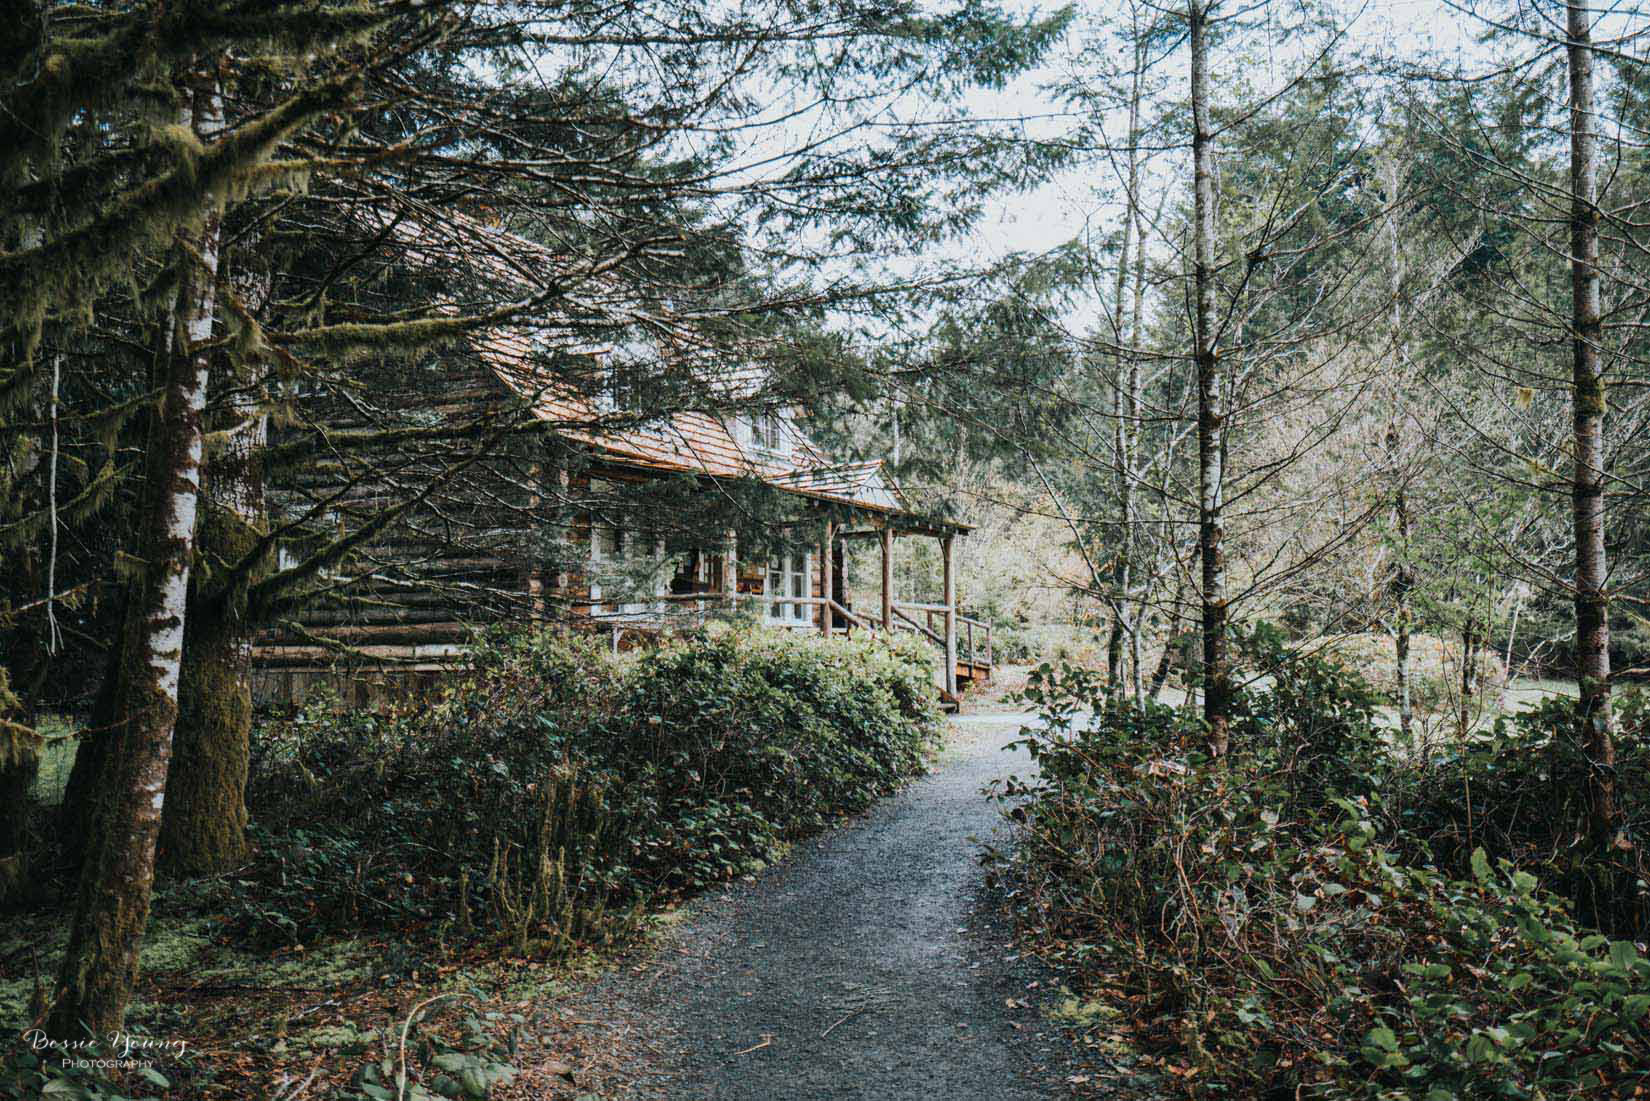
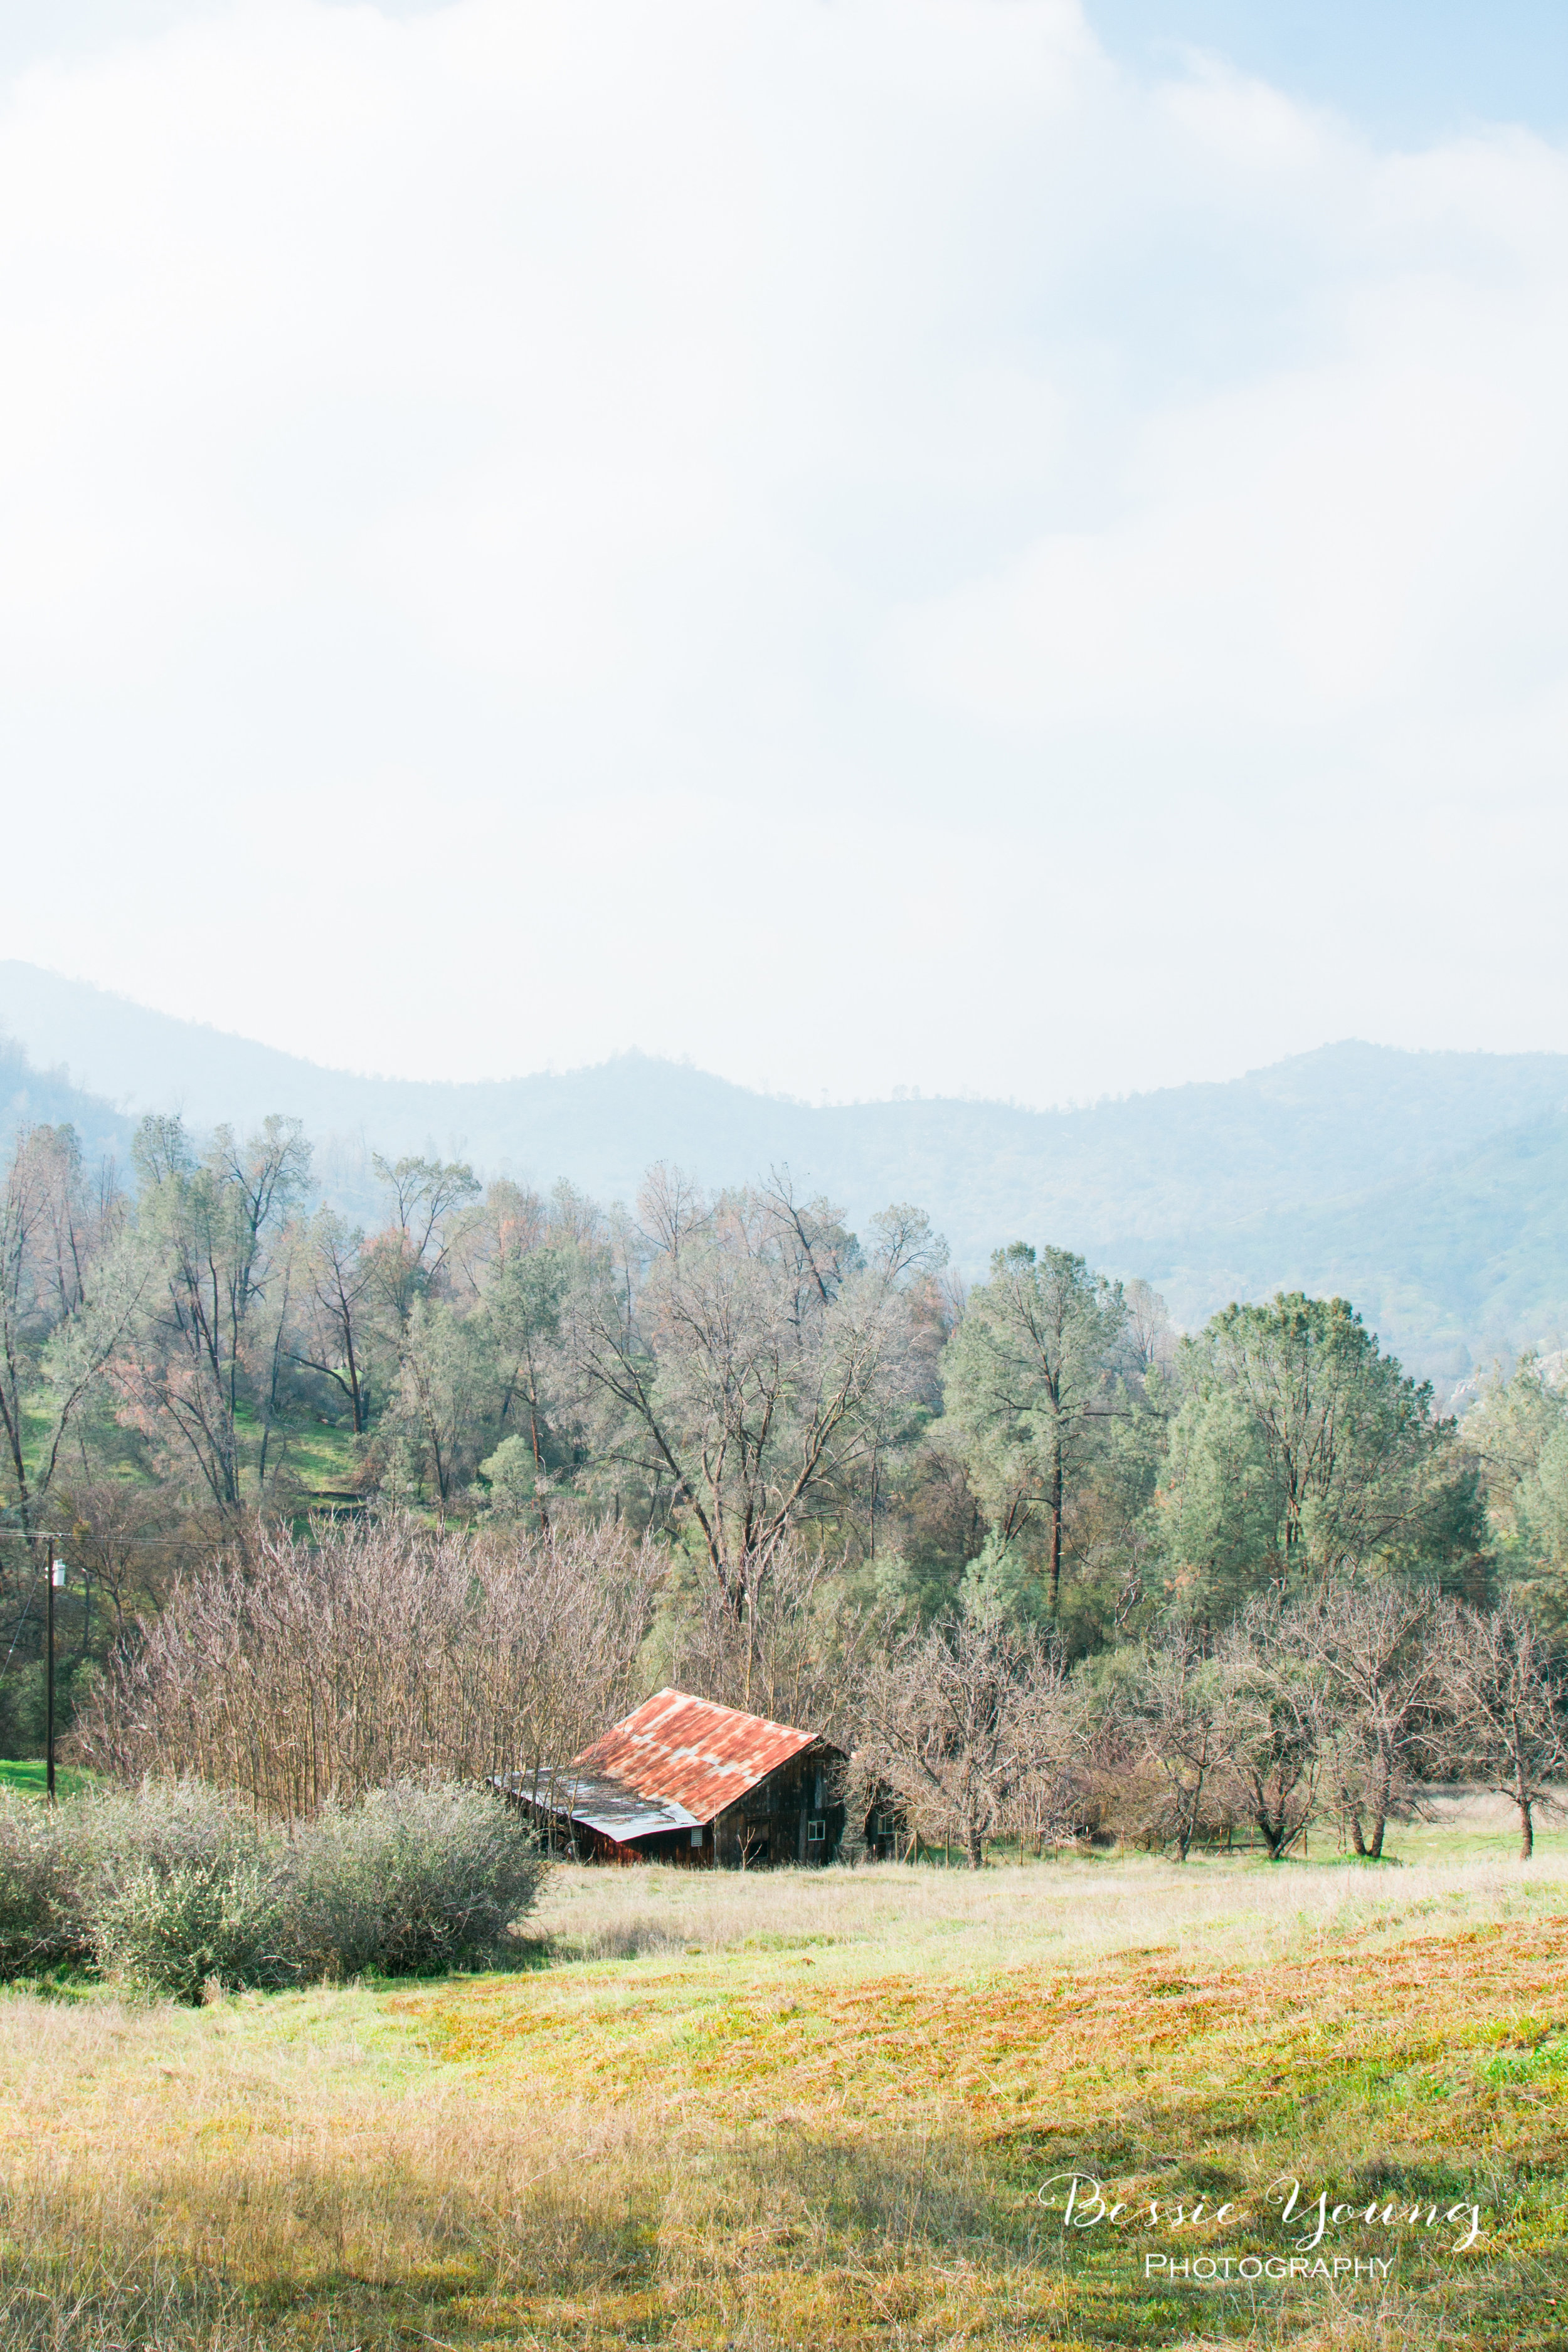
The day started off in the early morning with packing things up into the truck and heading off into the unknown. I traveled through Yosemite, over Hwy 120 to the Visitor Center in Lee Vining. This is where I picked up my wilderness permit. As I talked to the rangers they requested my planned camp locations for each night. I was so excited to tell them Ediza Lake for the first night as I had really been looking forward to taking photos of the sun setting over the Minarets. The ranger looked at me with a bit of confusion and said “Ediza lake is frozen over". Honestly, I had no idea how to respond so I just said ”Oh”. As I left the ranger station I figured I could just wing it if Ediza Lake was actually frozen over.
After picking up the permit I headed down into Mammoth Lakes, CA for lunch before hitting the trail. My permit was for the Shadow Lake Trail out of Agnew Meadows Trail head. In order to get there you have to take a shuttle bus from the ski resort which costs 7 dollars.
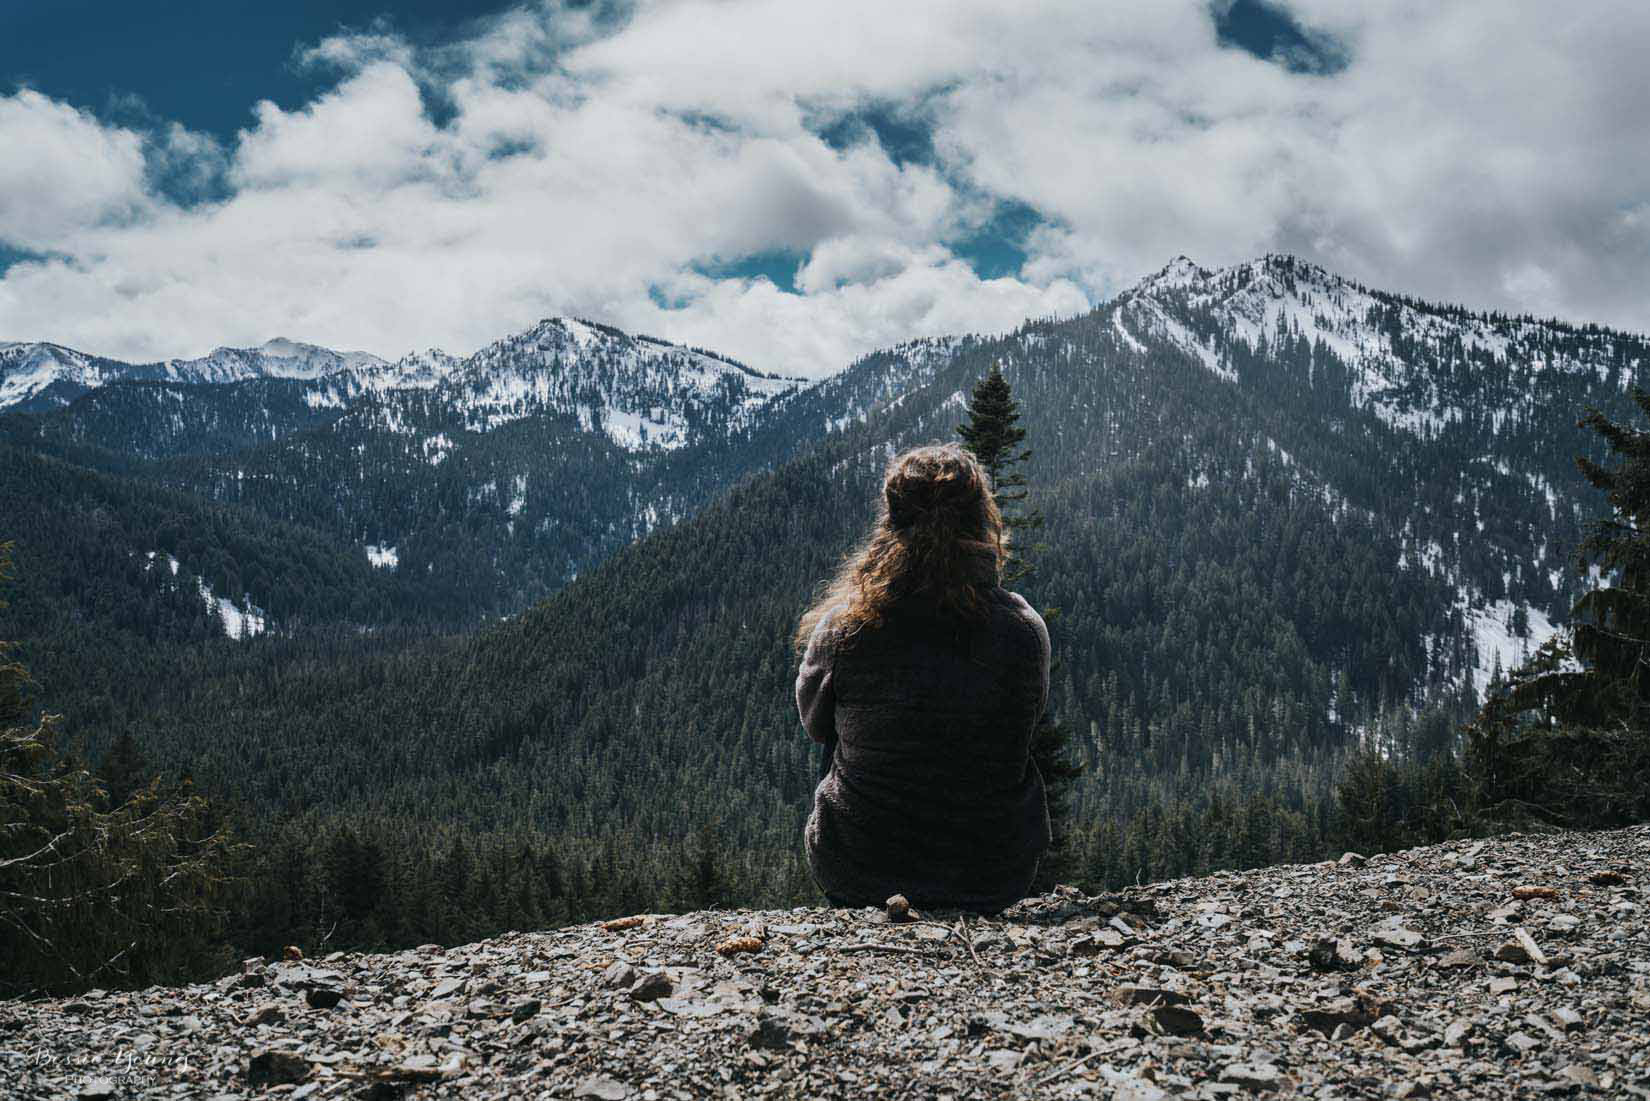
Getting on the Trail
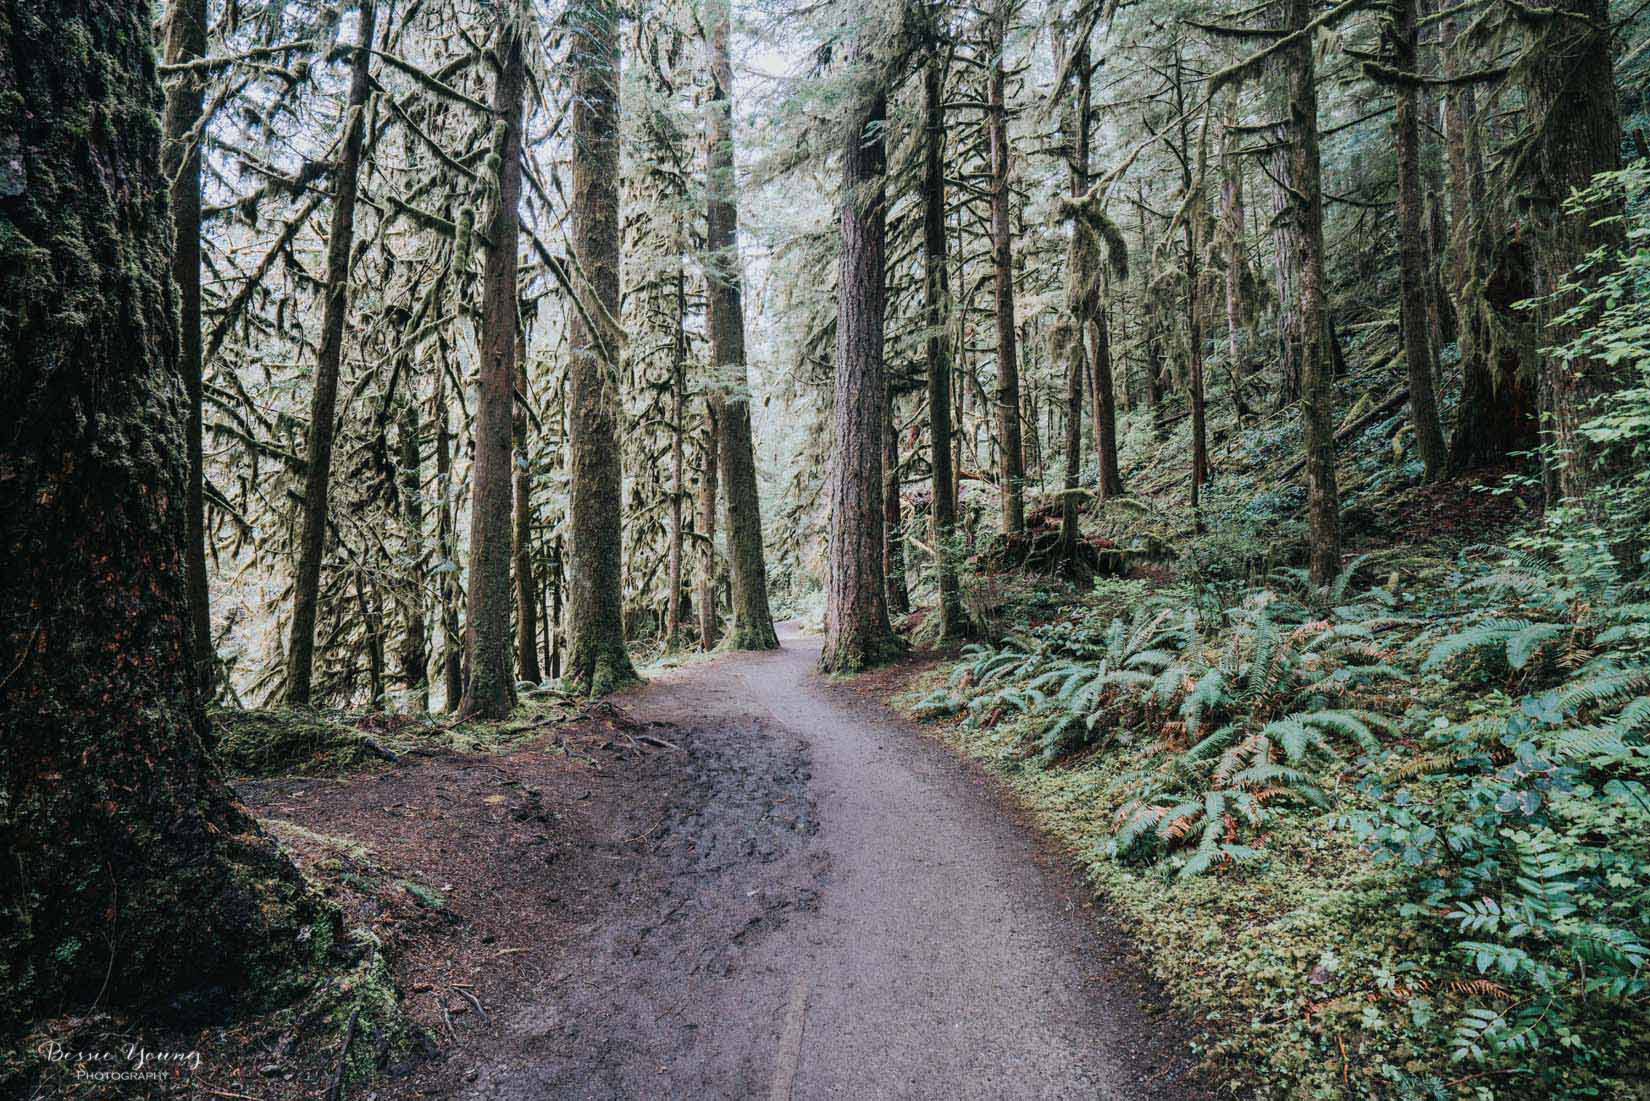
Once I got on the trail all my packing worries from the day before went away. Do I have all my stuff? Did I get the water filter? Did I grab all my camera gear? It’s quite funny how when you are preparing for backpacking you think you need everything and the kitchen sink; however, once you get out there all the worry, questioning and anxiety goes away. Once you set your feet on the ground and start walking, you begin looking around, enjoying the scenery and just living thin the moment.
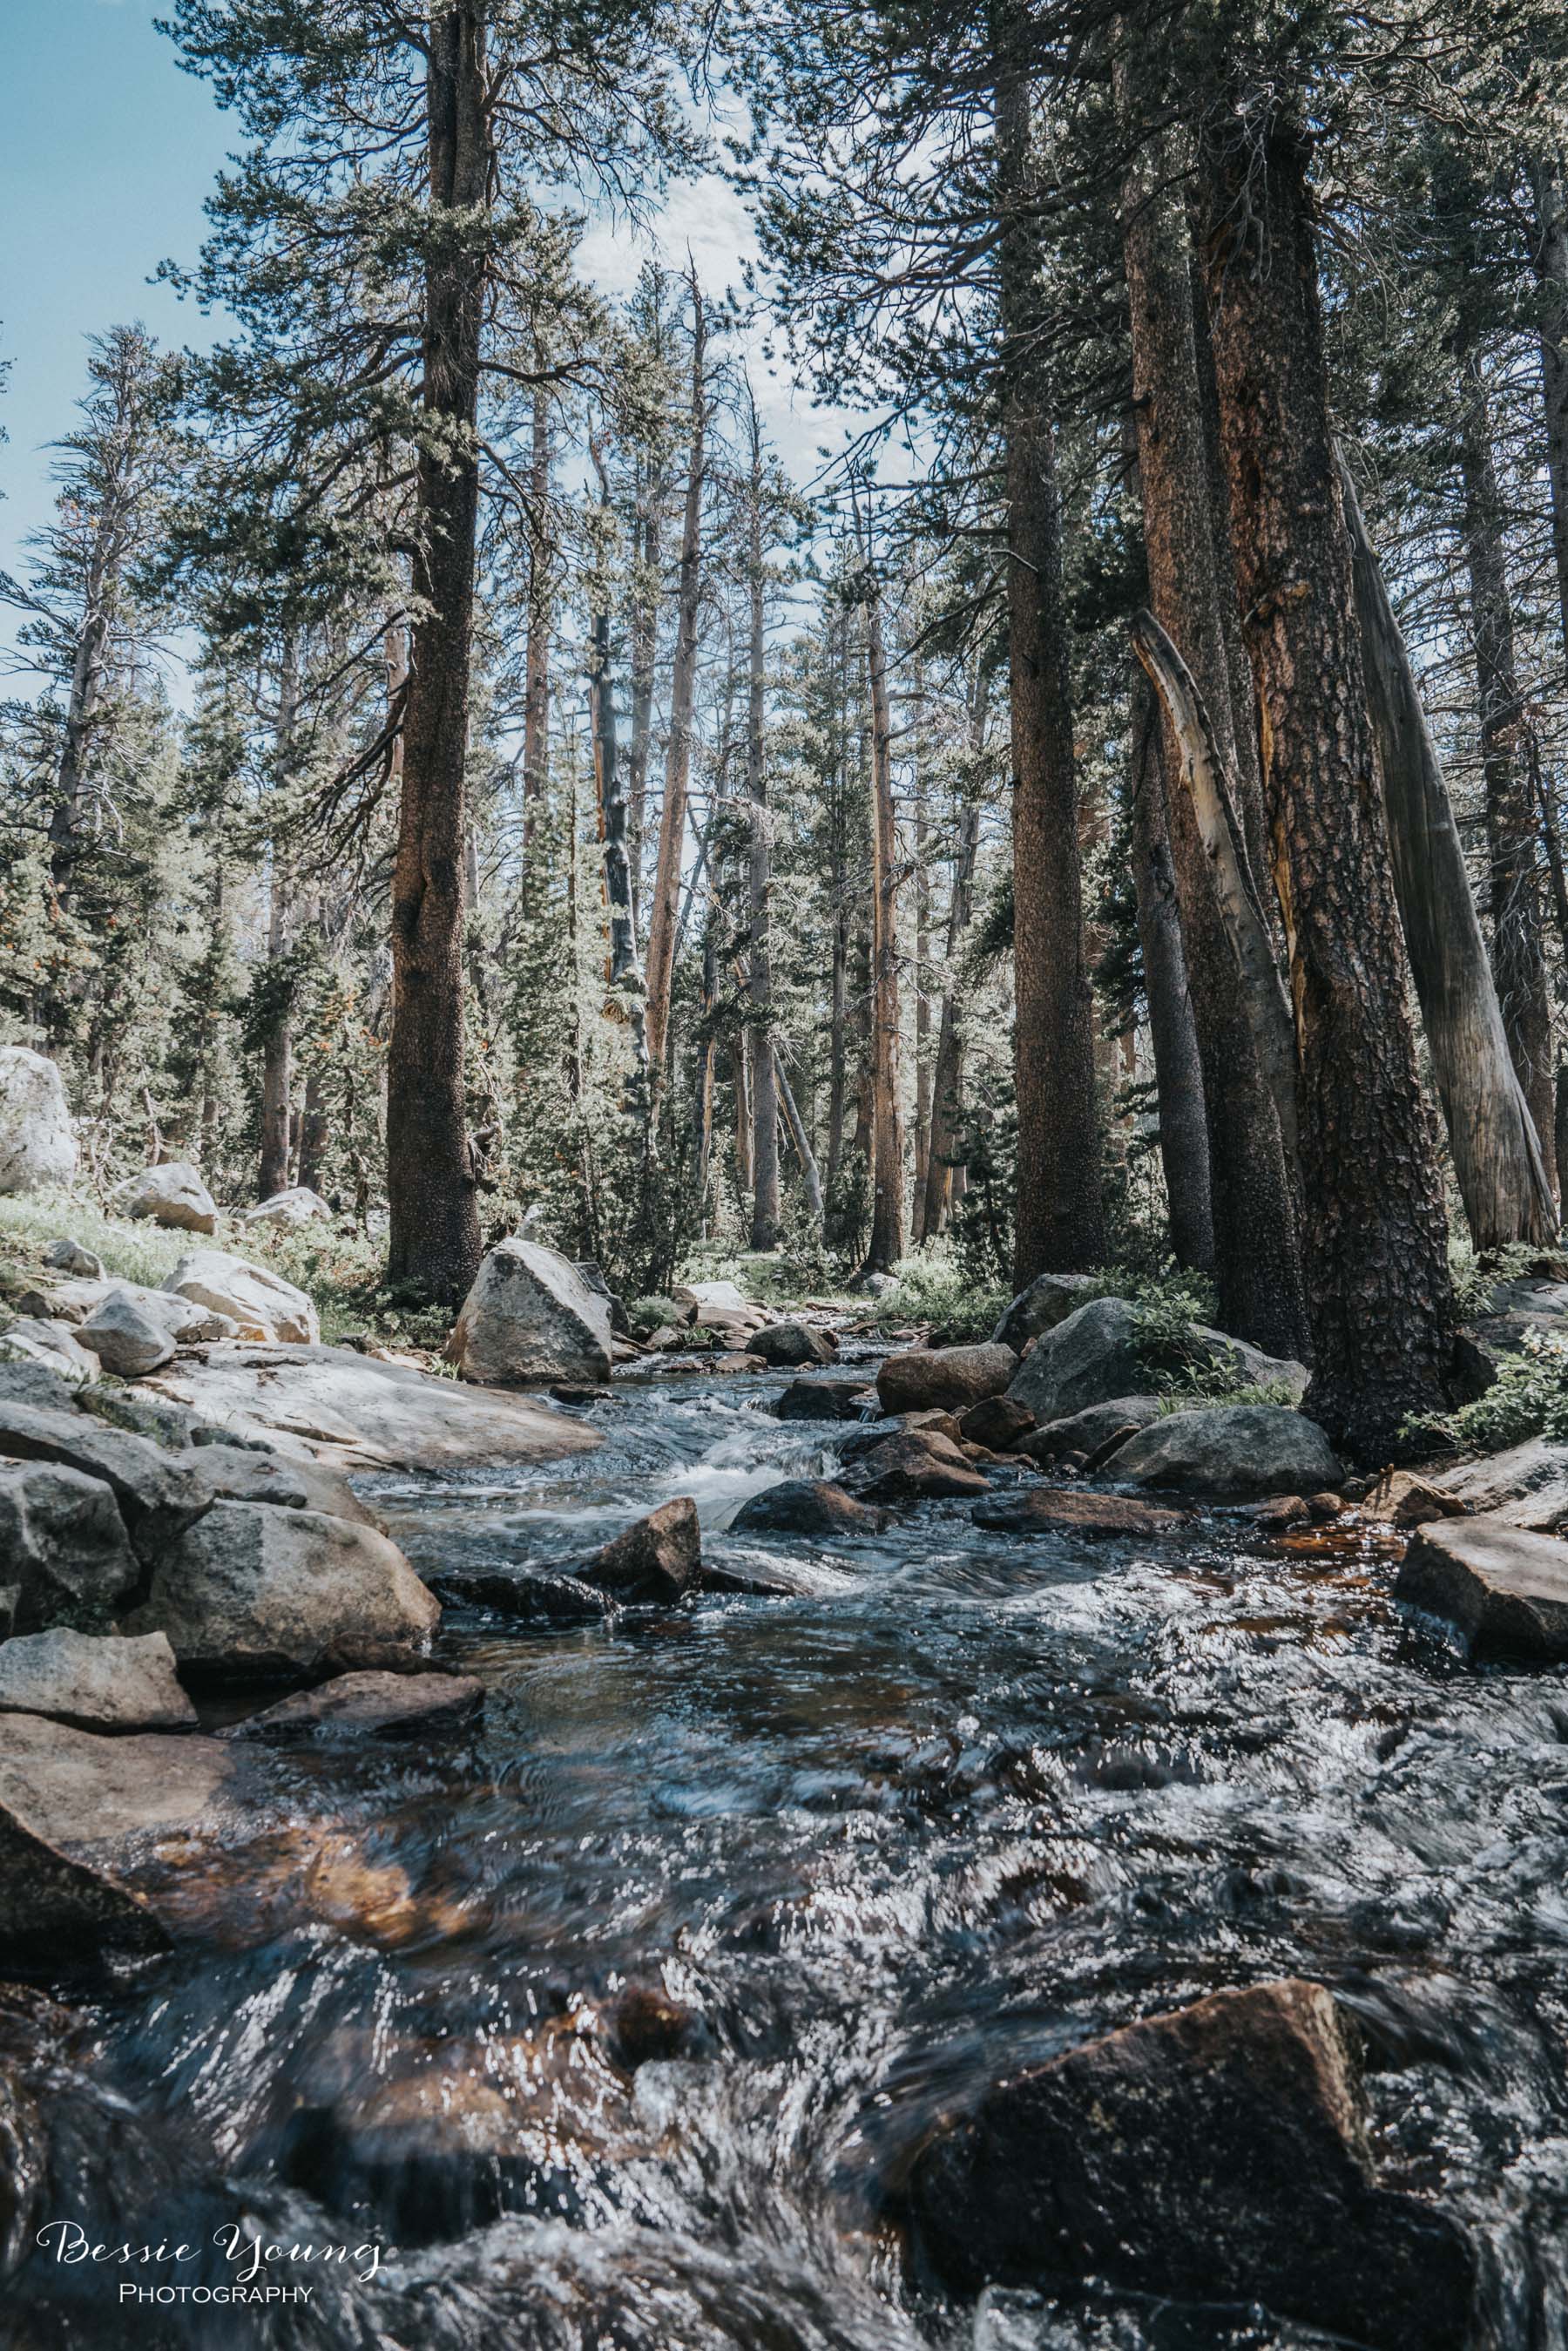
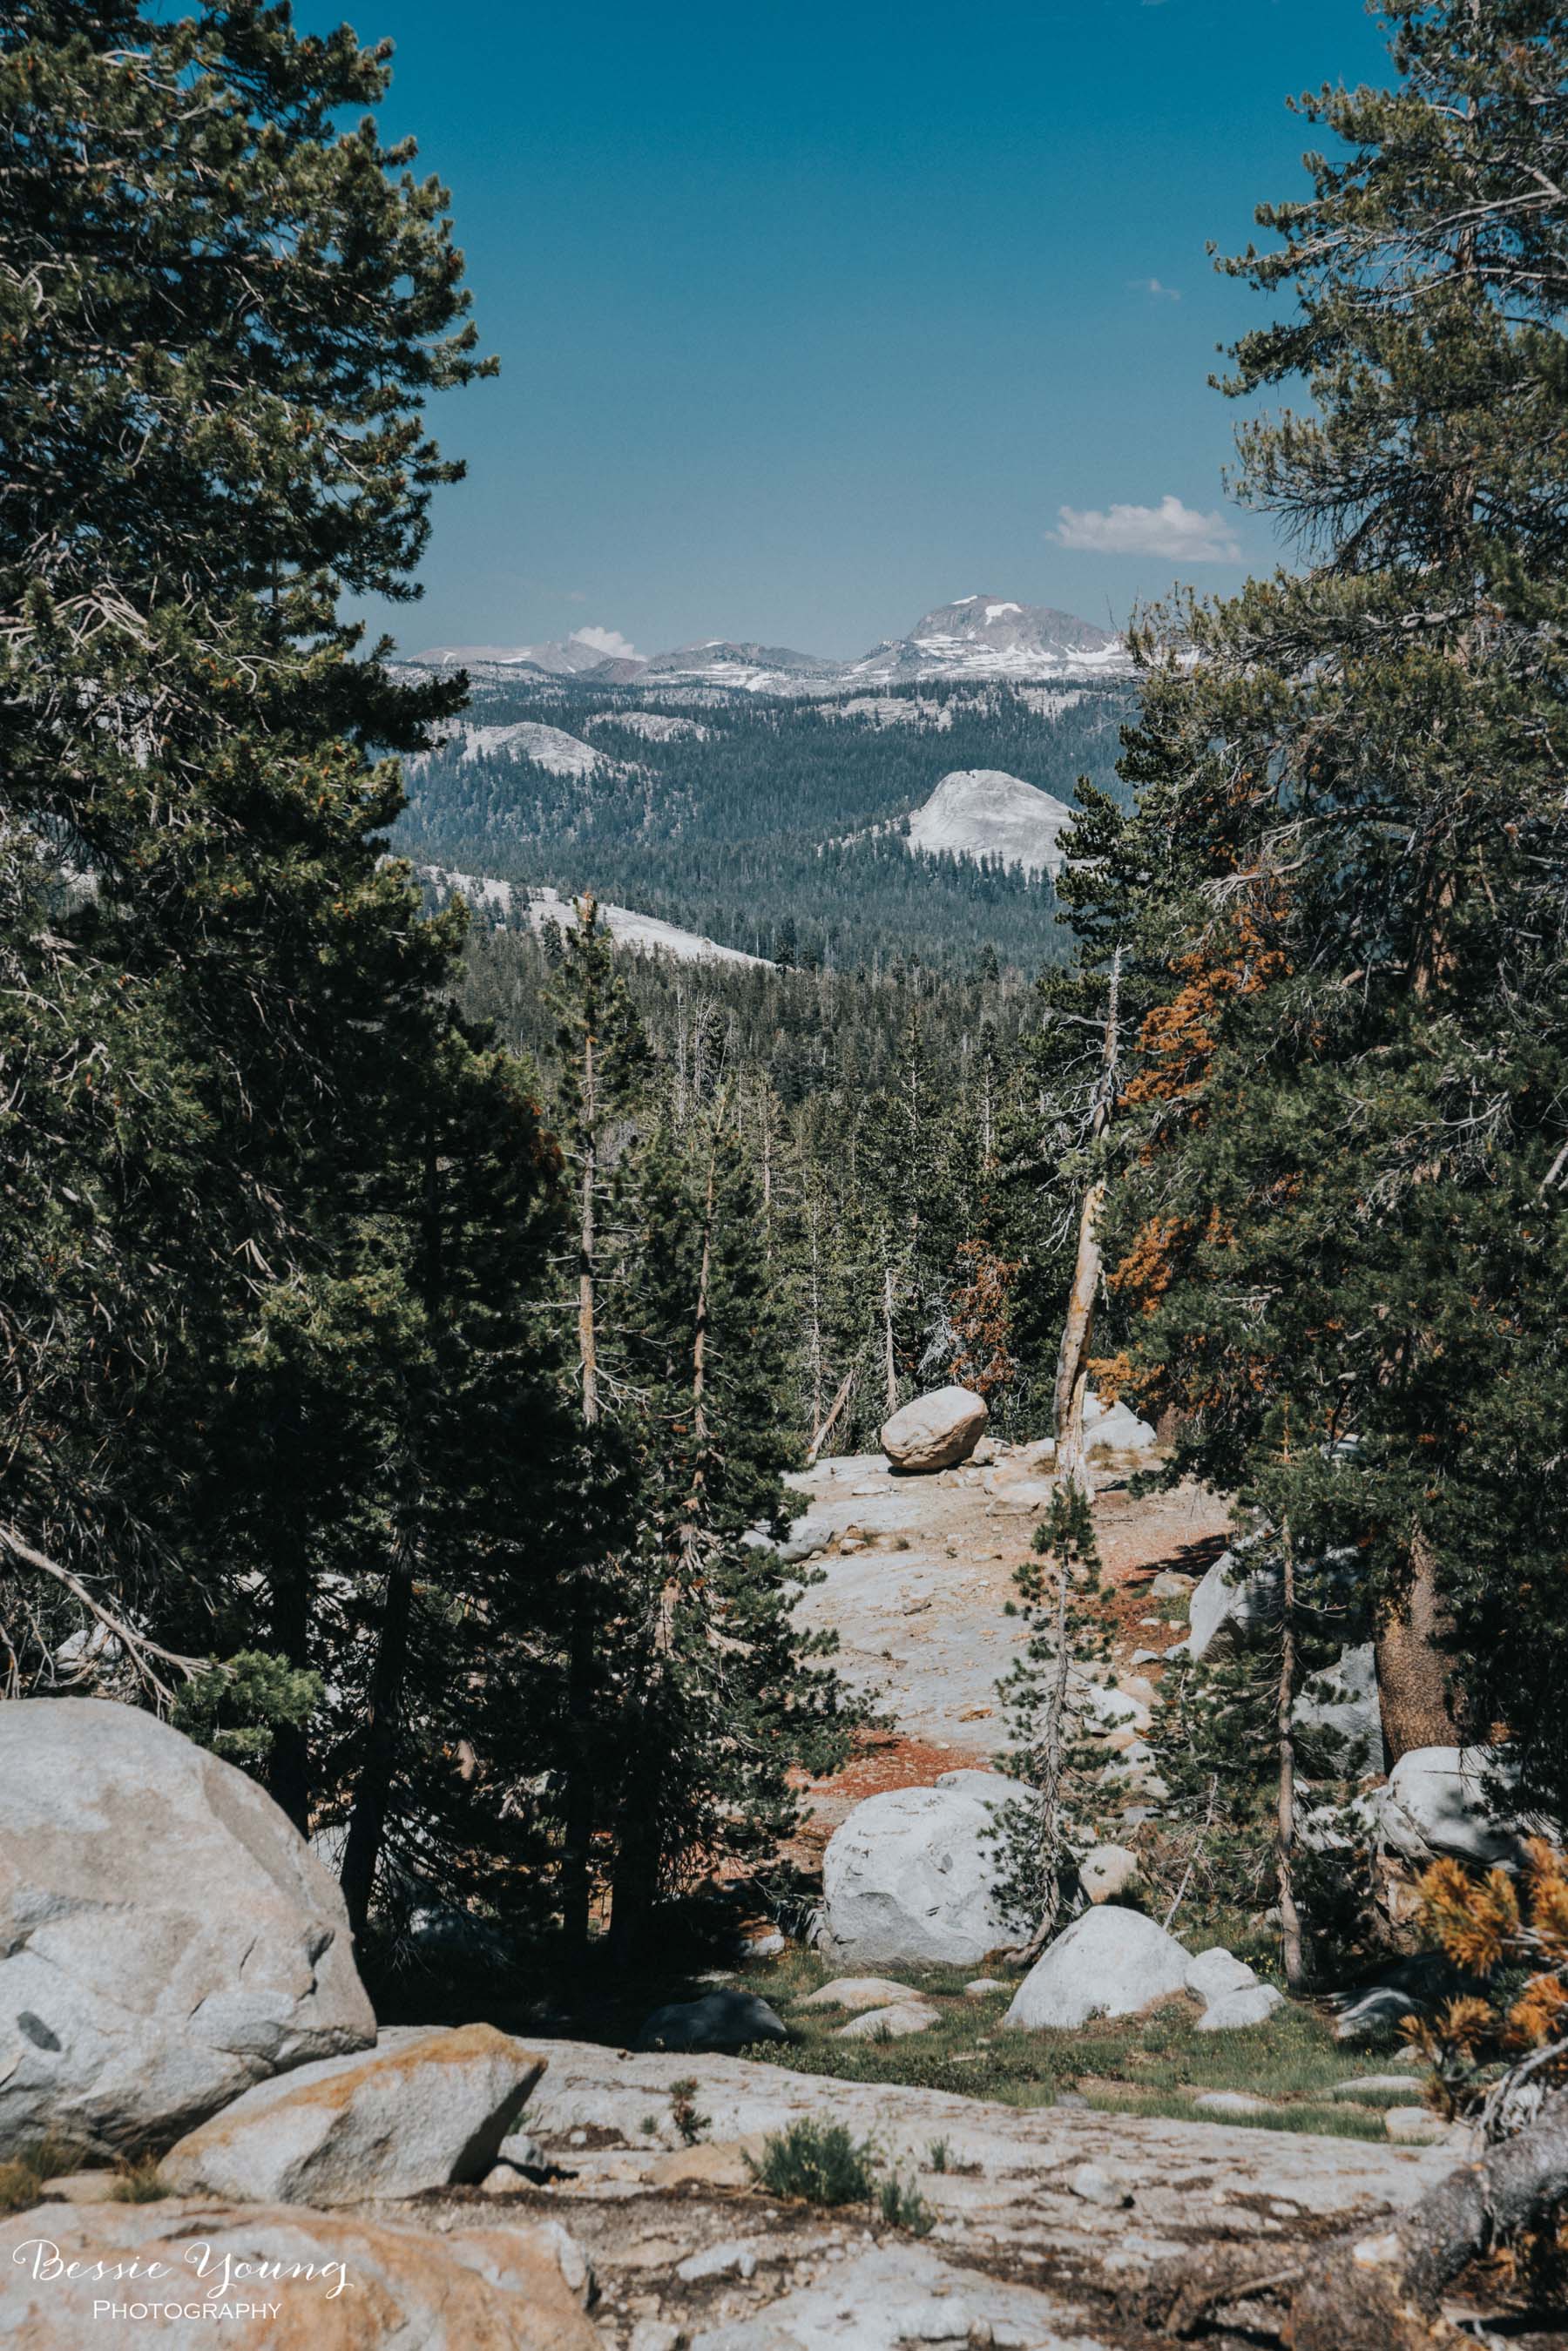
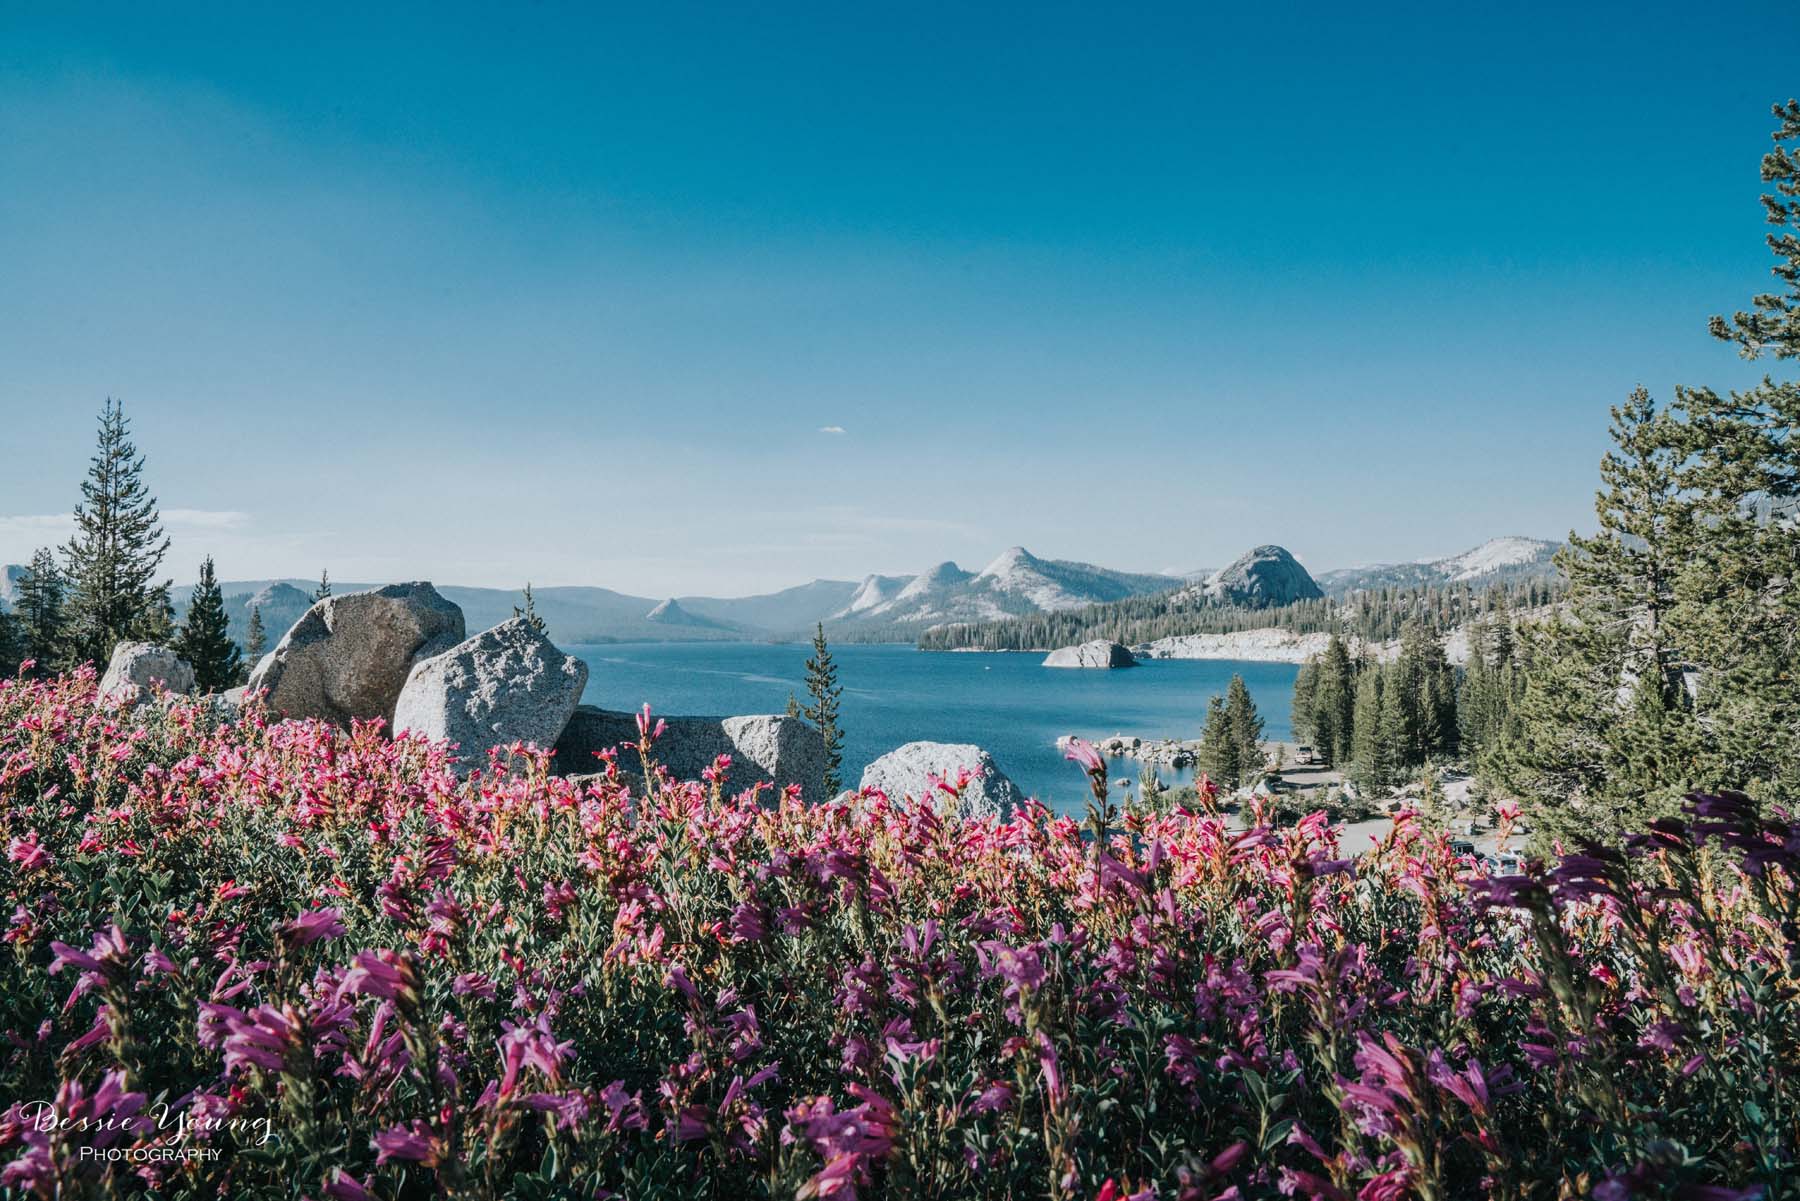
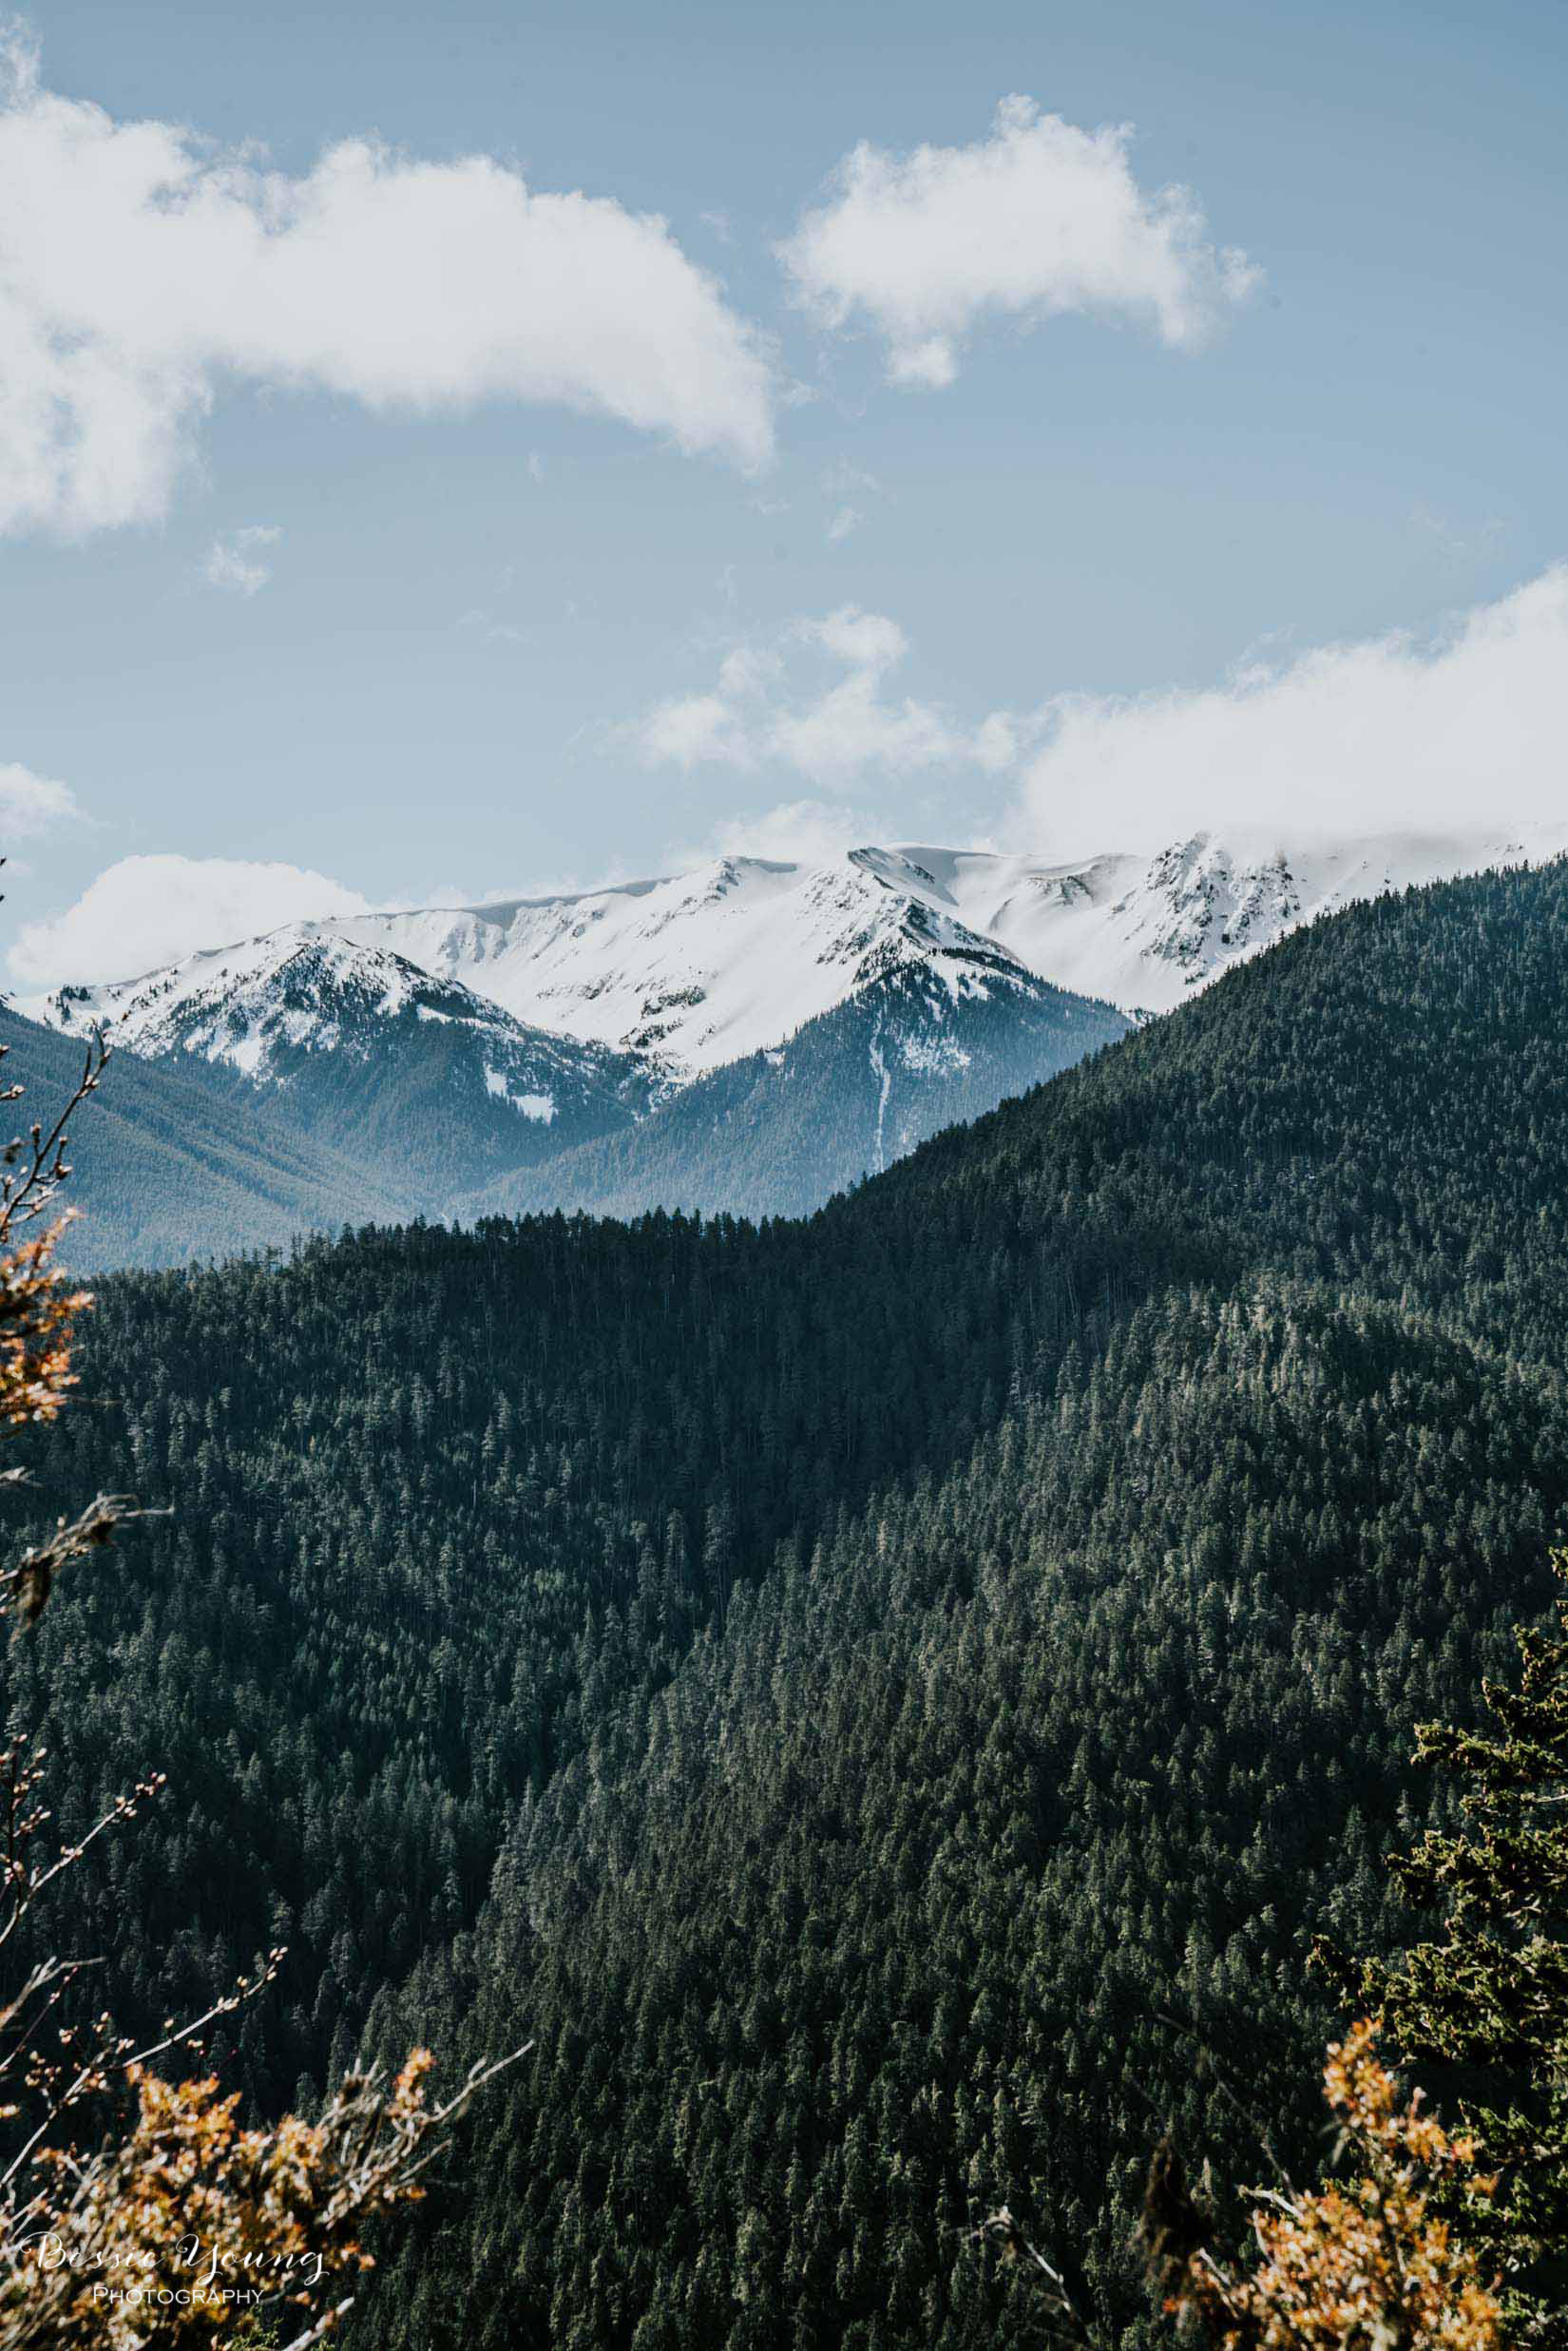
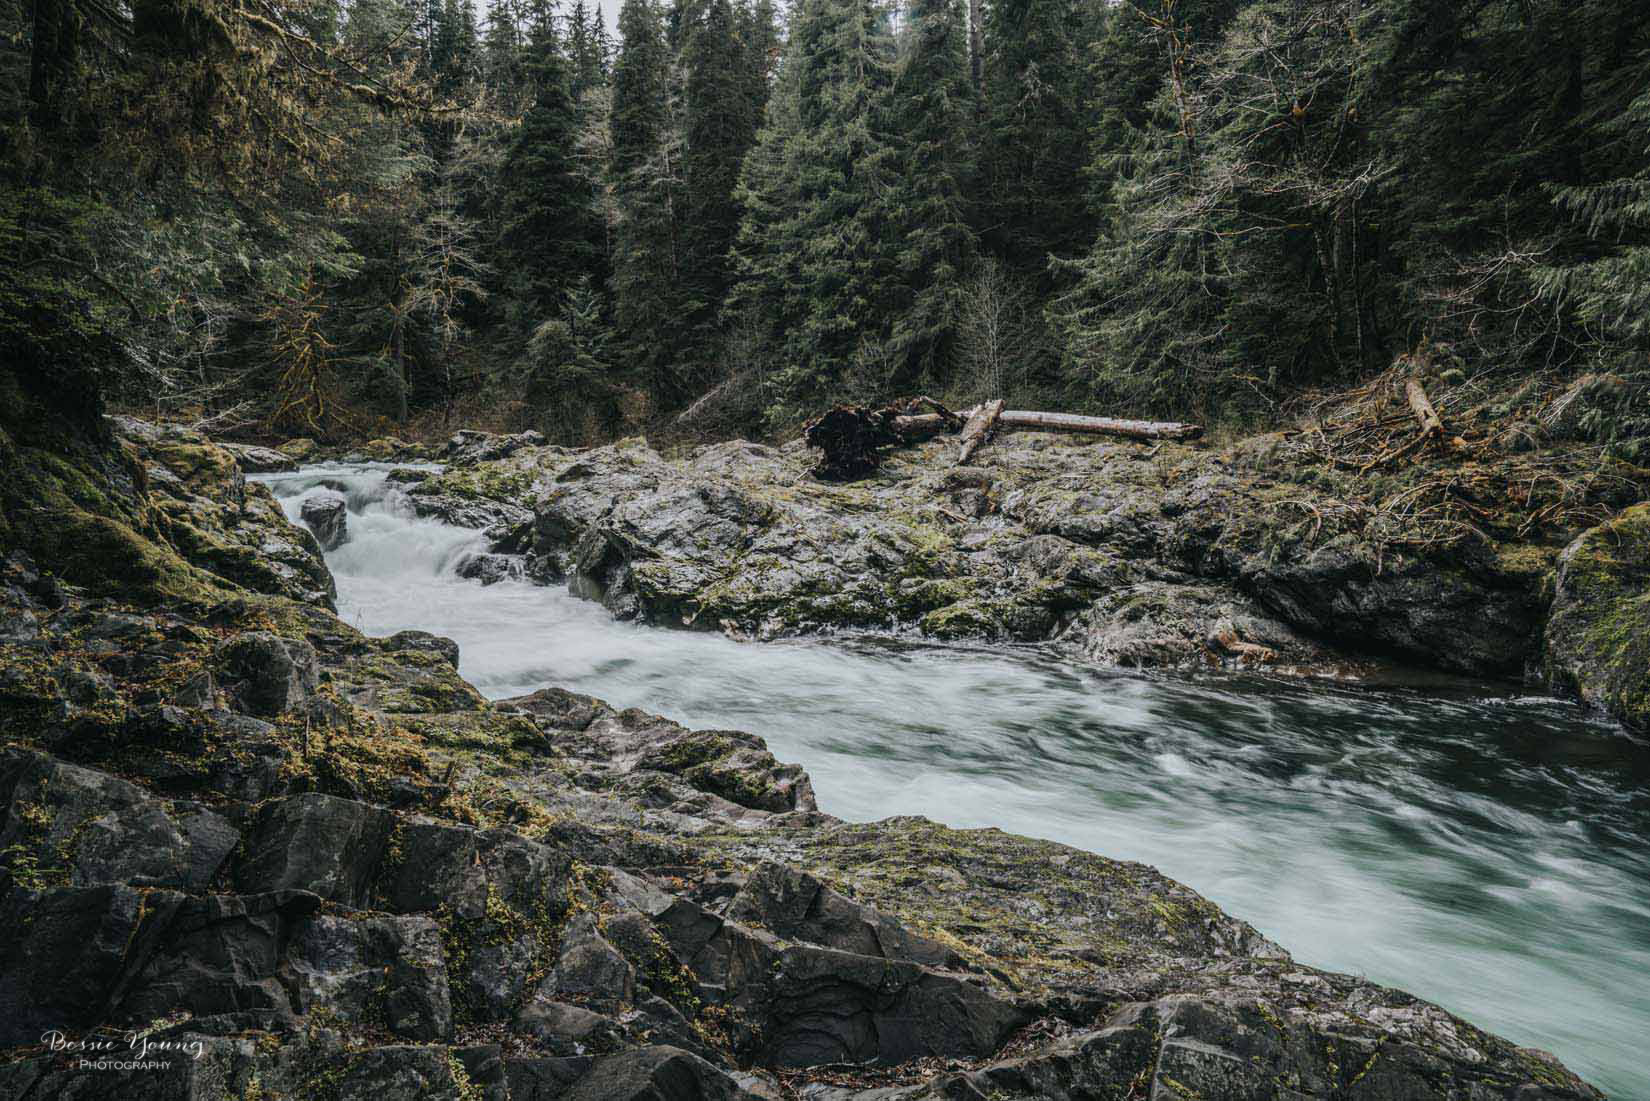
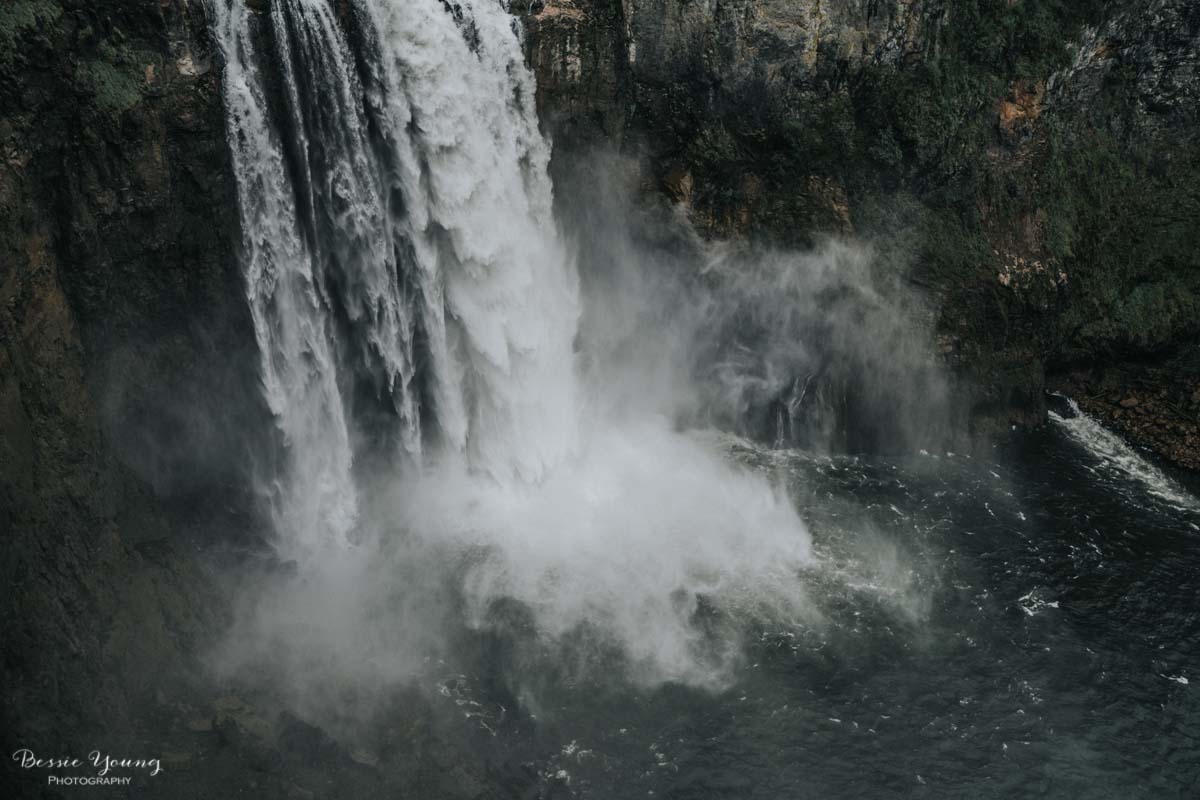
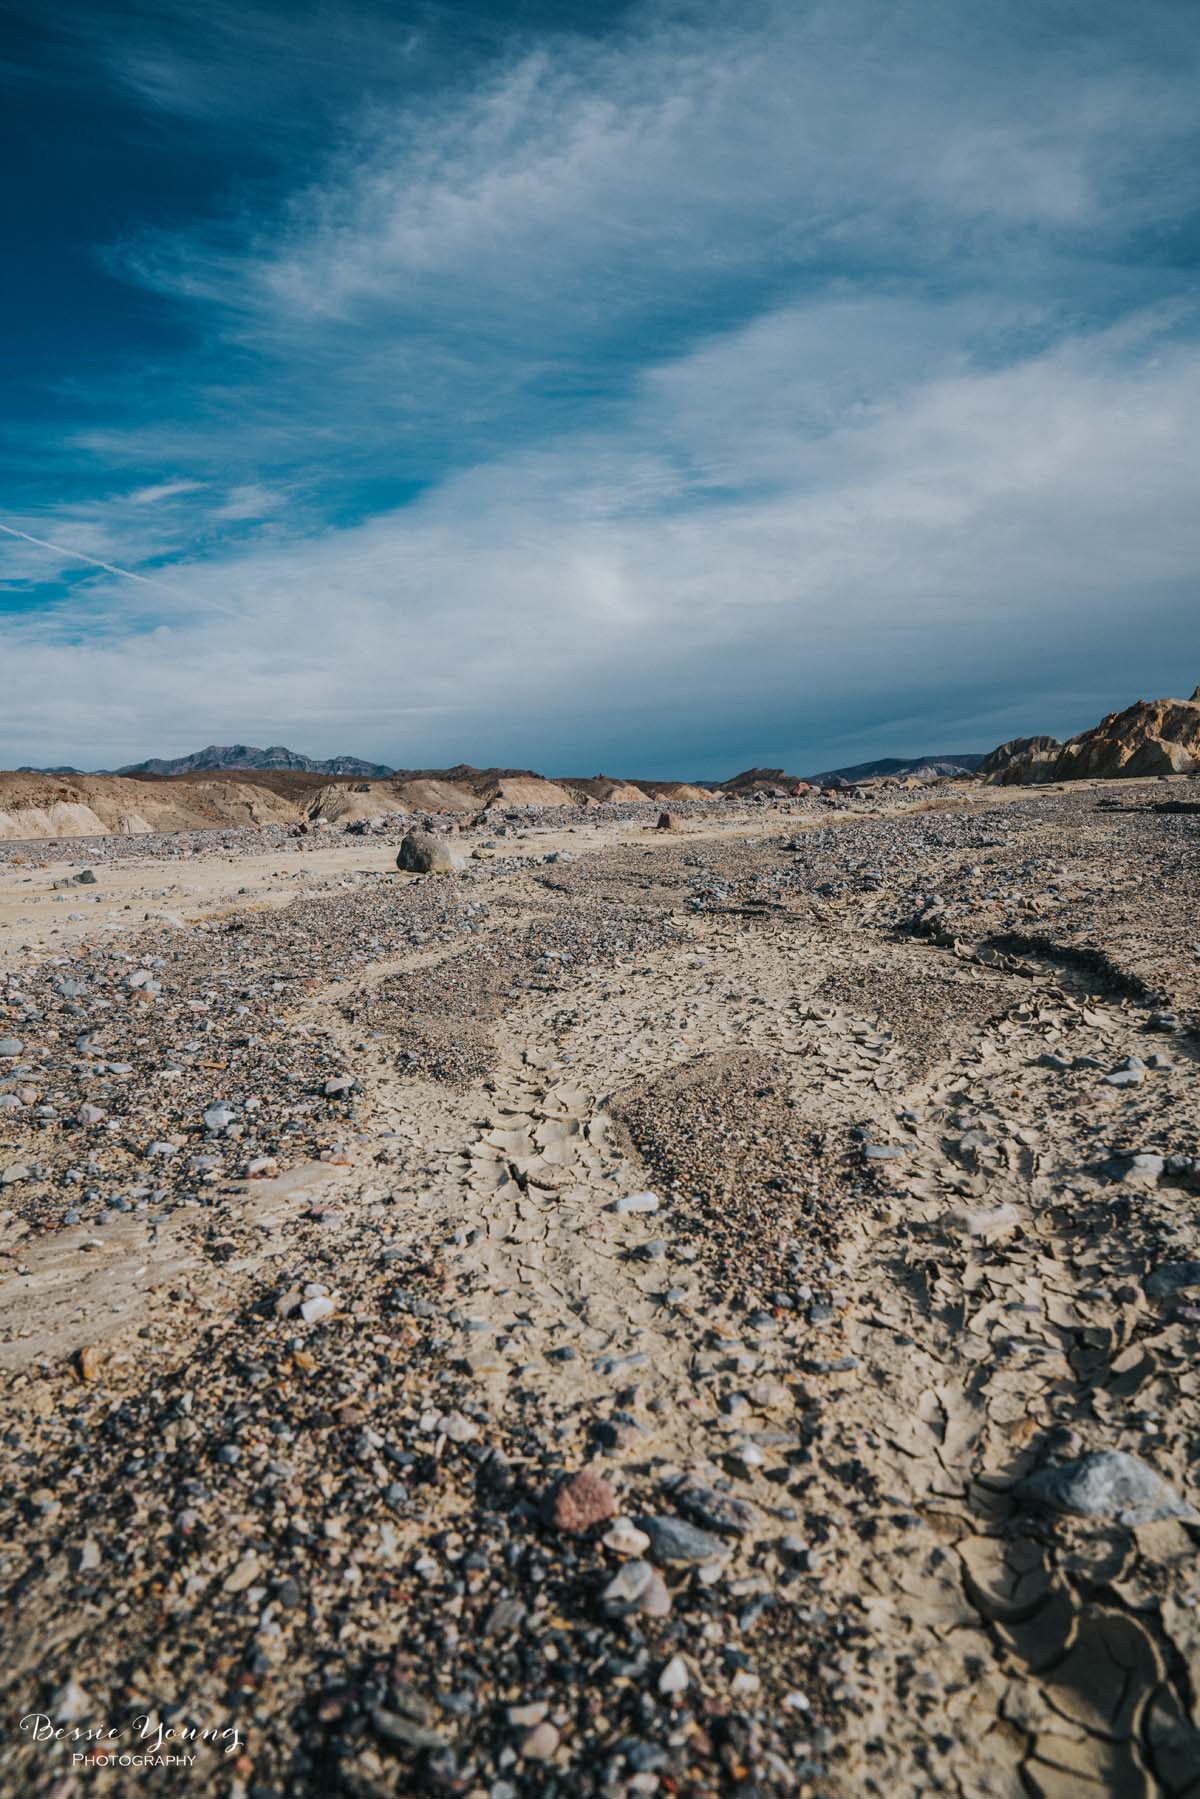
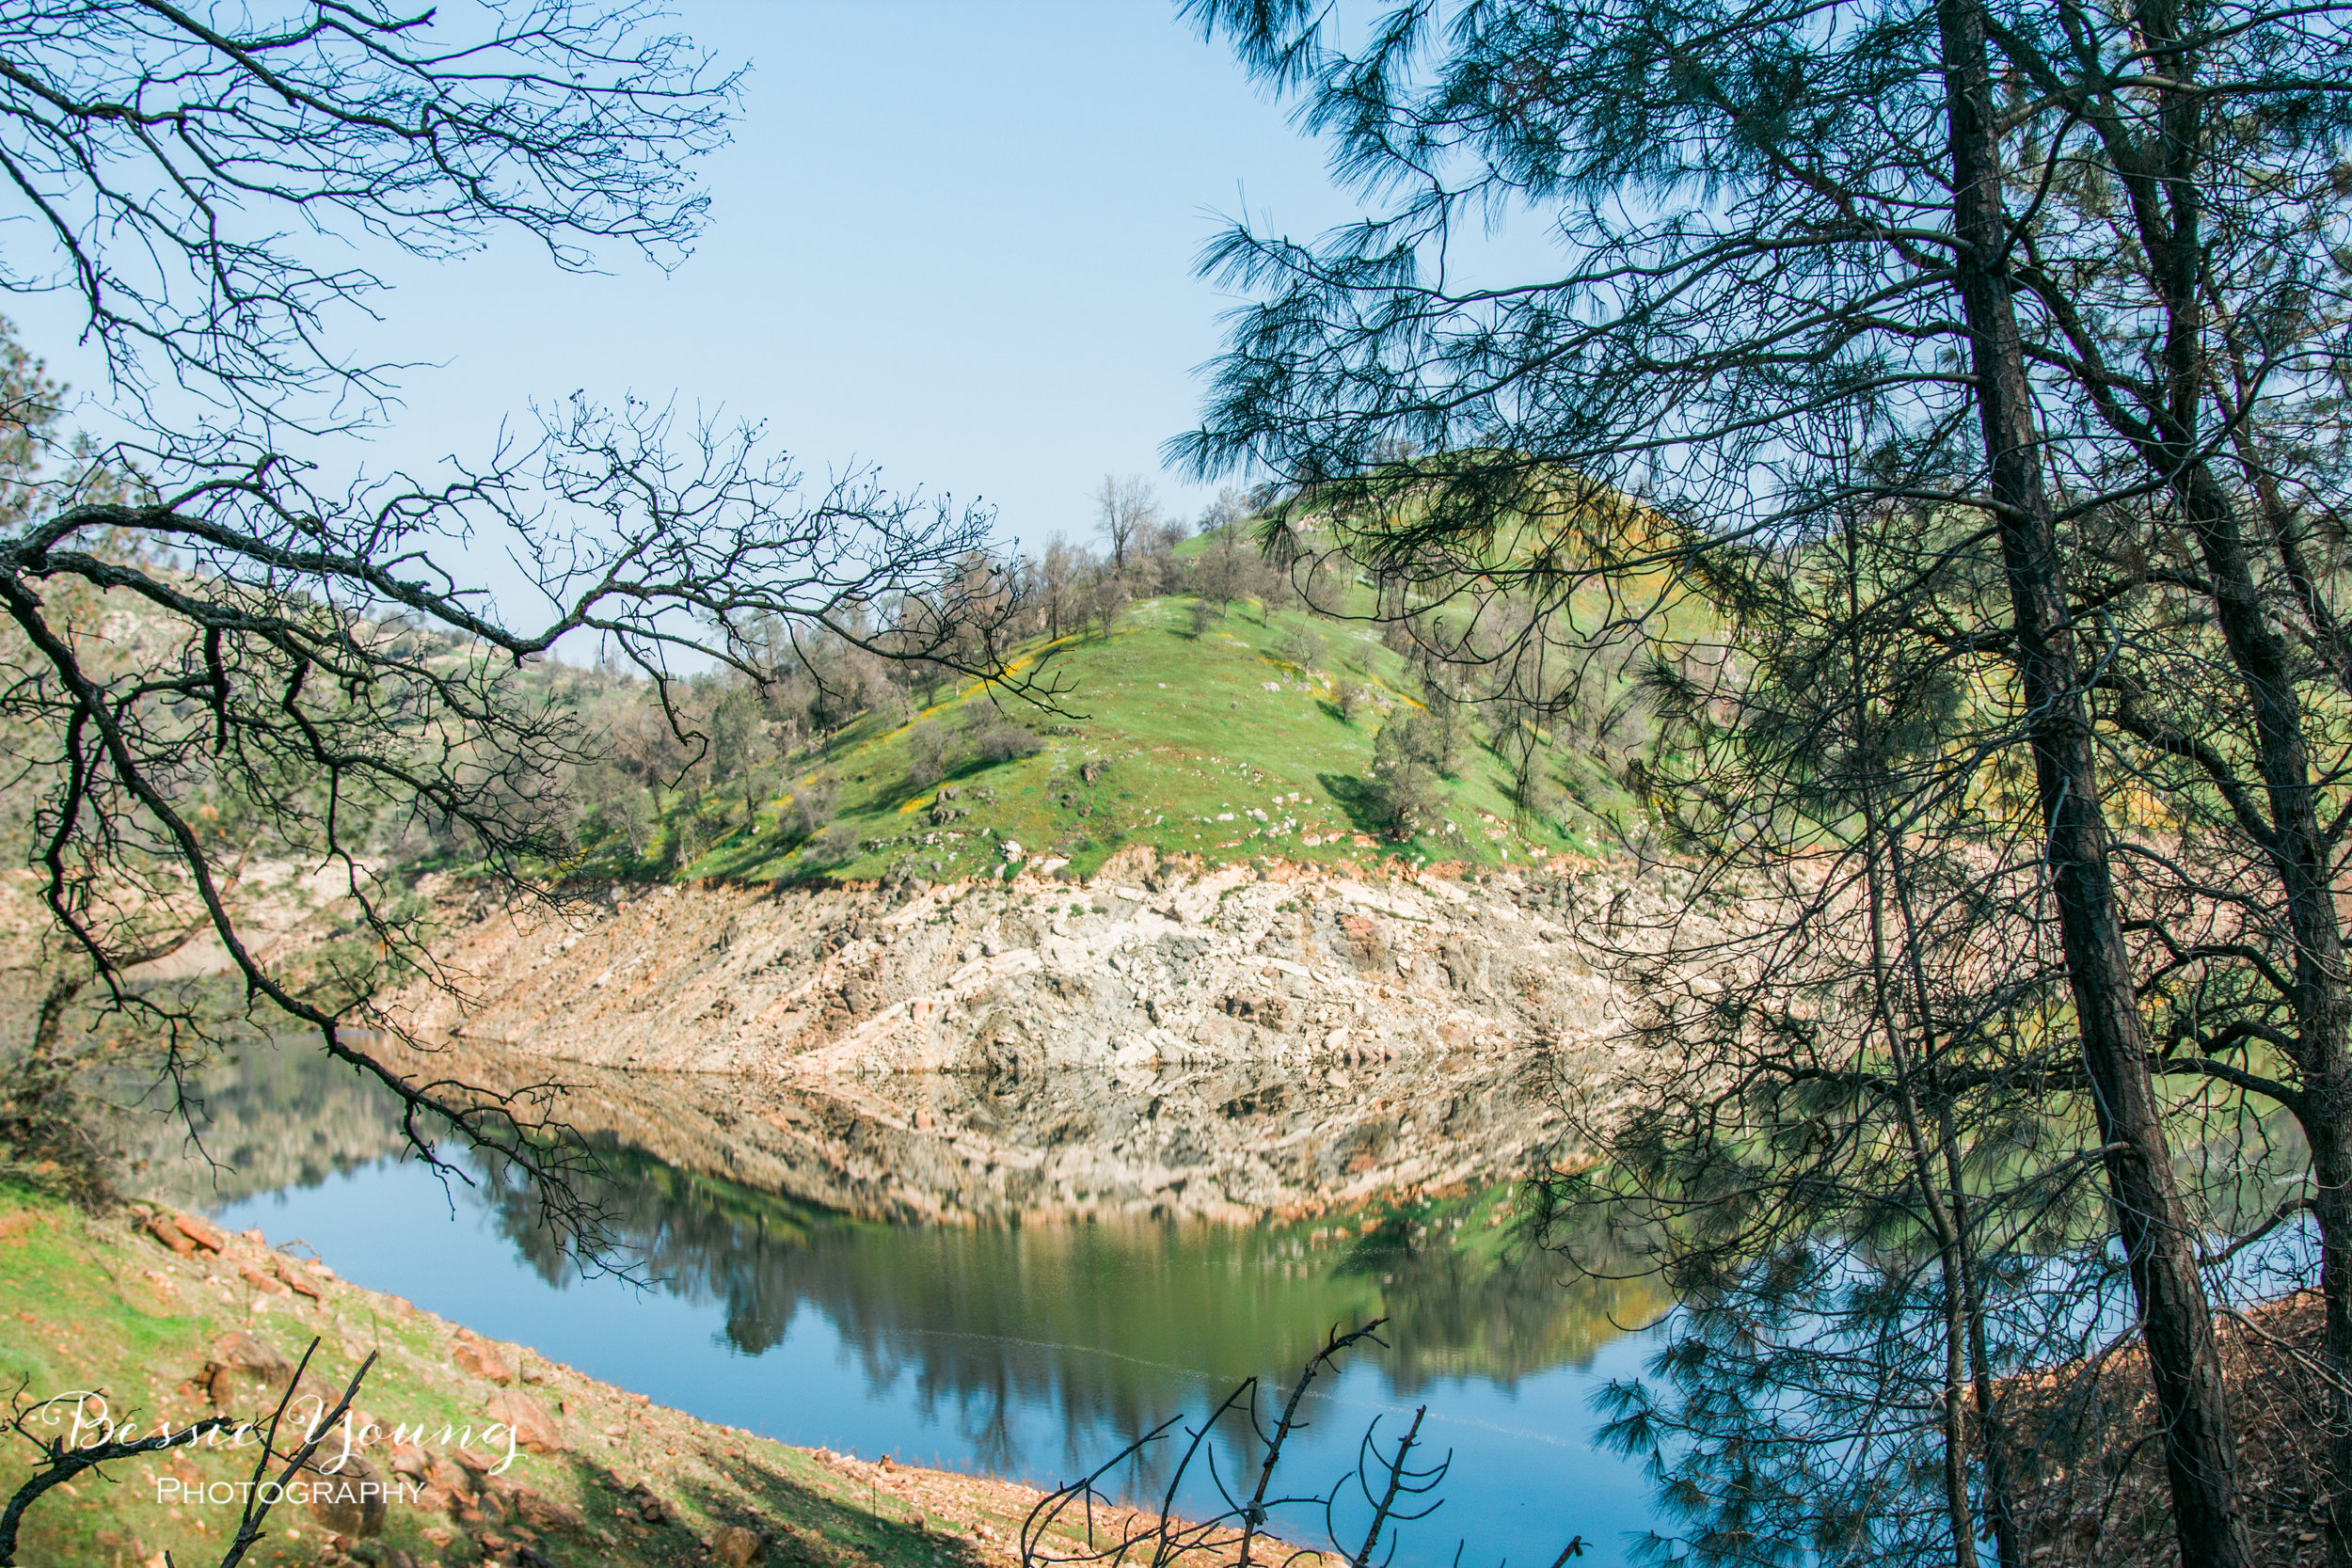
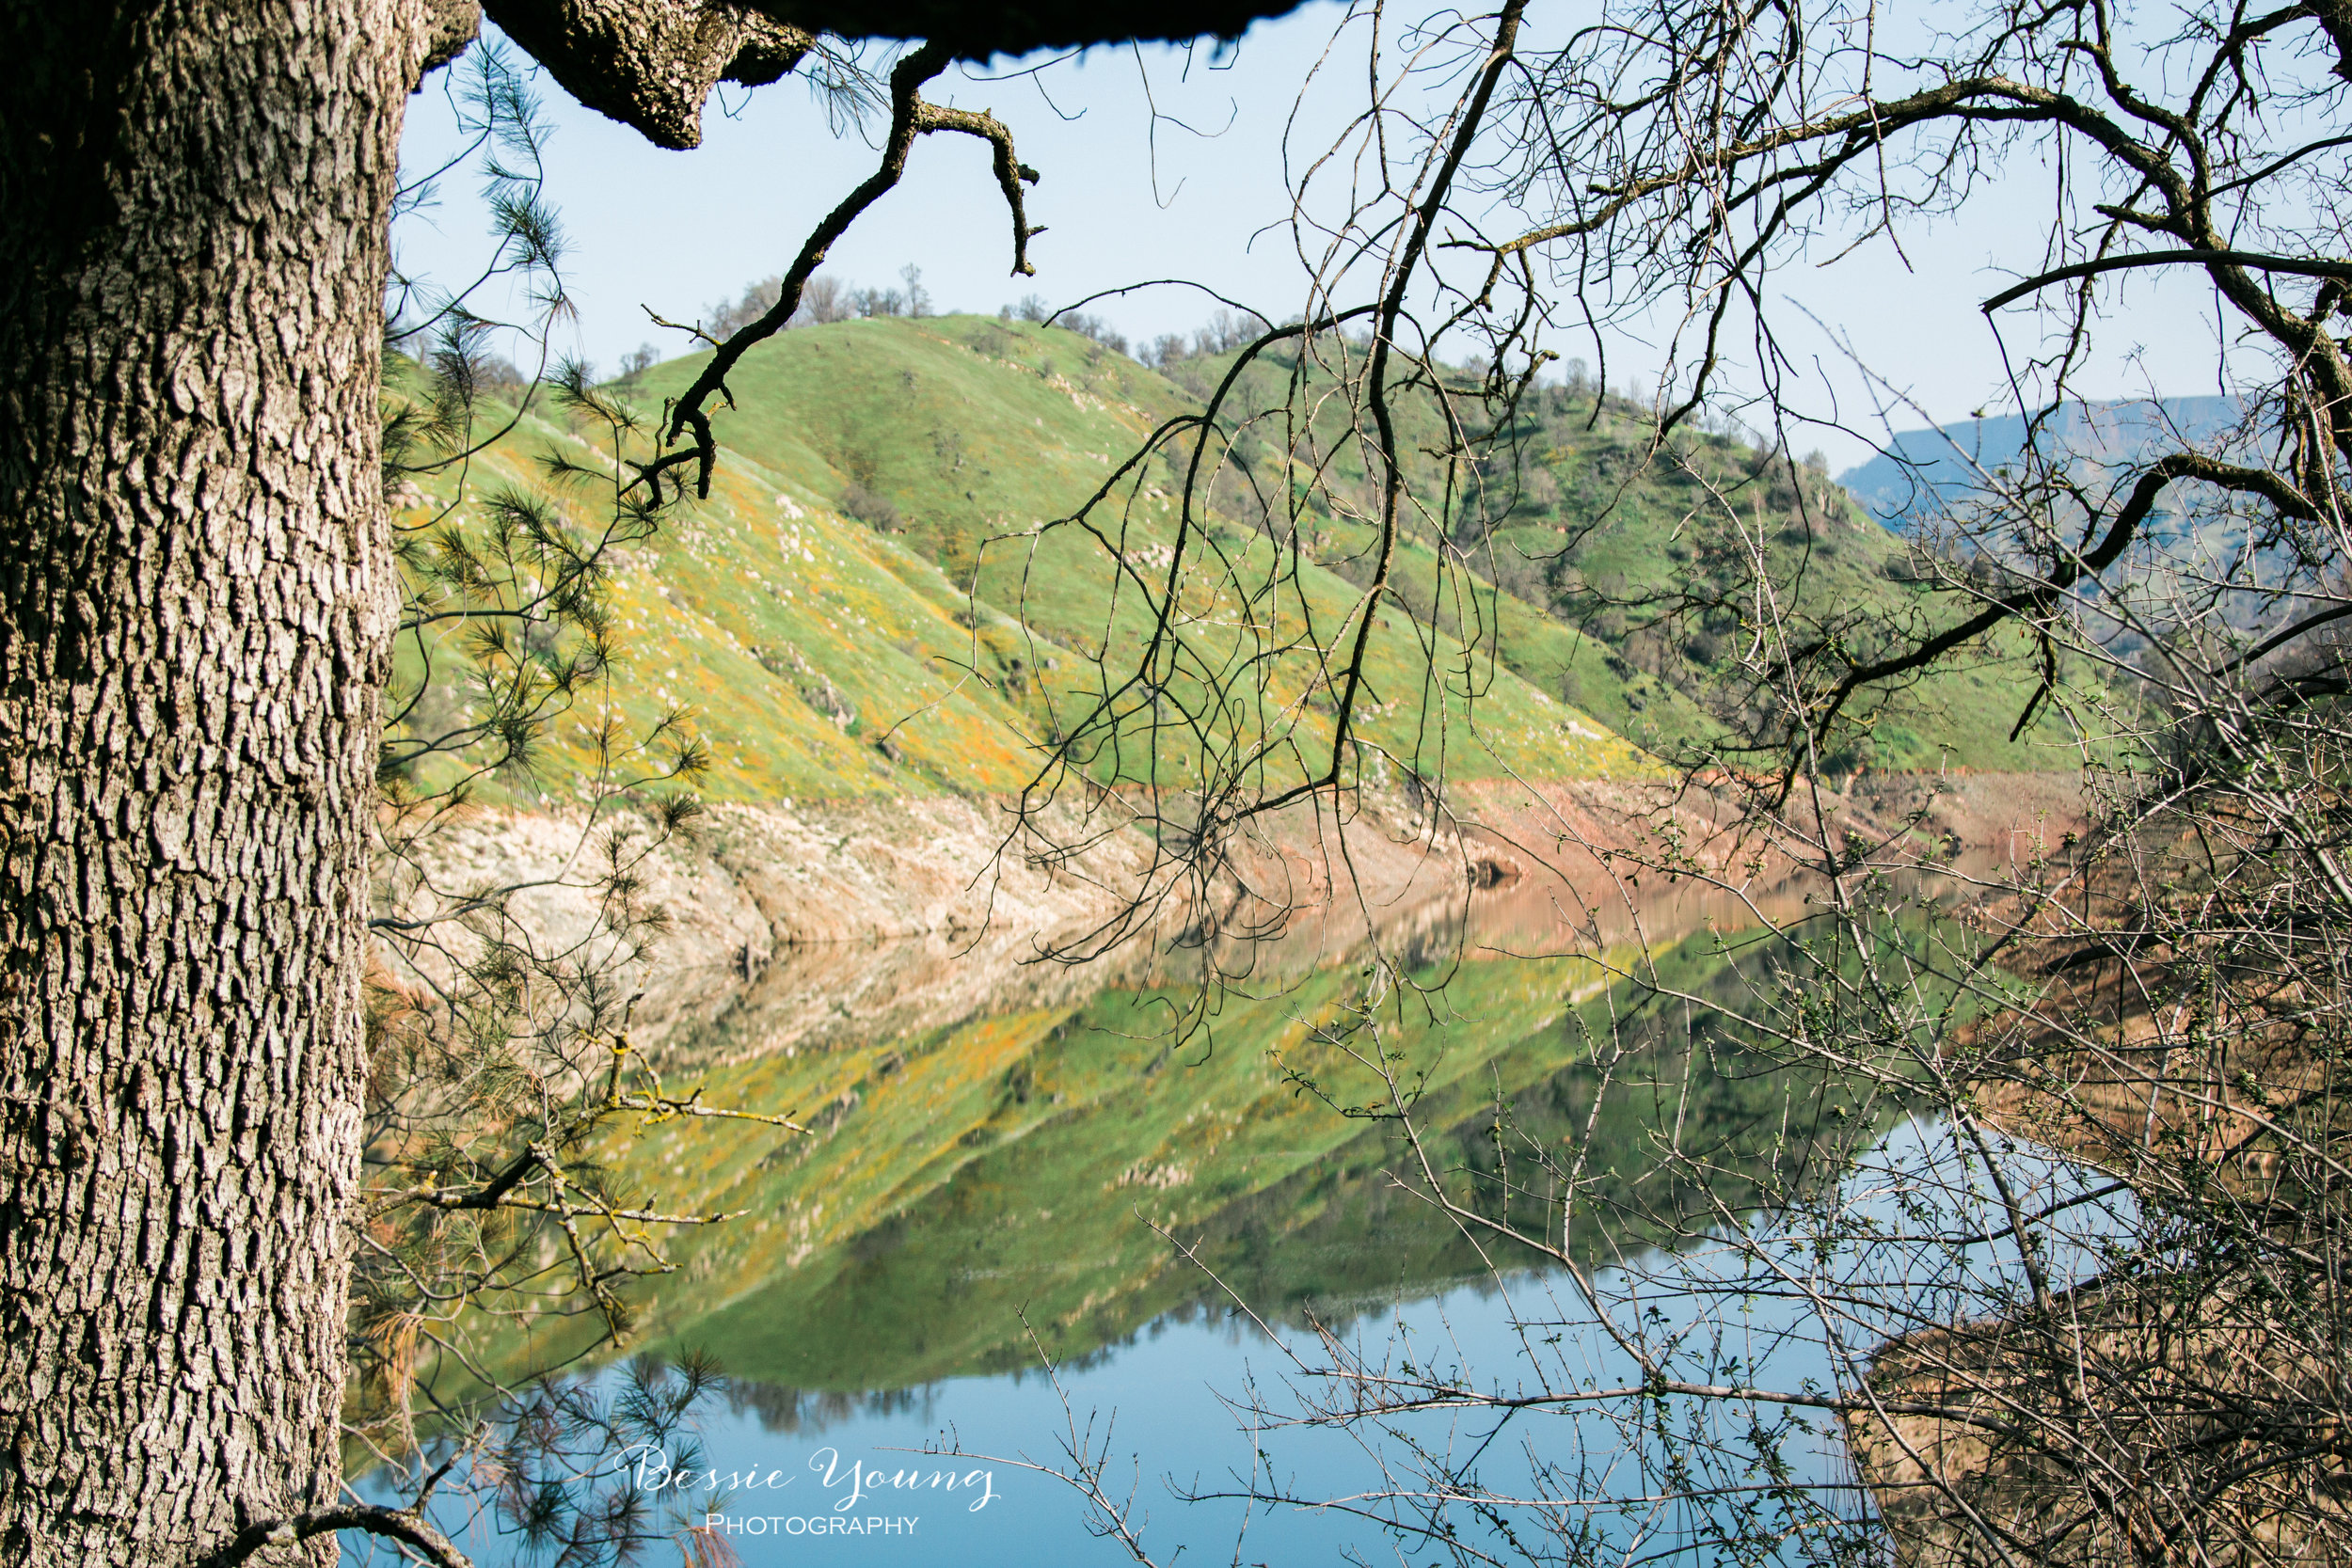
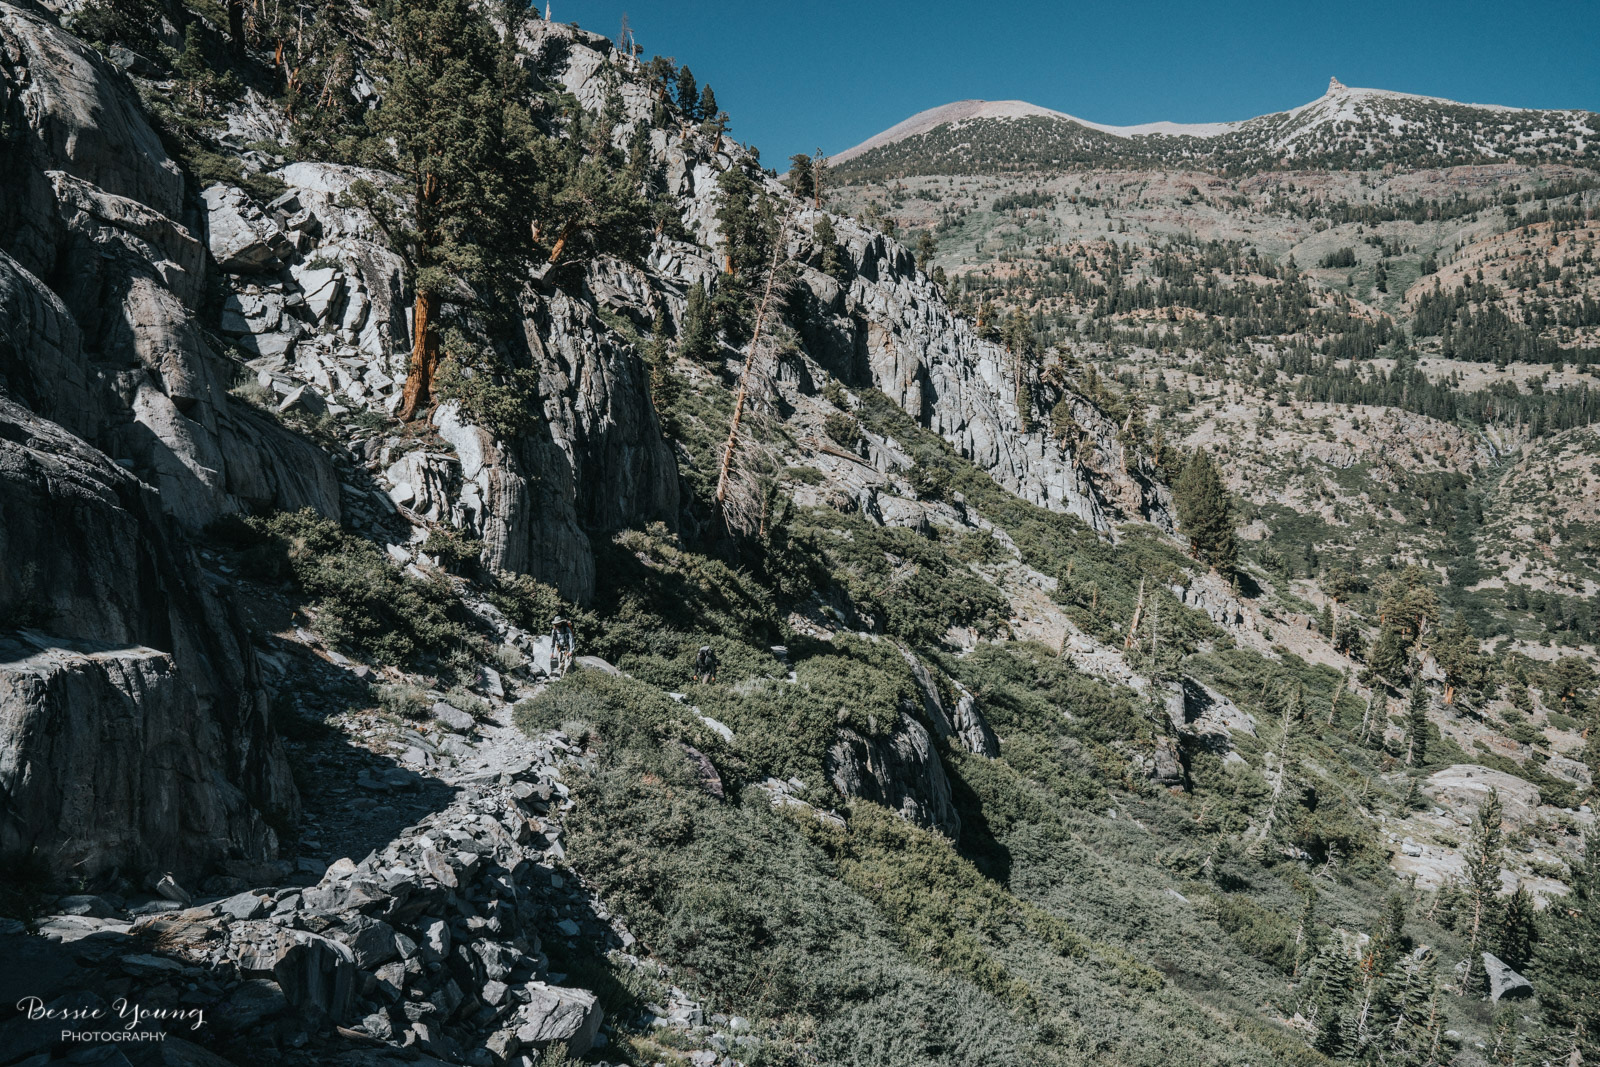
The trail started off fairly easy along the Pacific Crest river trail. The destination for night 1 was Ediza Lake, which is about 7 miles in. As I walked through the wilderness I swear I could have taken 1000 more pictures than I did, but I had a long journey ahead of me. The trail takes you along the Middle fork of the San Joaquin river and up to Shadow Lake. The climb to this lake is steep, rocky, and in the full sun. Shadow was a beautiful sight to see after the hot, steep climb up the mountain.
Making it to the First Lake
As I walked along Shadow Lake I saw a couple sitting on some rocks with their little one in their arms. I looked closer and yelled "Becky?" with a questioning voice. She looked up, a little startled and dismayed, and replied 'Bessie'? It was so amazing to see Becky out on the trail. You see, I went to high school with Becky and we worked together at Baskin Robbins in Sonora for about 4 years! This area is so remote and over 5 hours from home. It just goes to show how small the world truly is. We chatted for a few minutes and then I went on my way to reach my destination before nightfall.

Continuing on
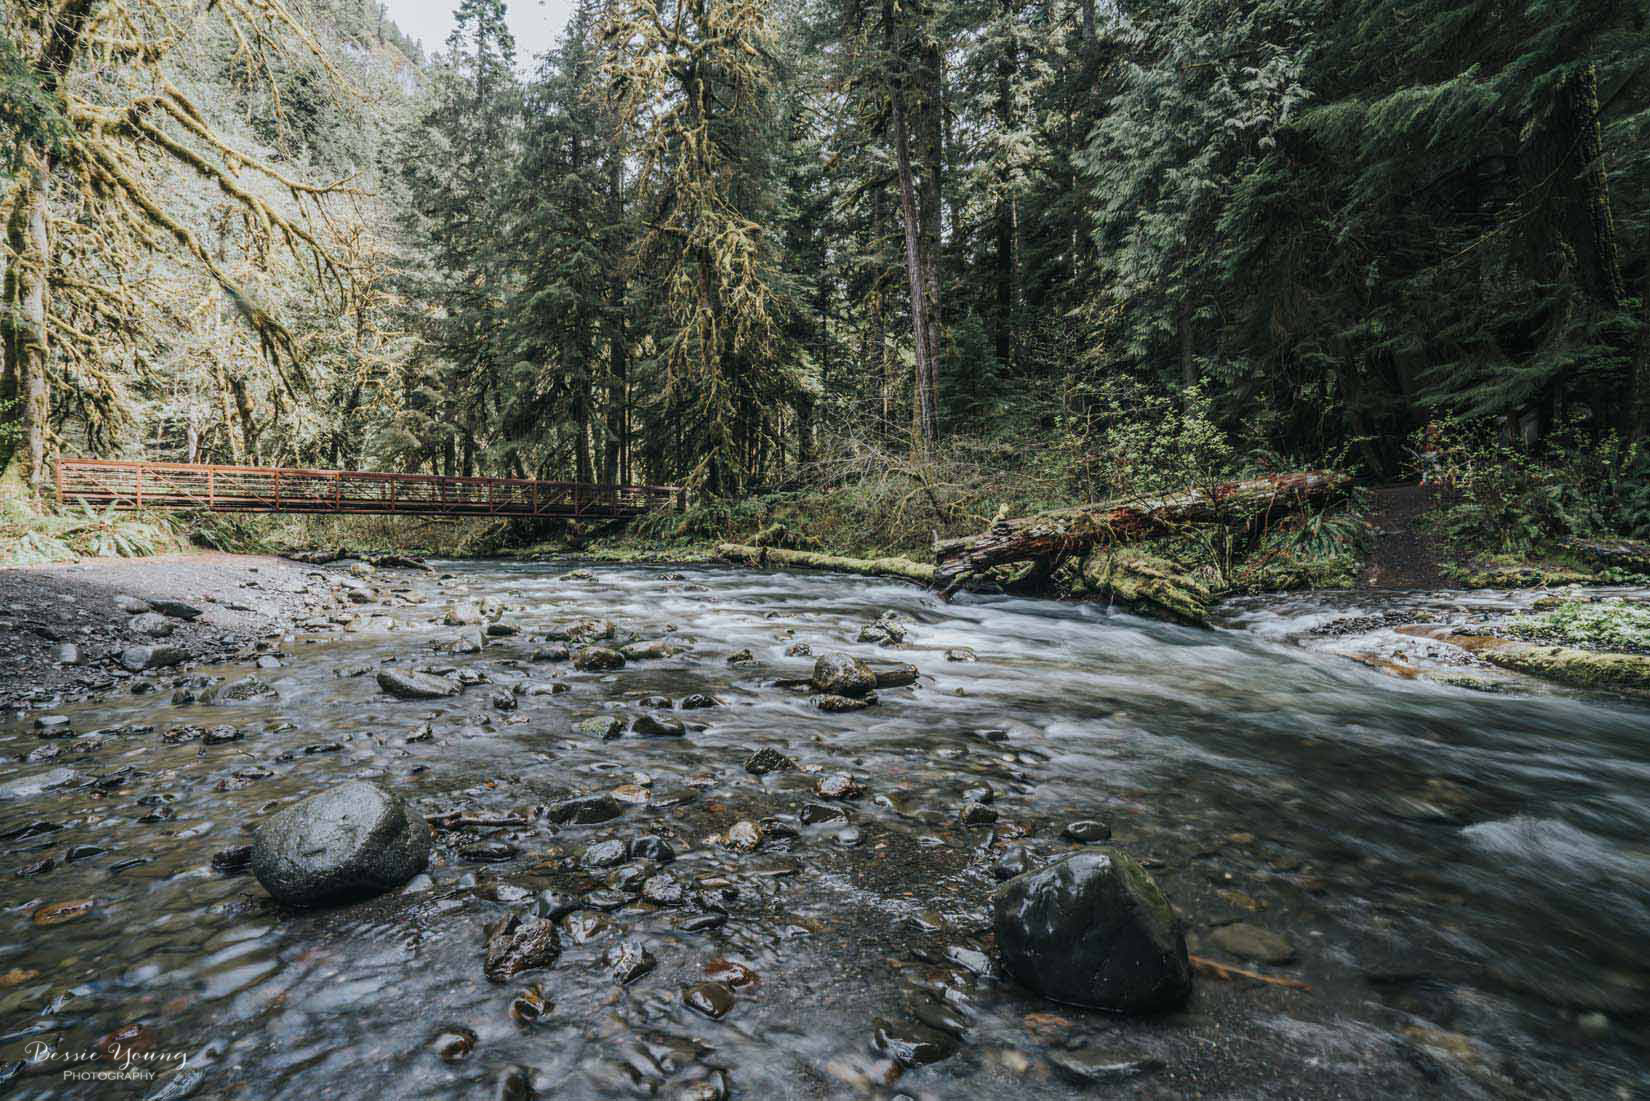
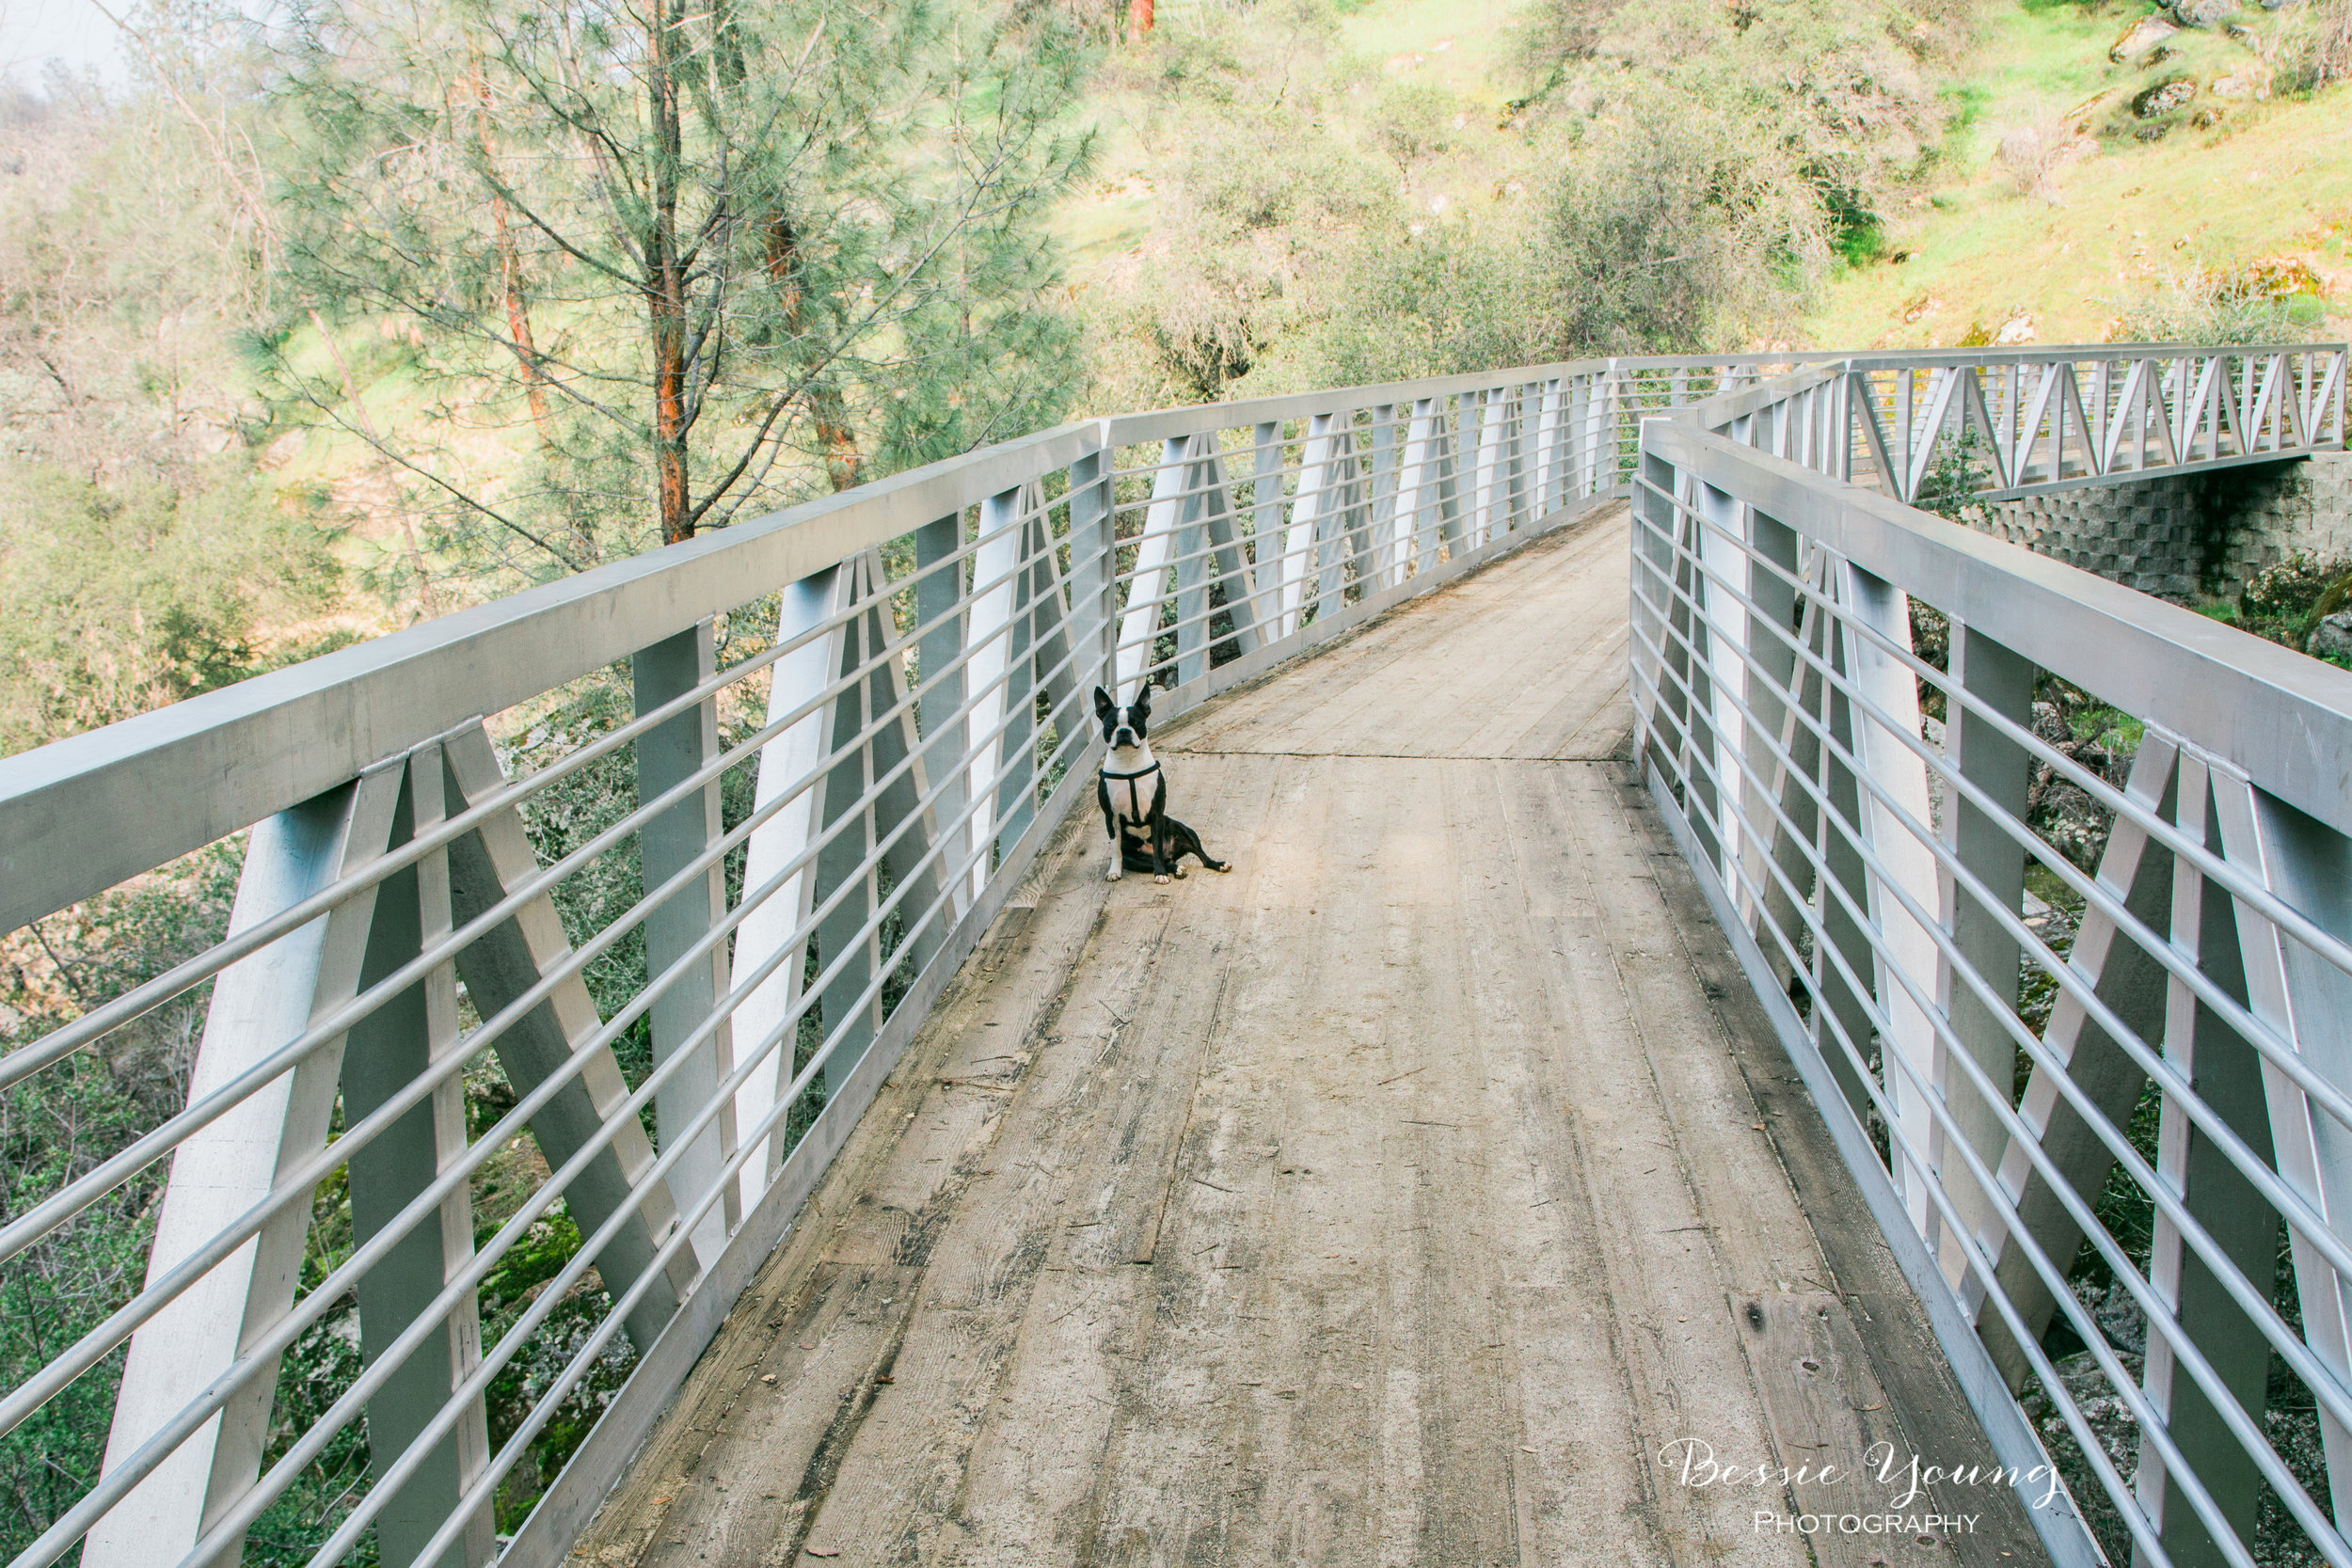
Continuing on I talked with some fellow hikers asking where they have been and what they had seen. My main question was about Ediza Lake as I wasn't even sure if I was going to be able to make it. Everyone I passed assured me that there was no snow on the trail; however, they did say that the bridge which crossed the river to get to the lake had been washed away due to the heavy winter that California saw.
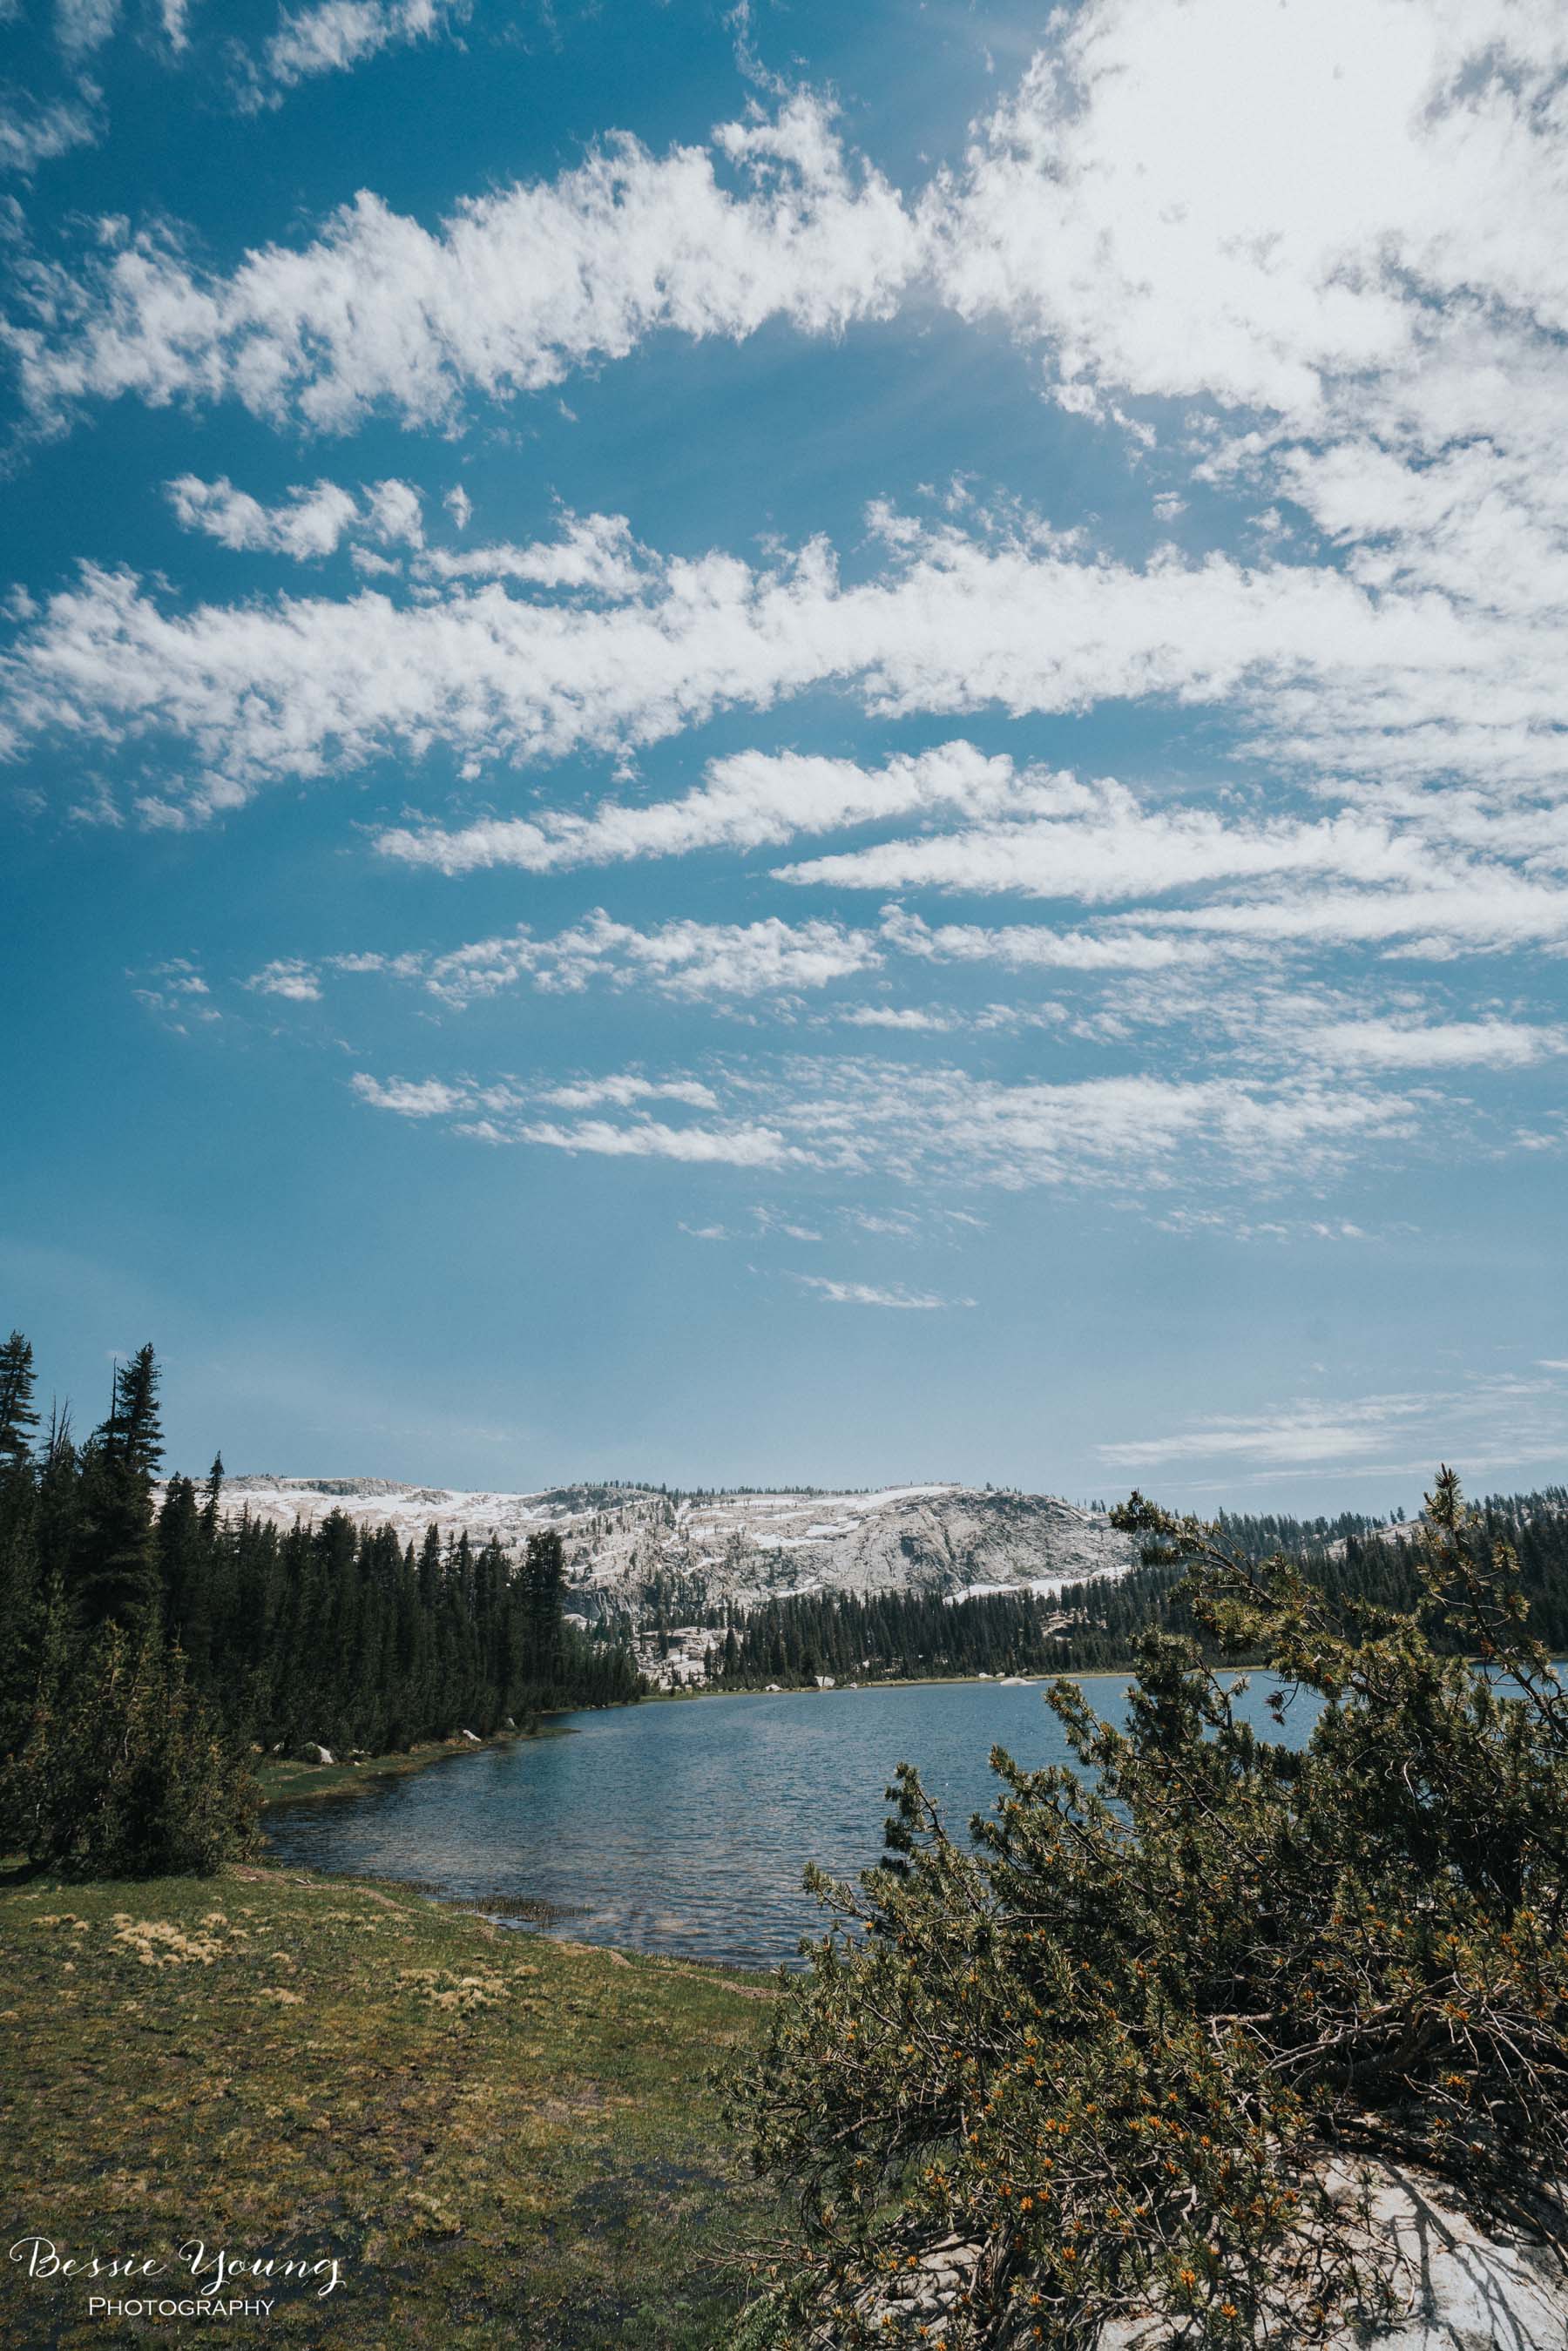
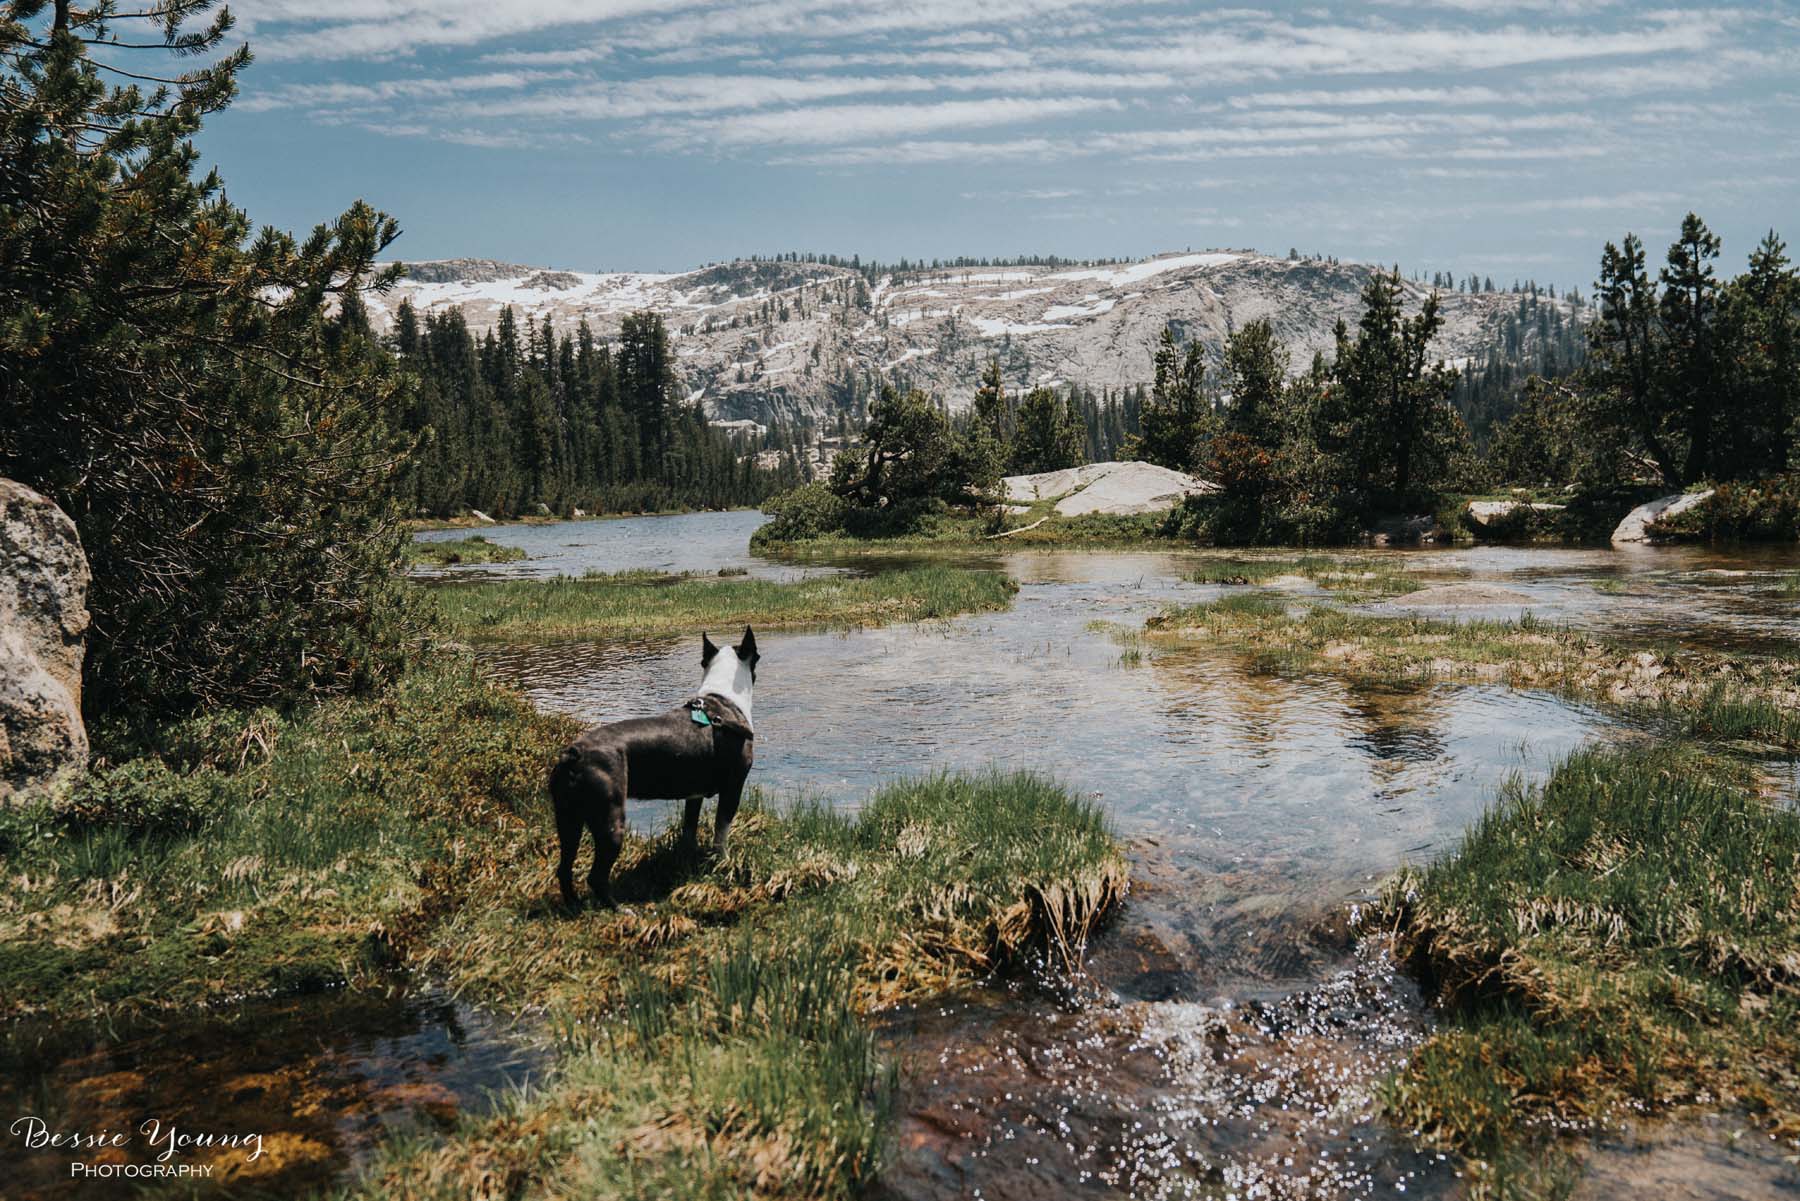
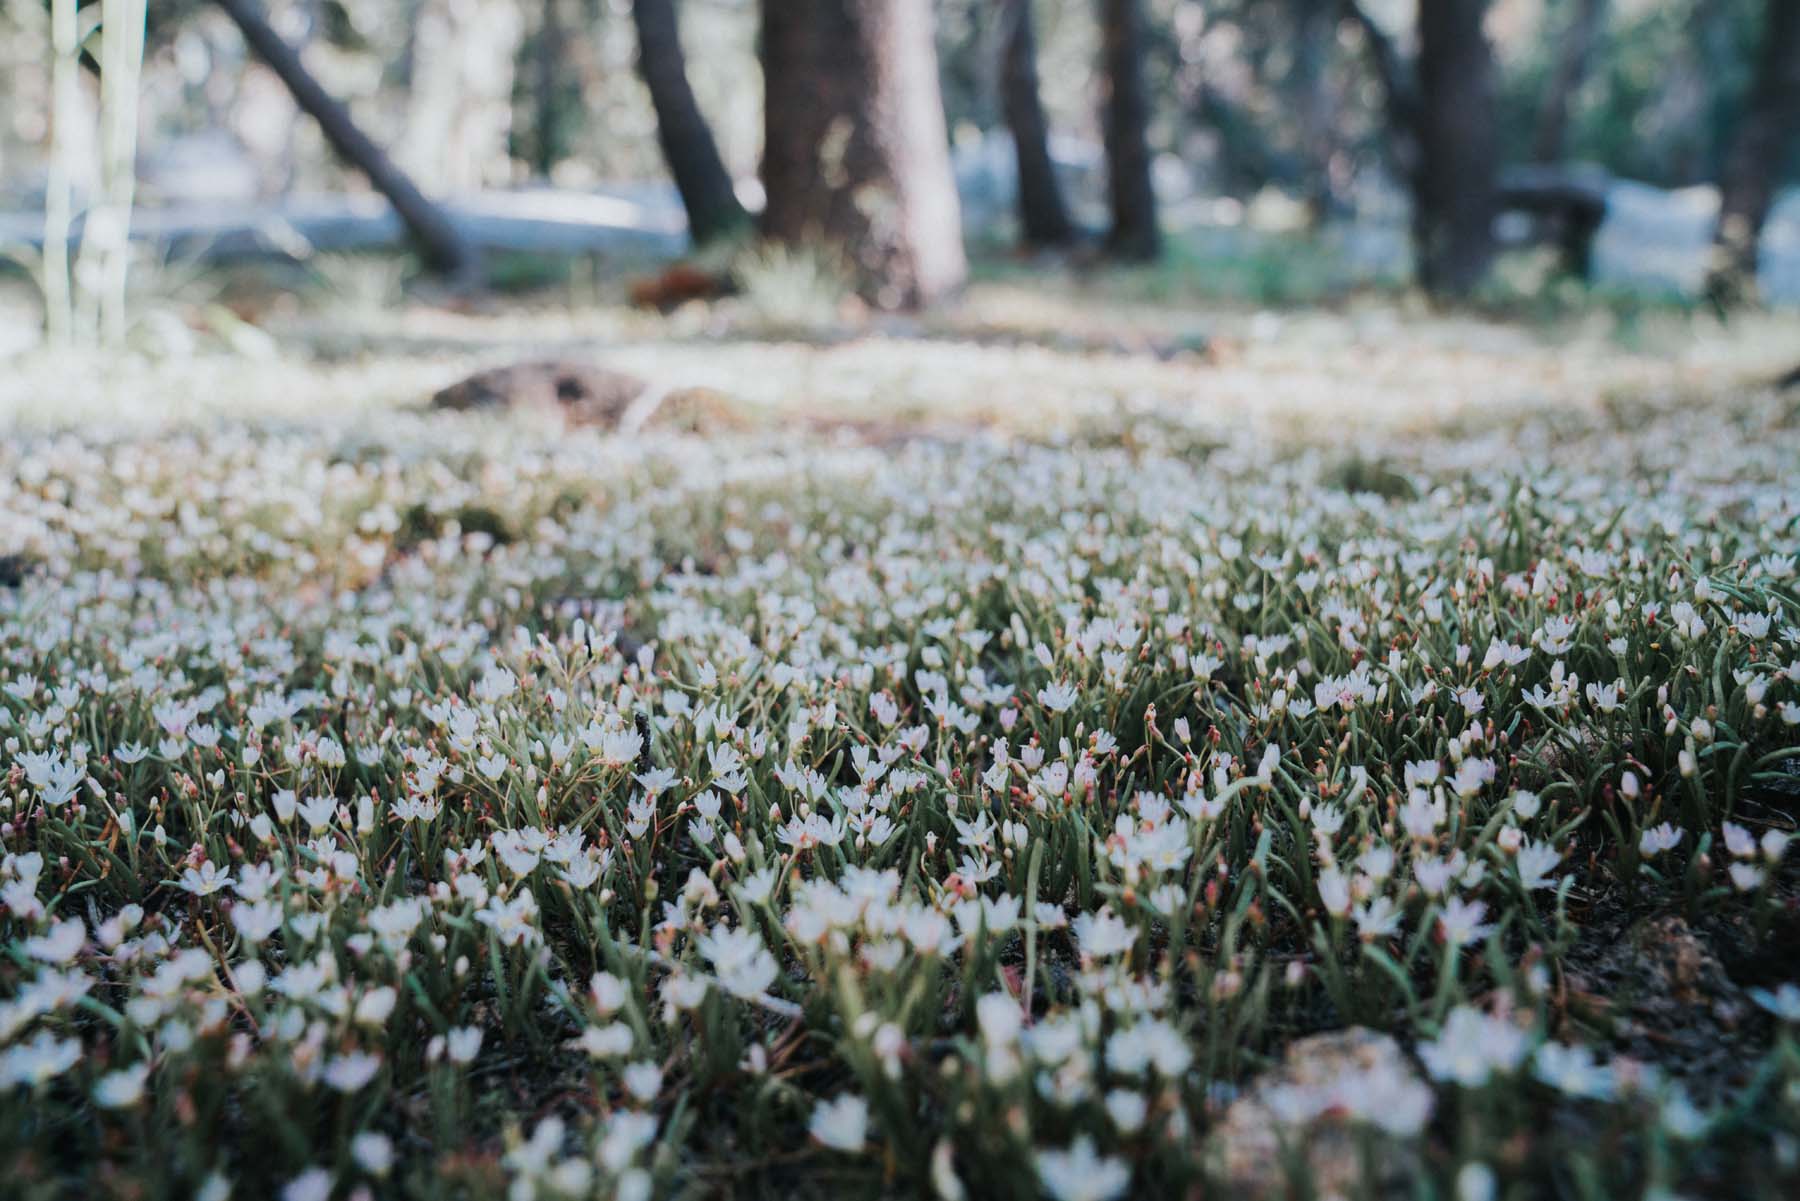
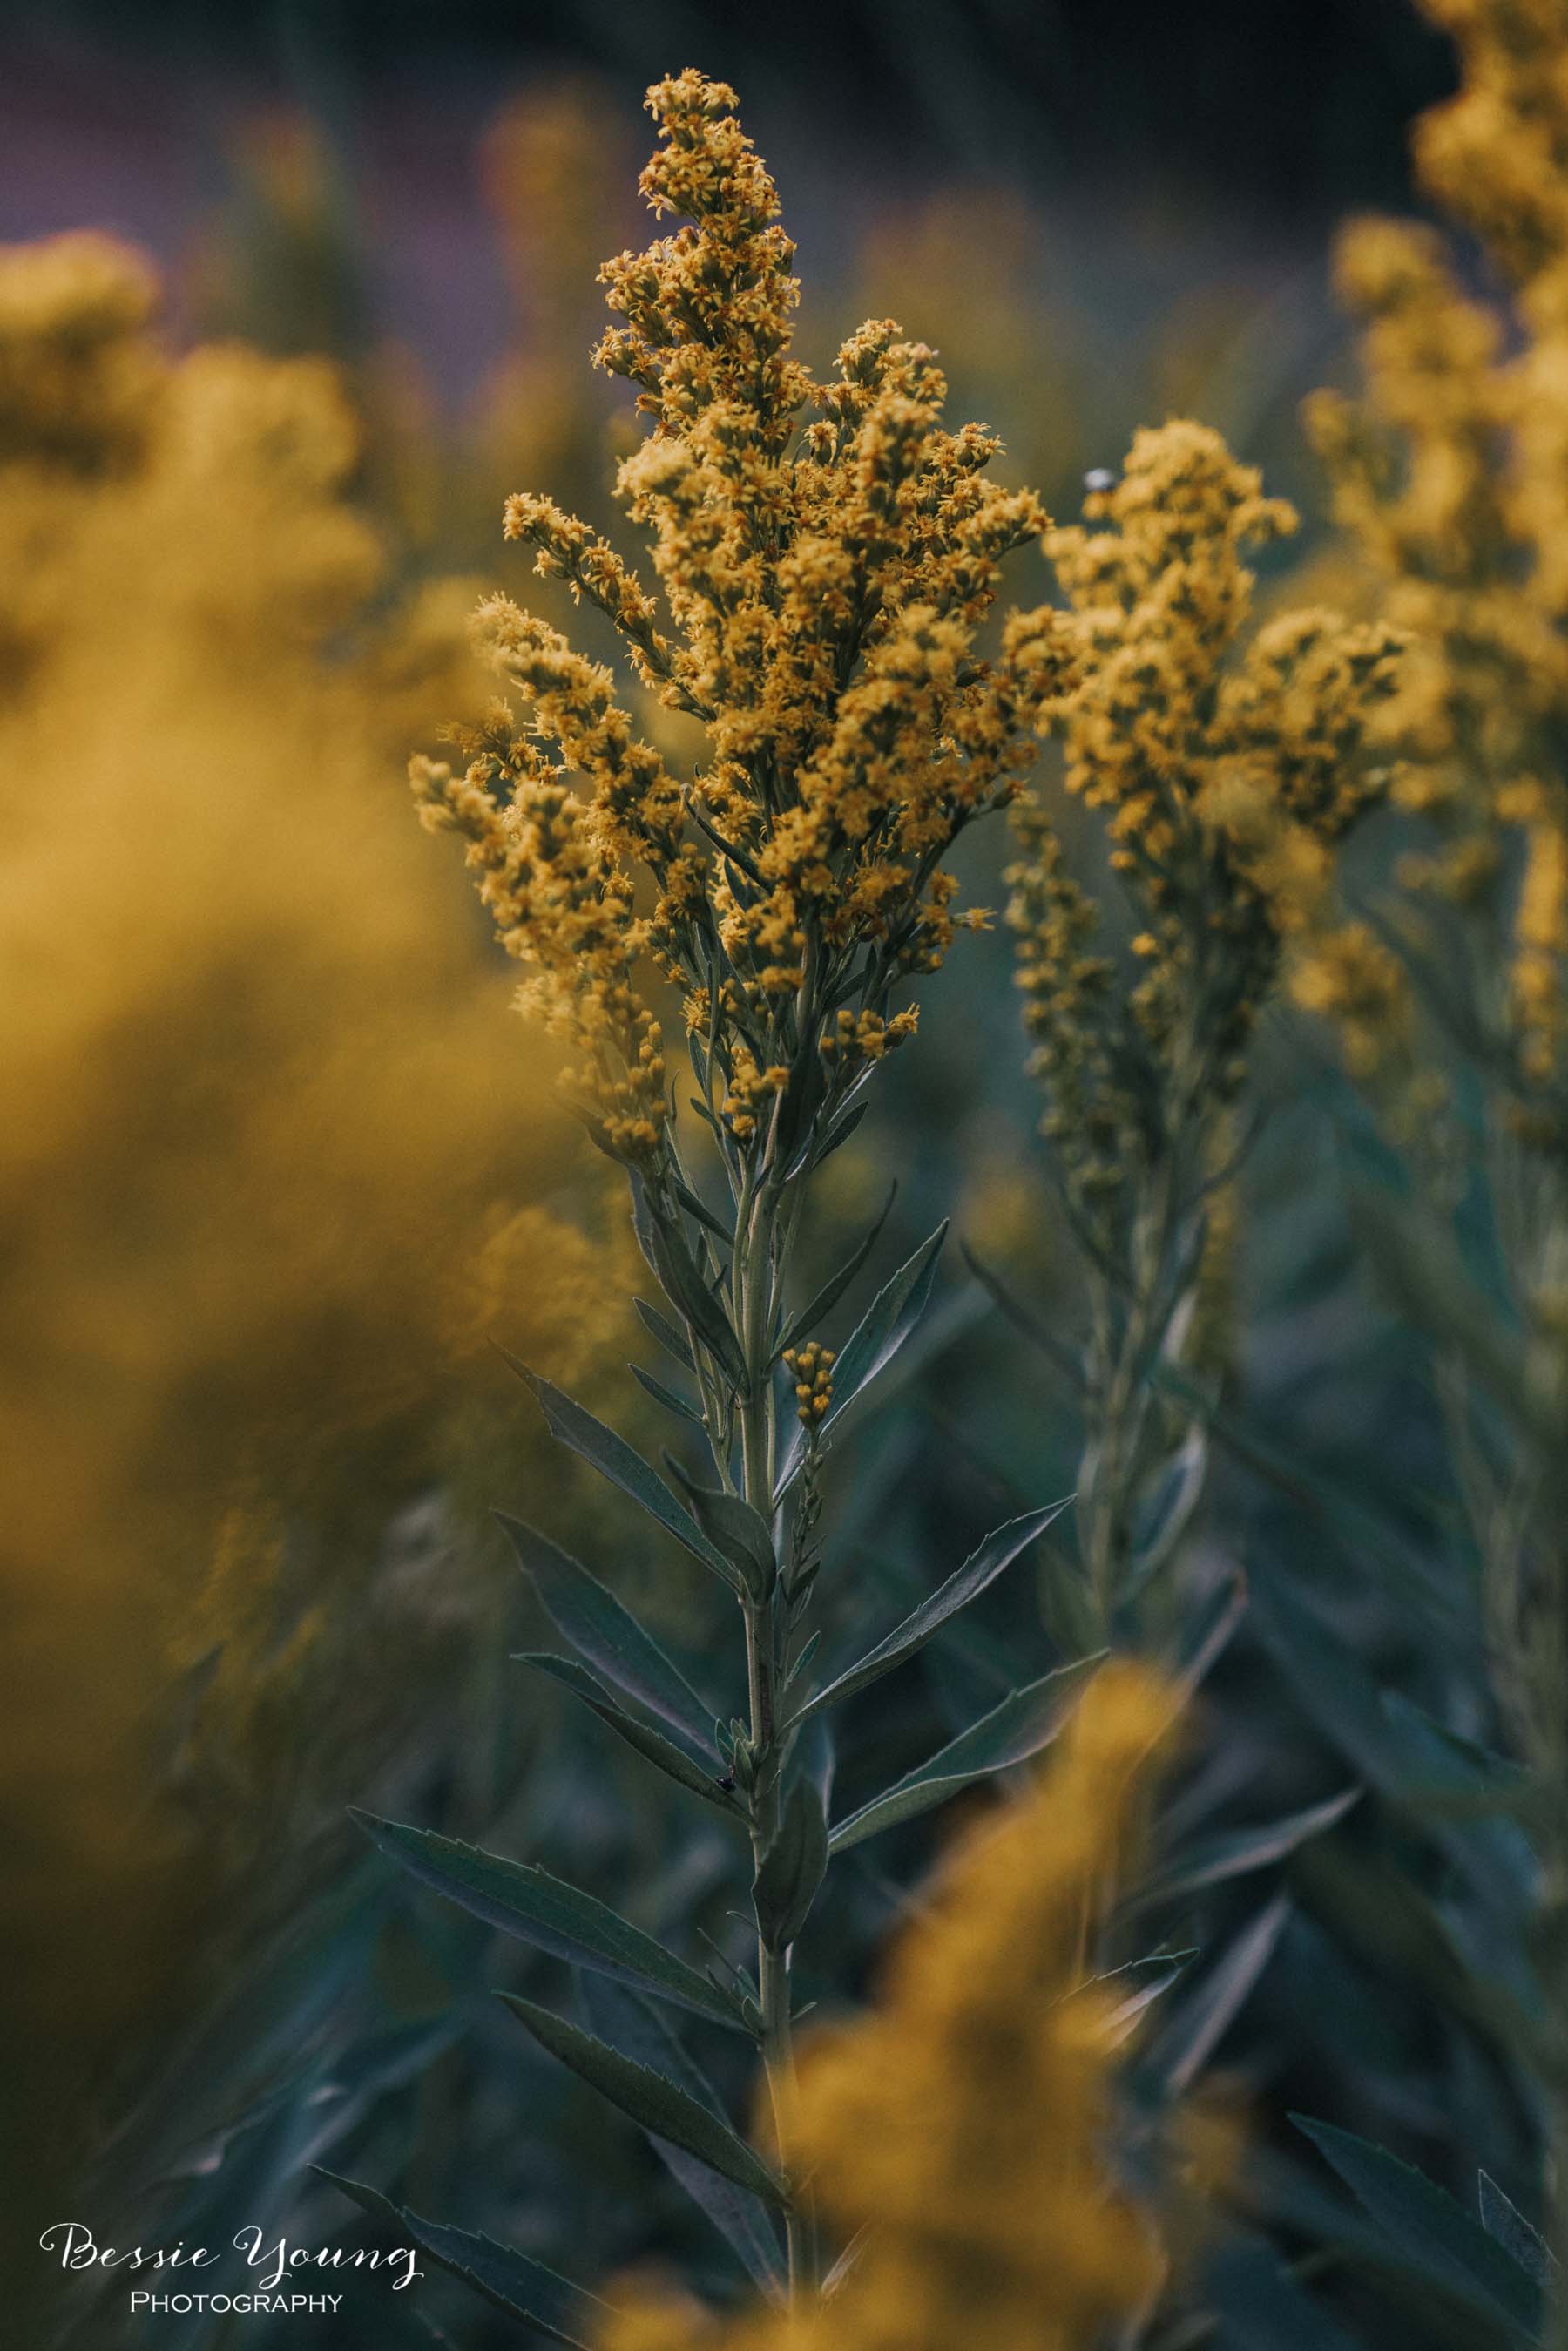
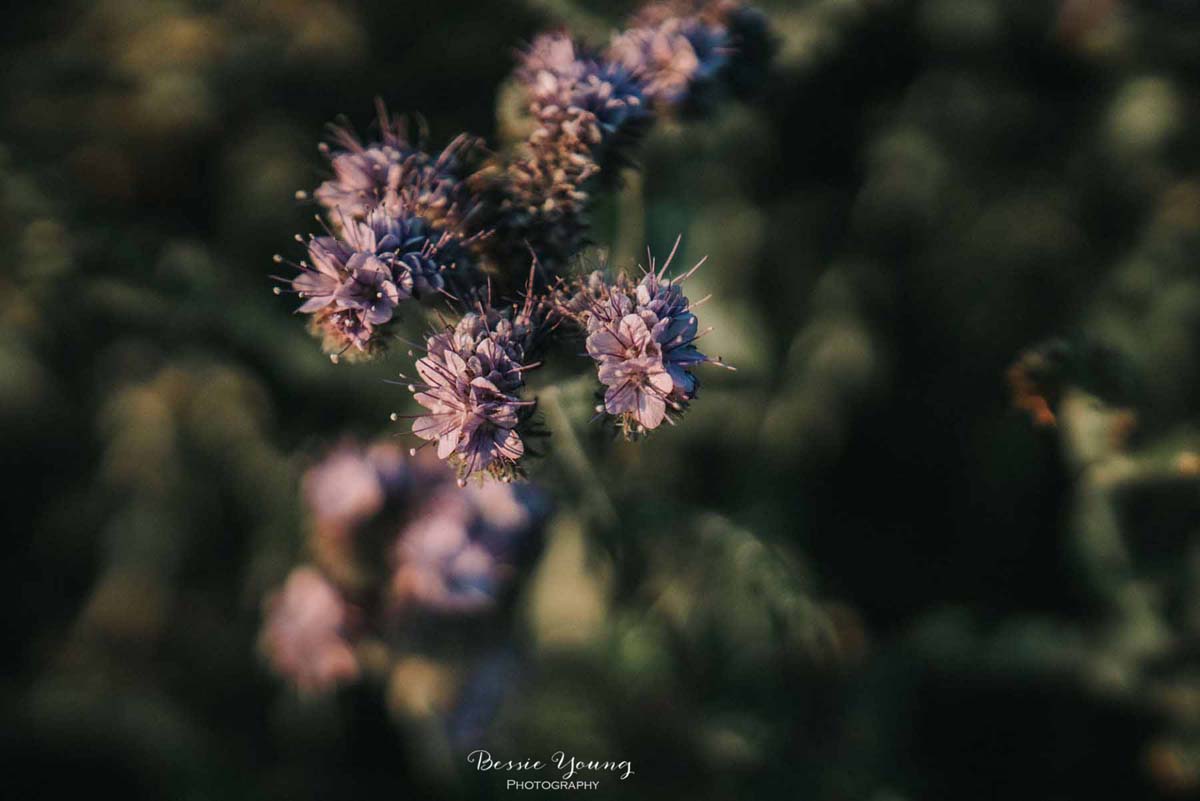
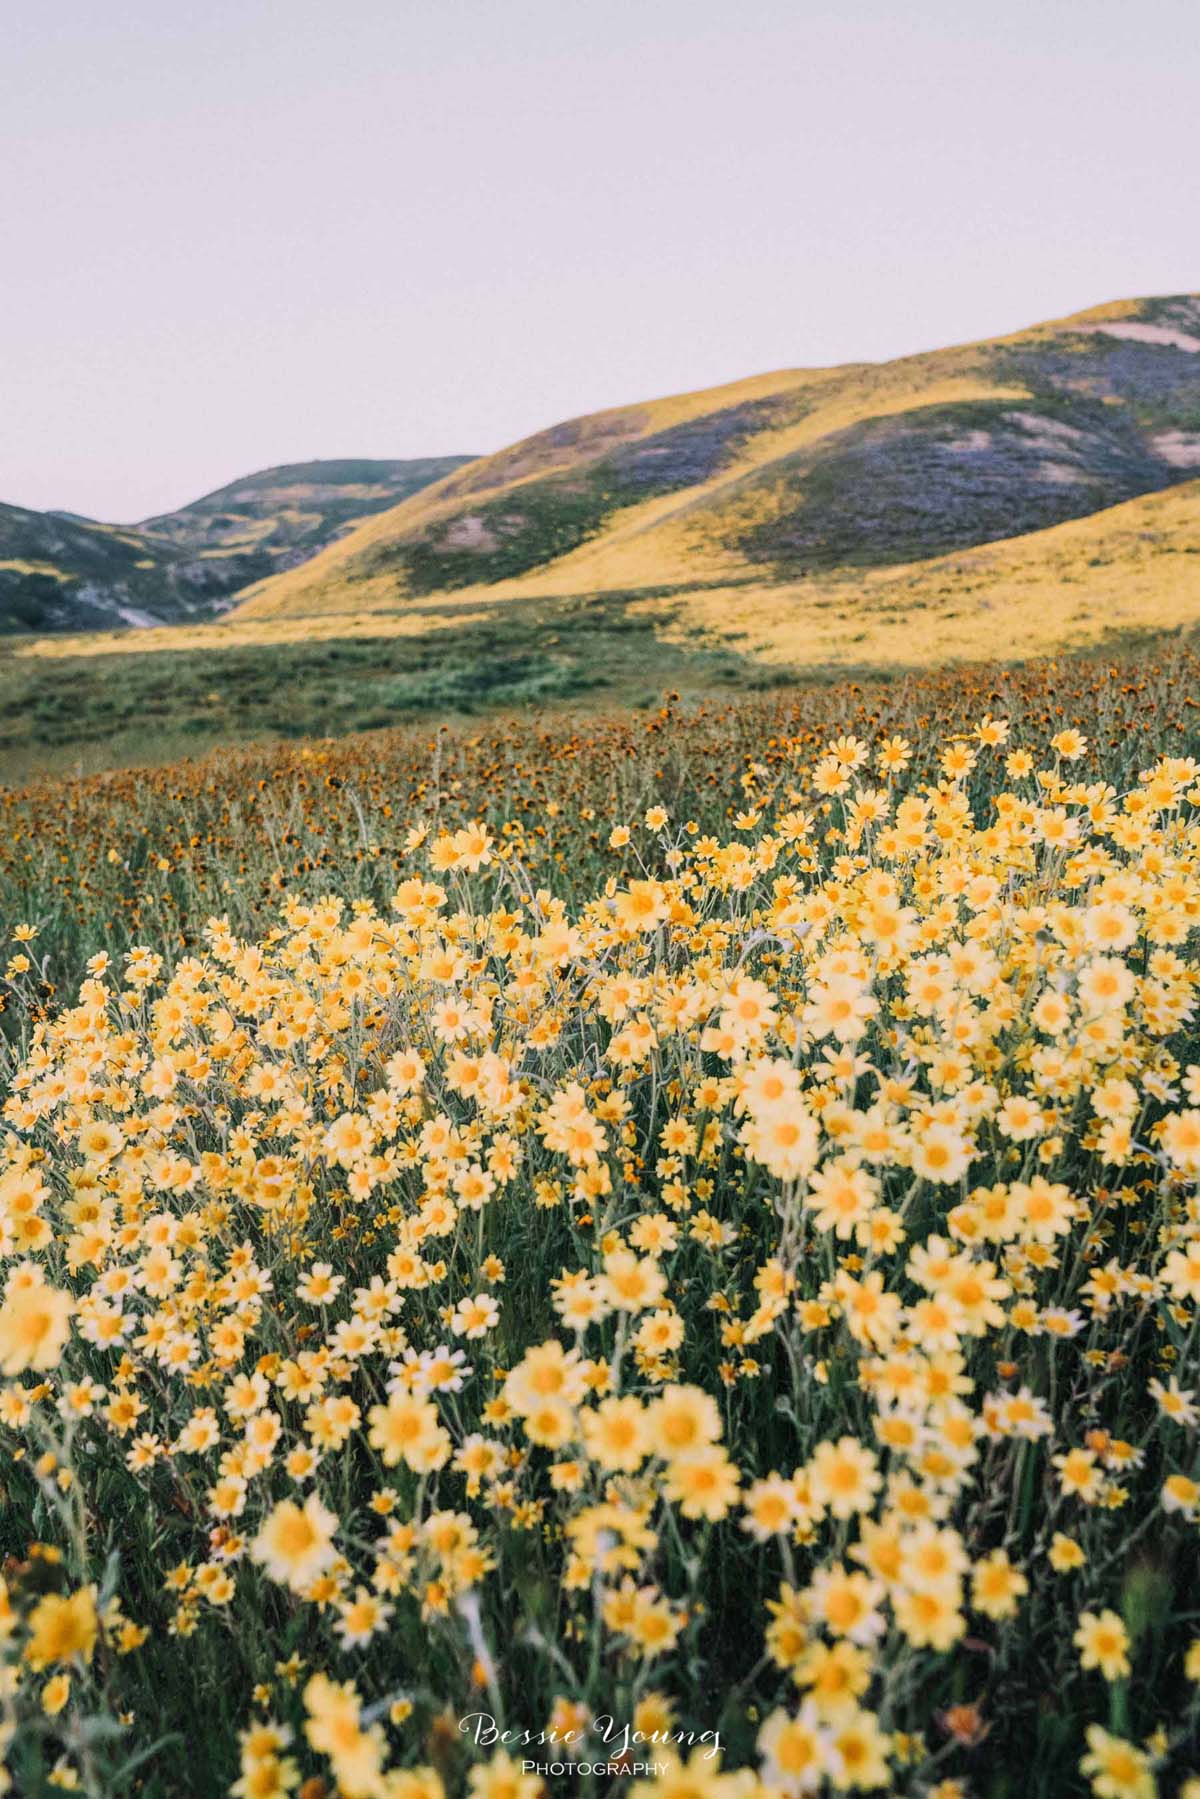
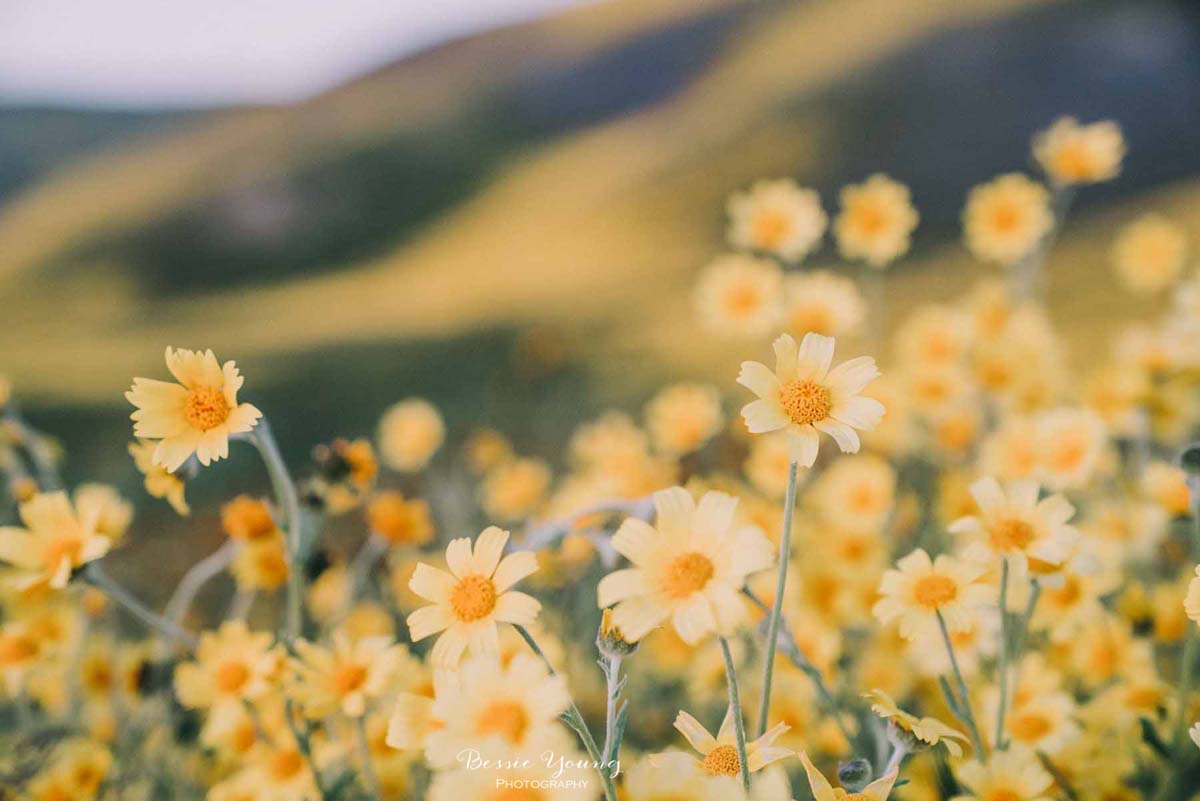
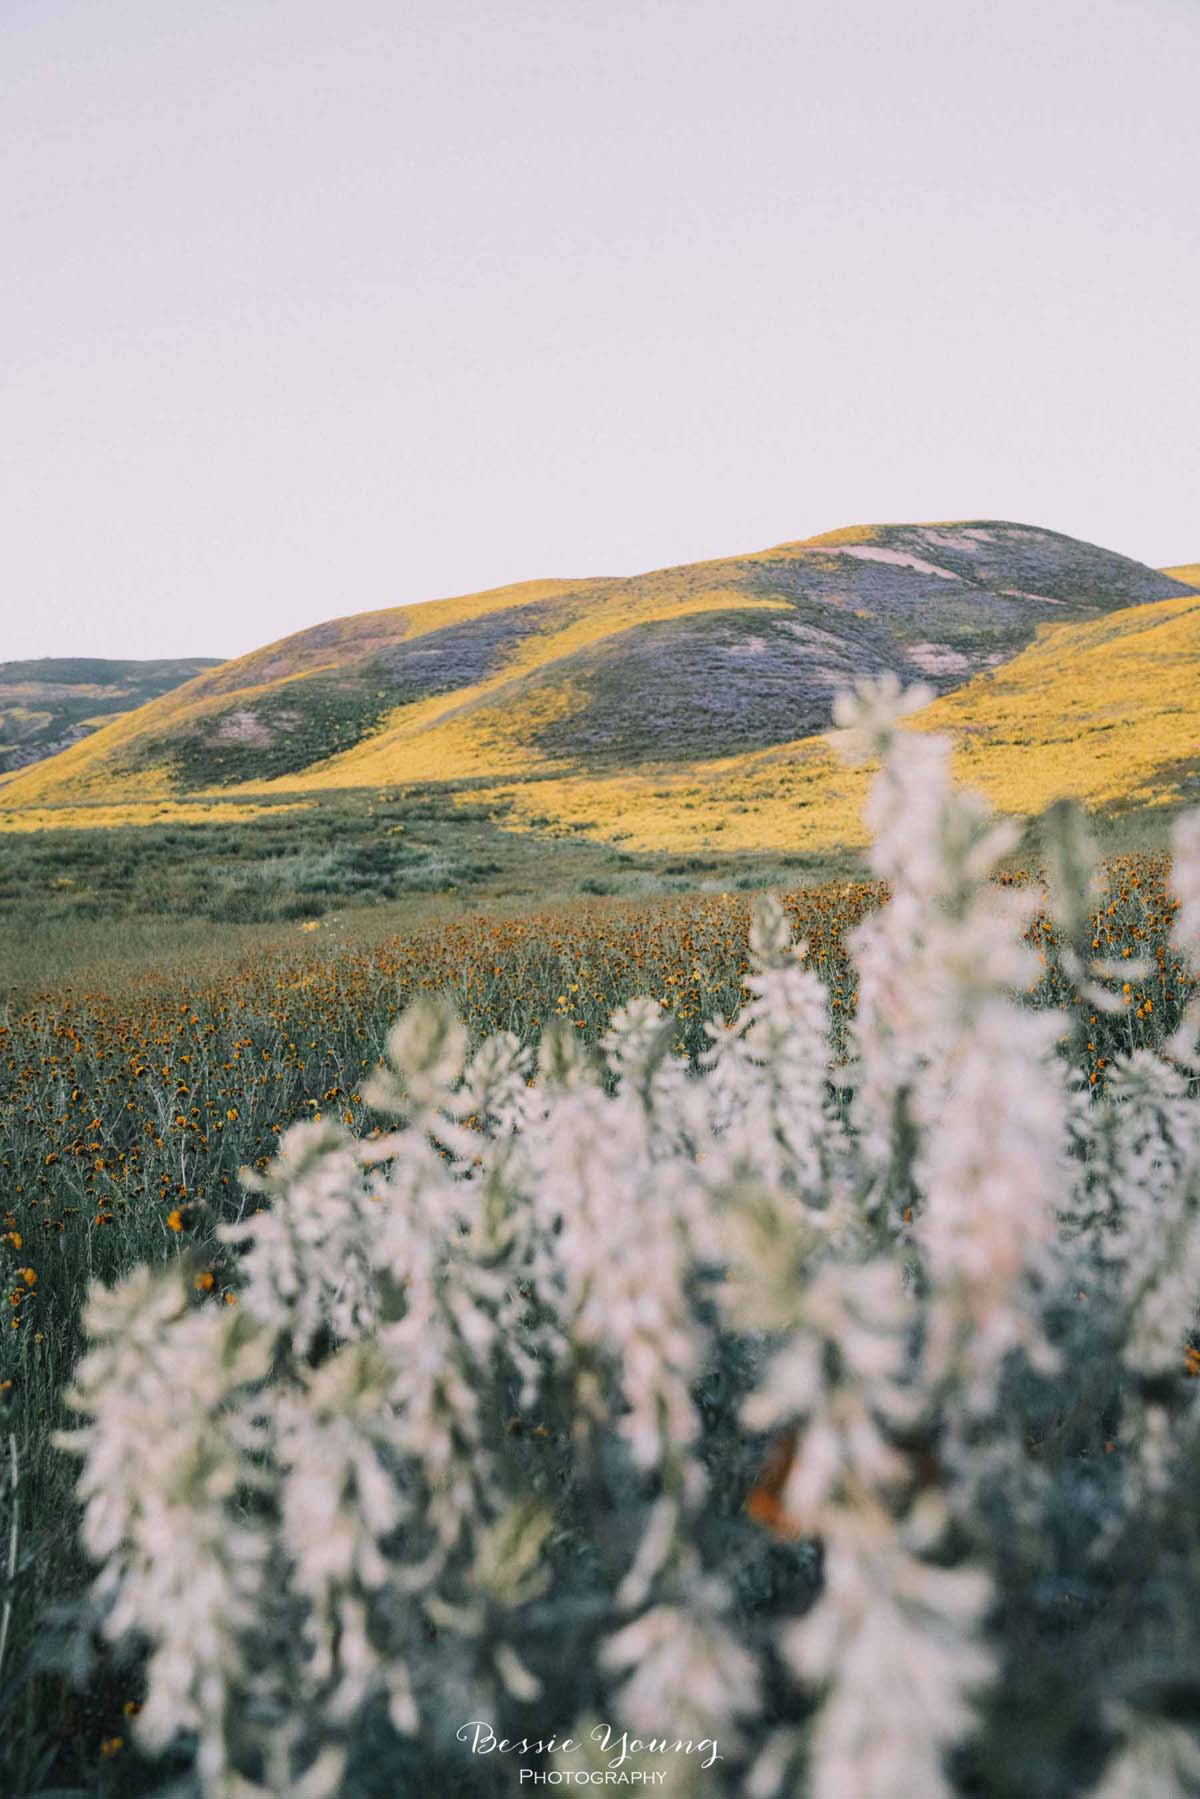
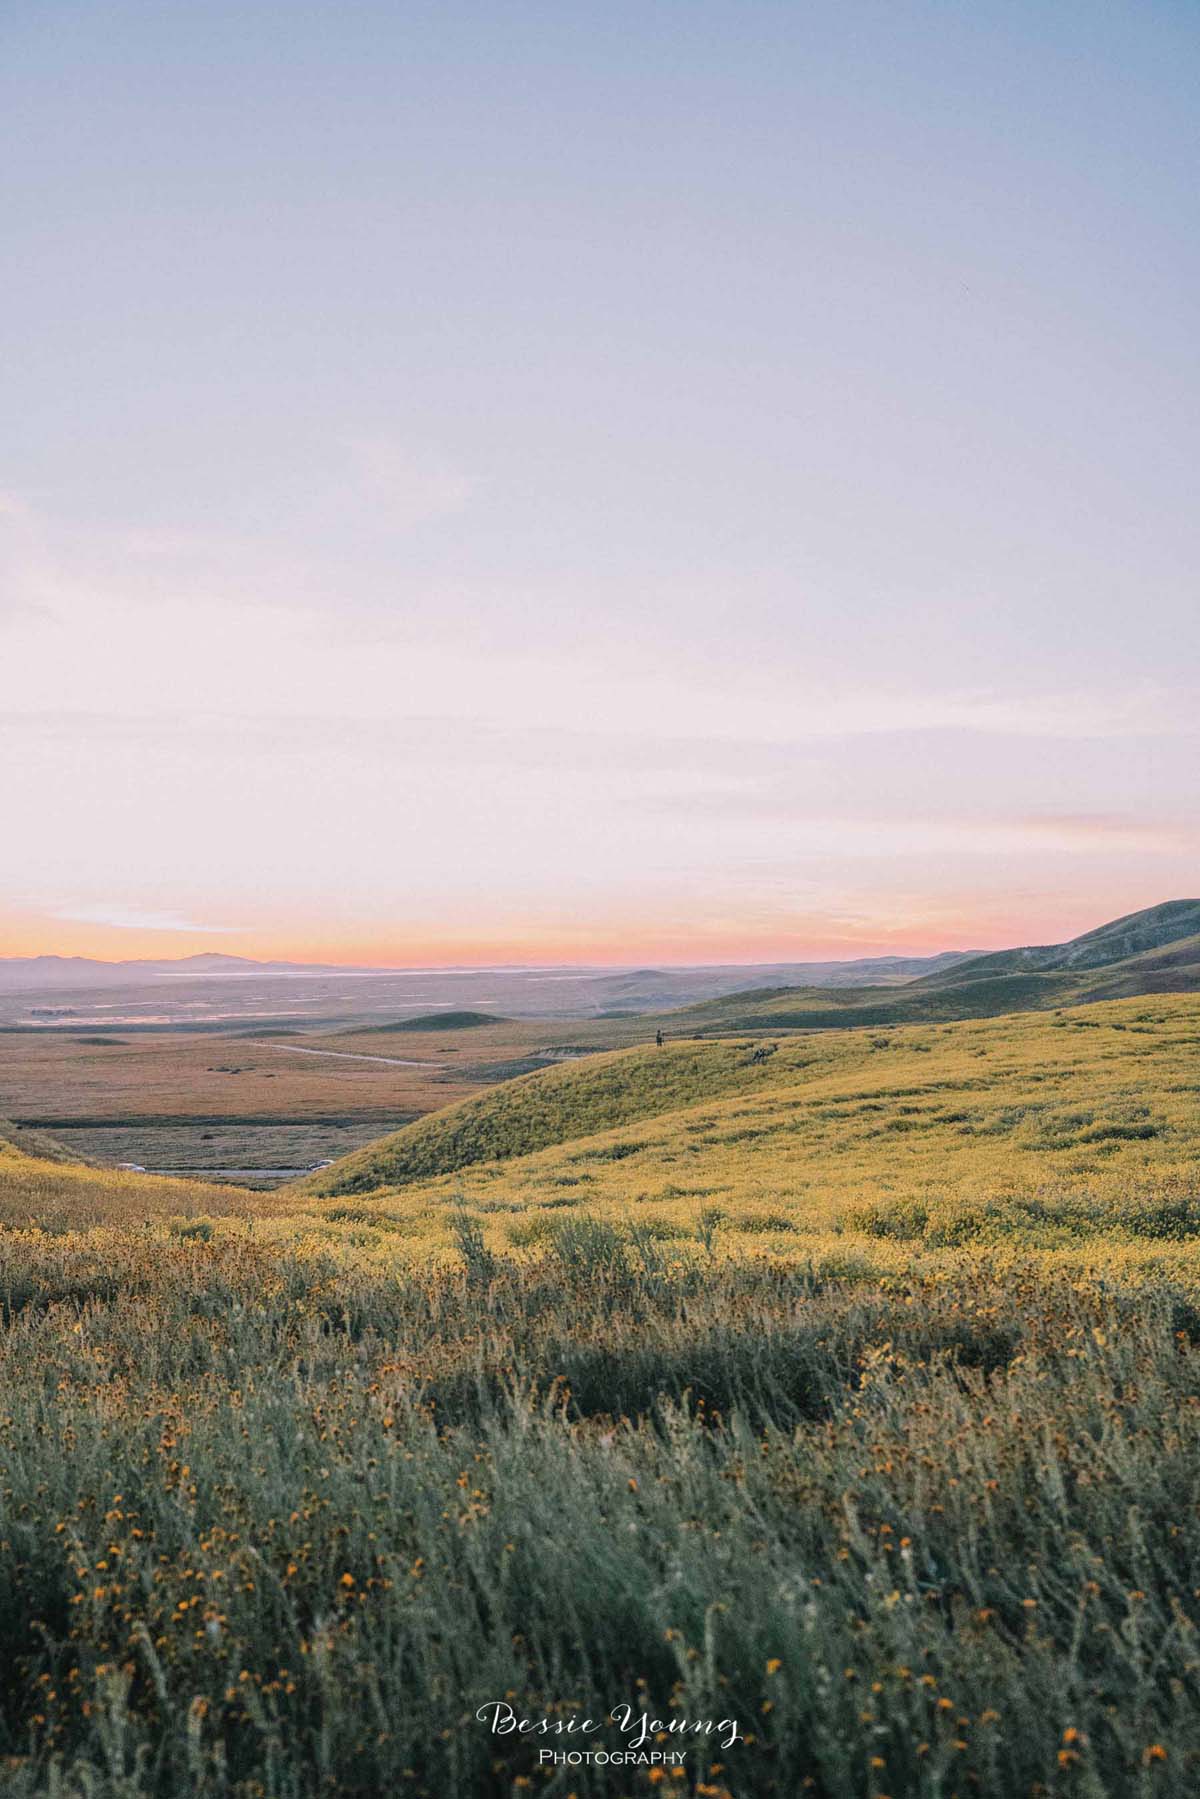
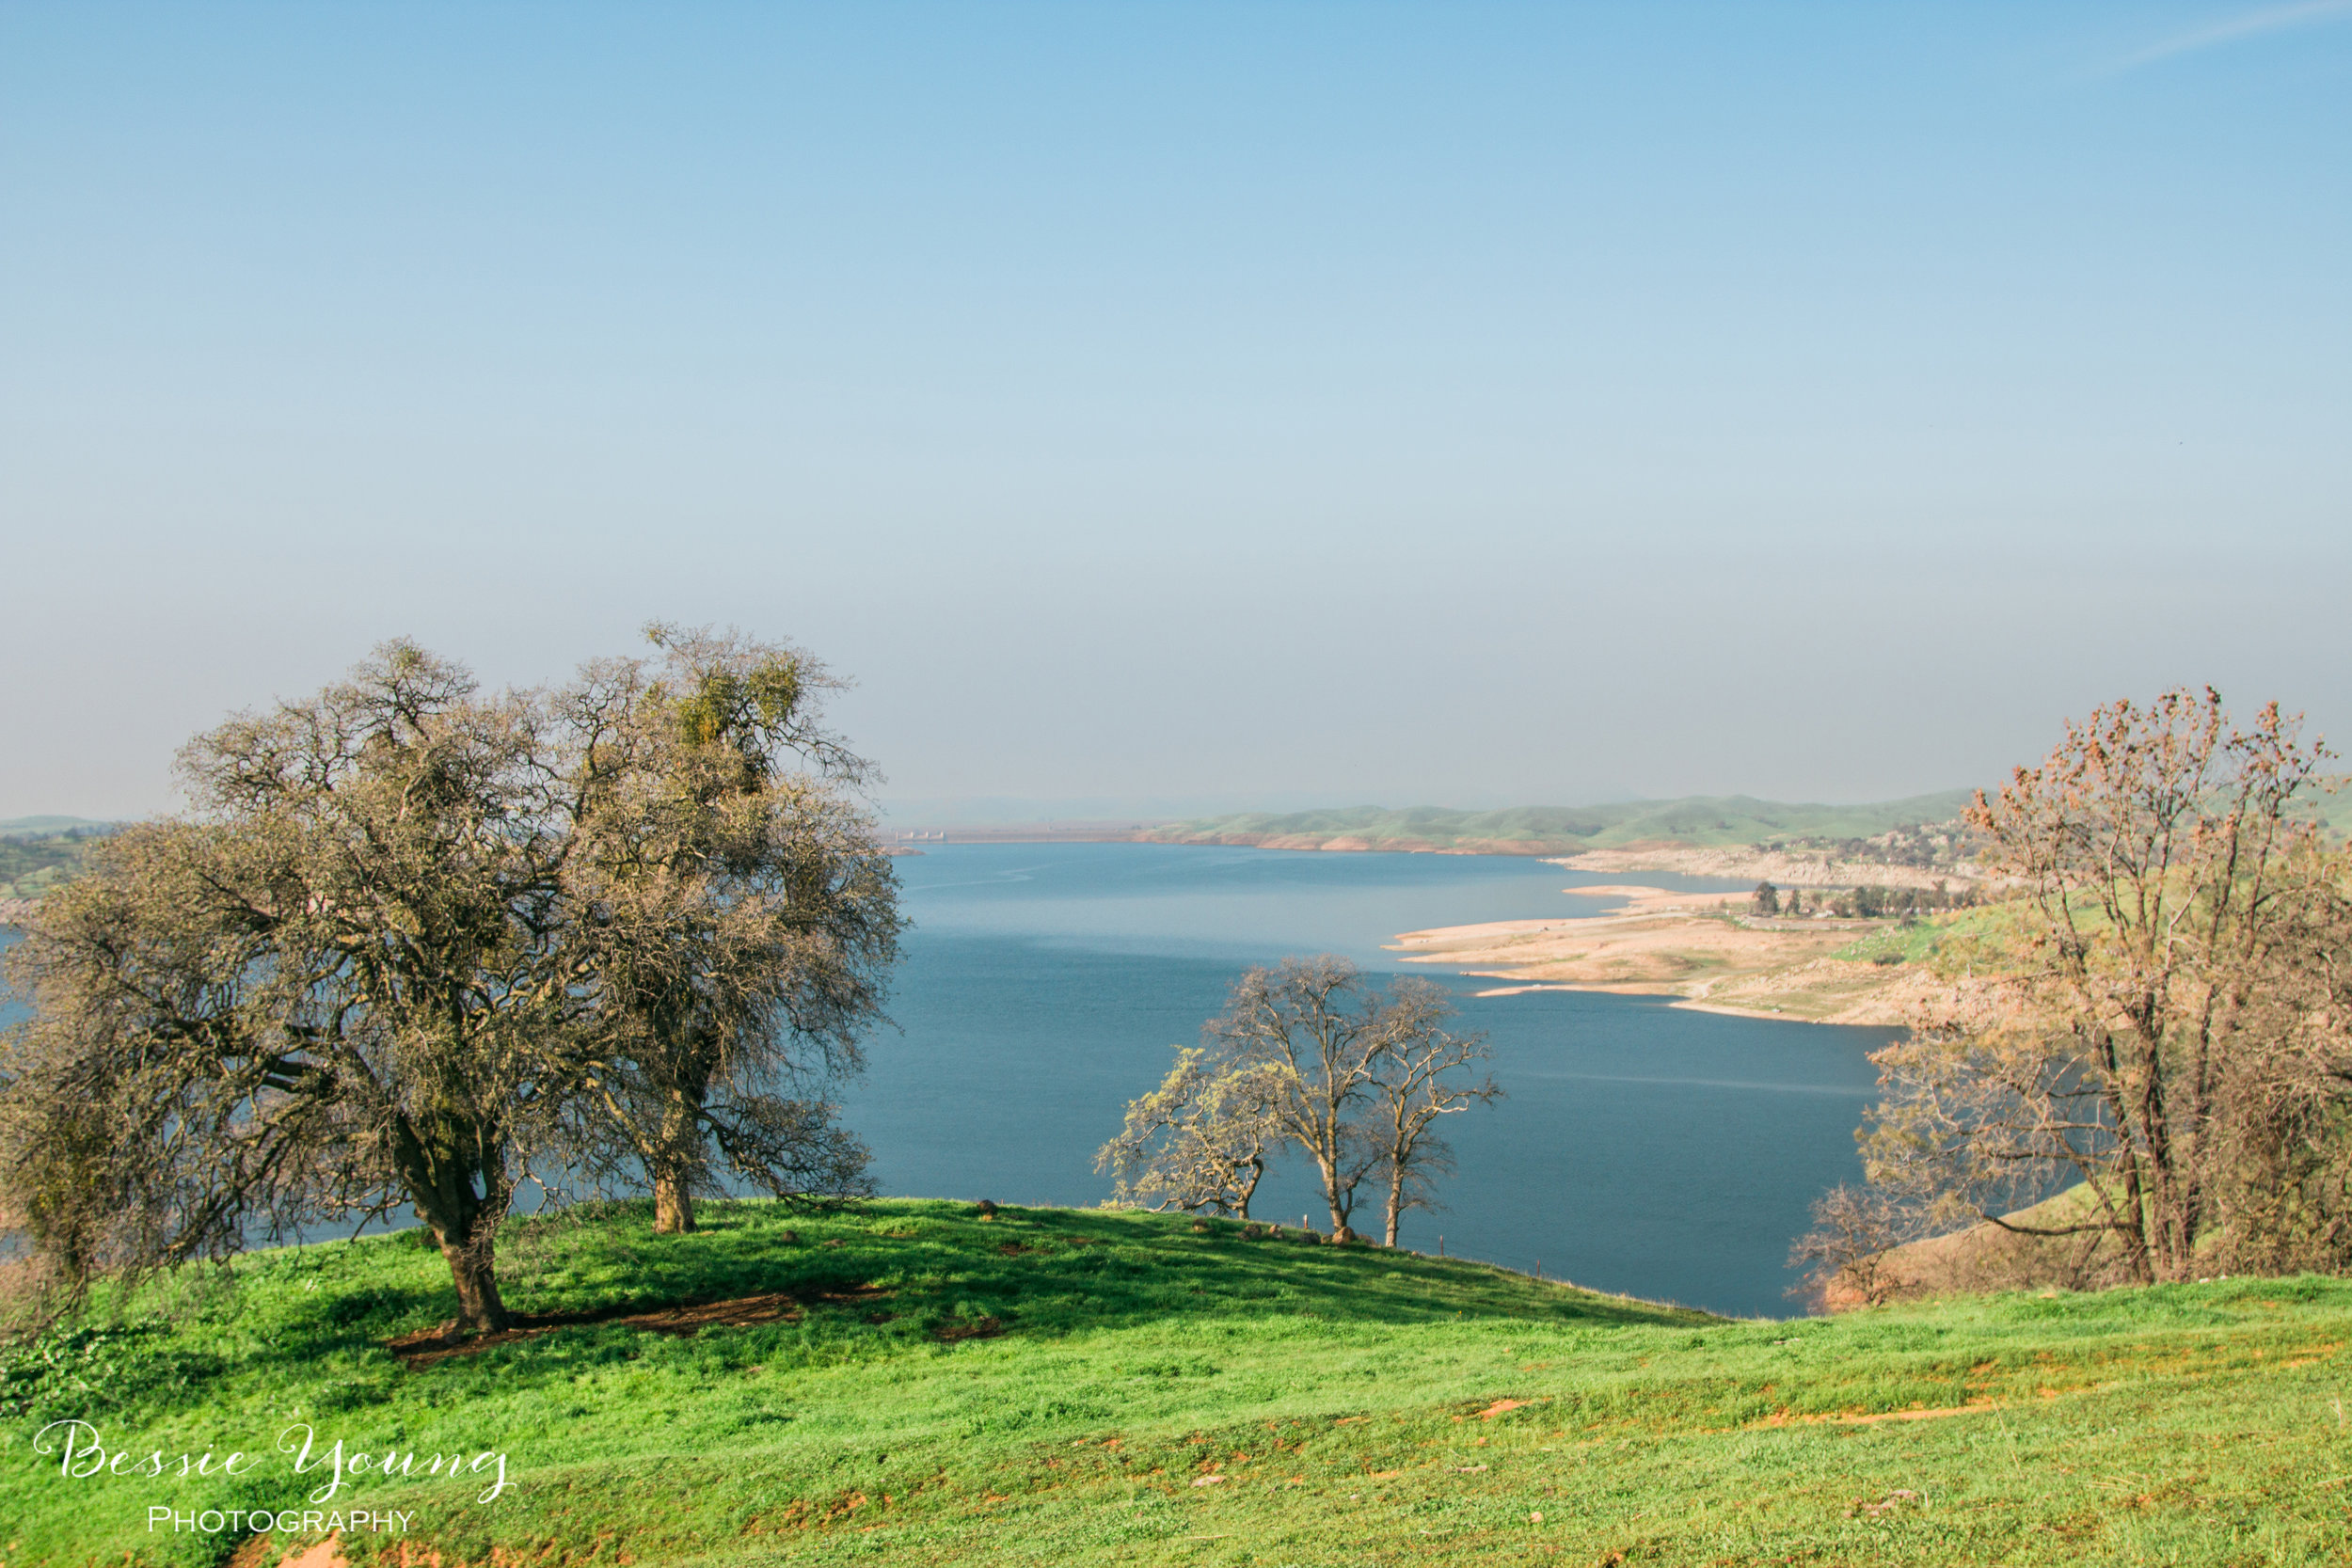
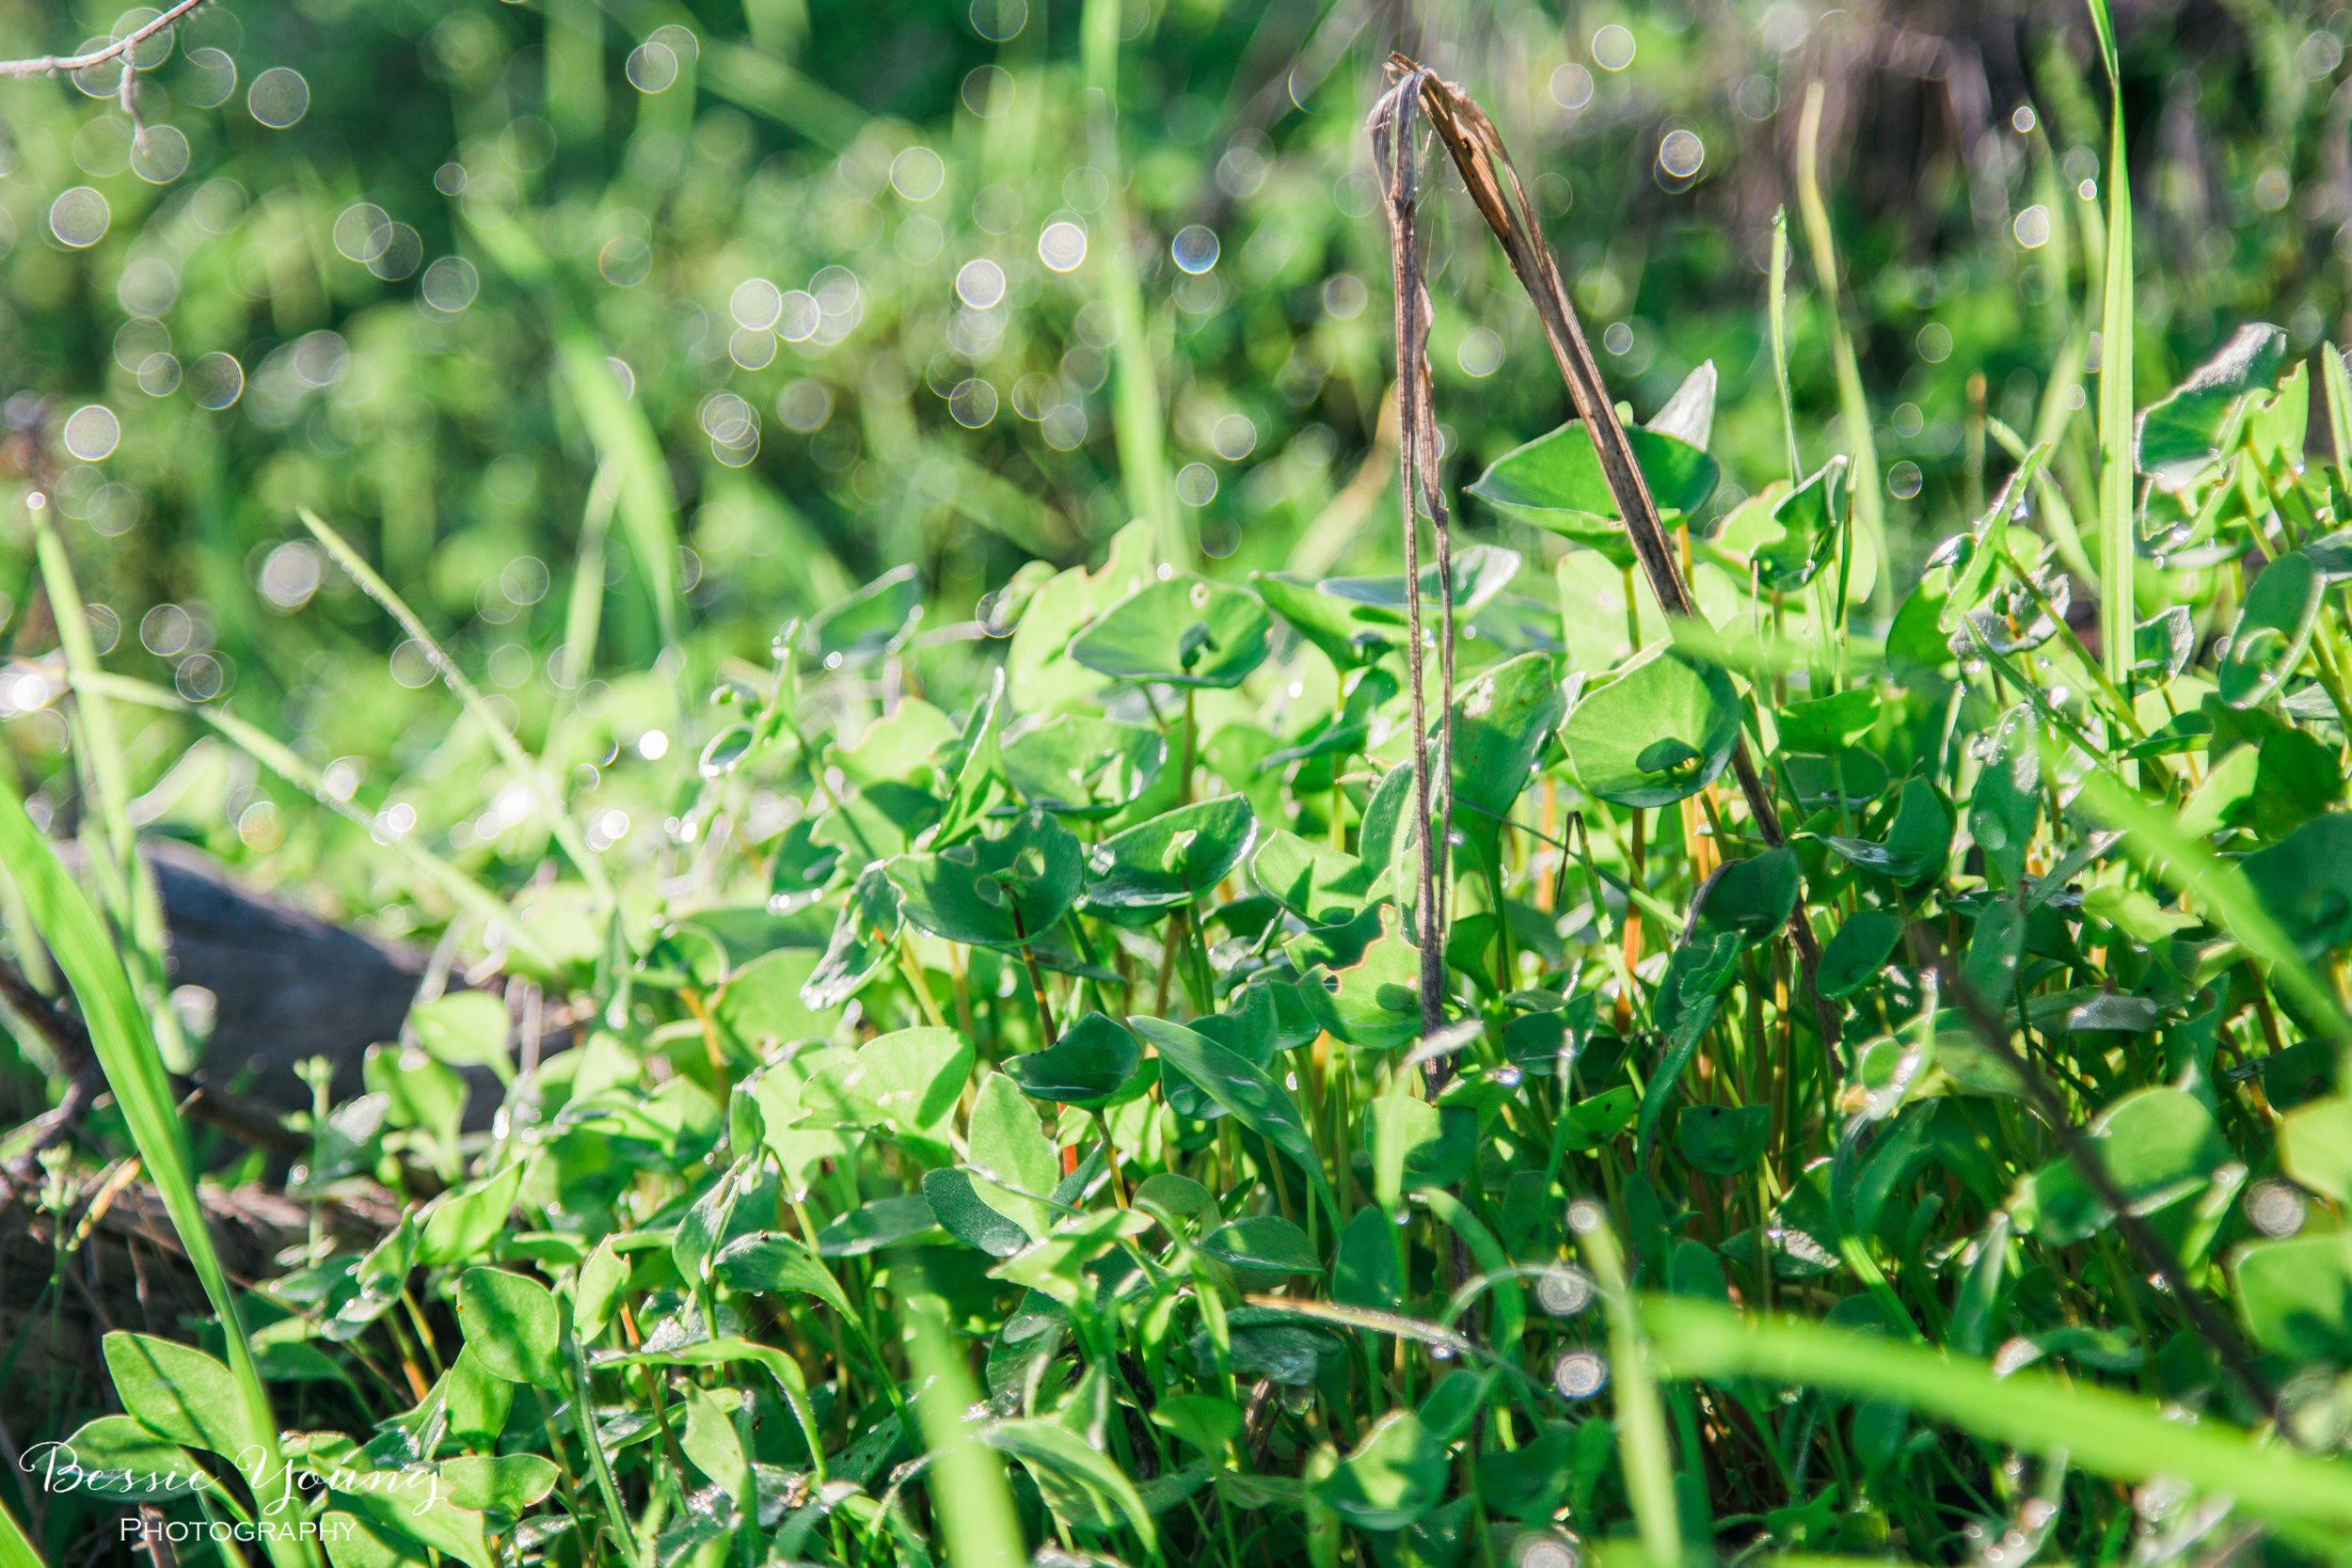
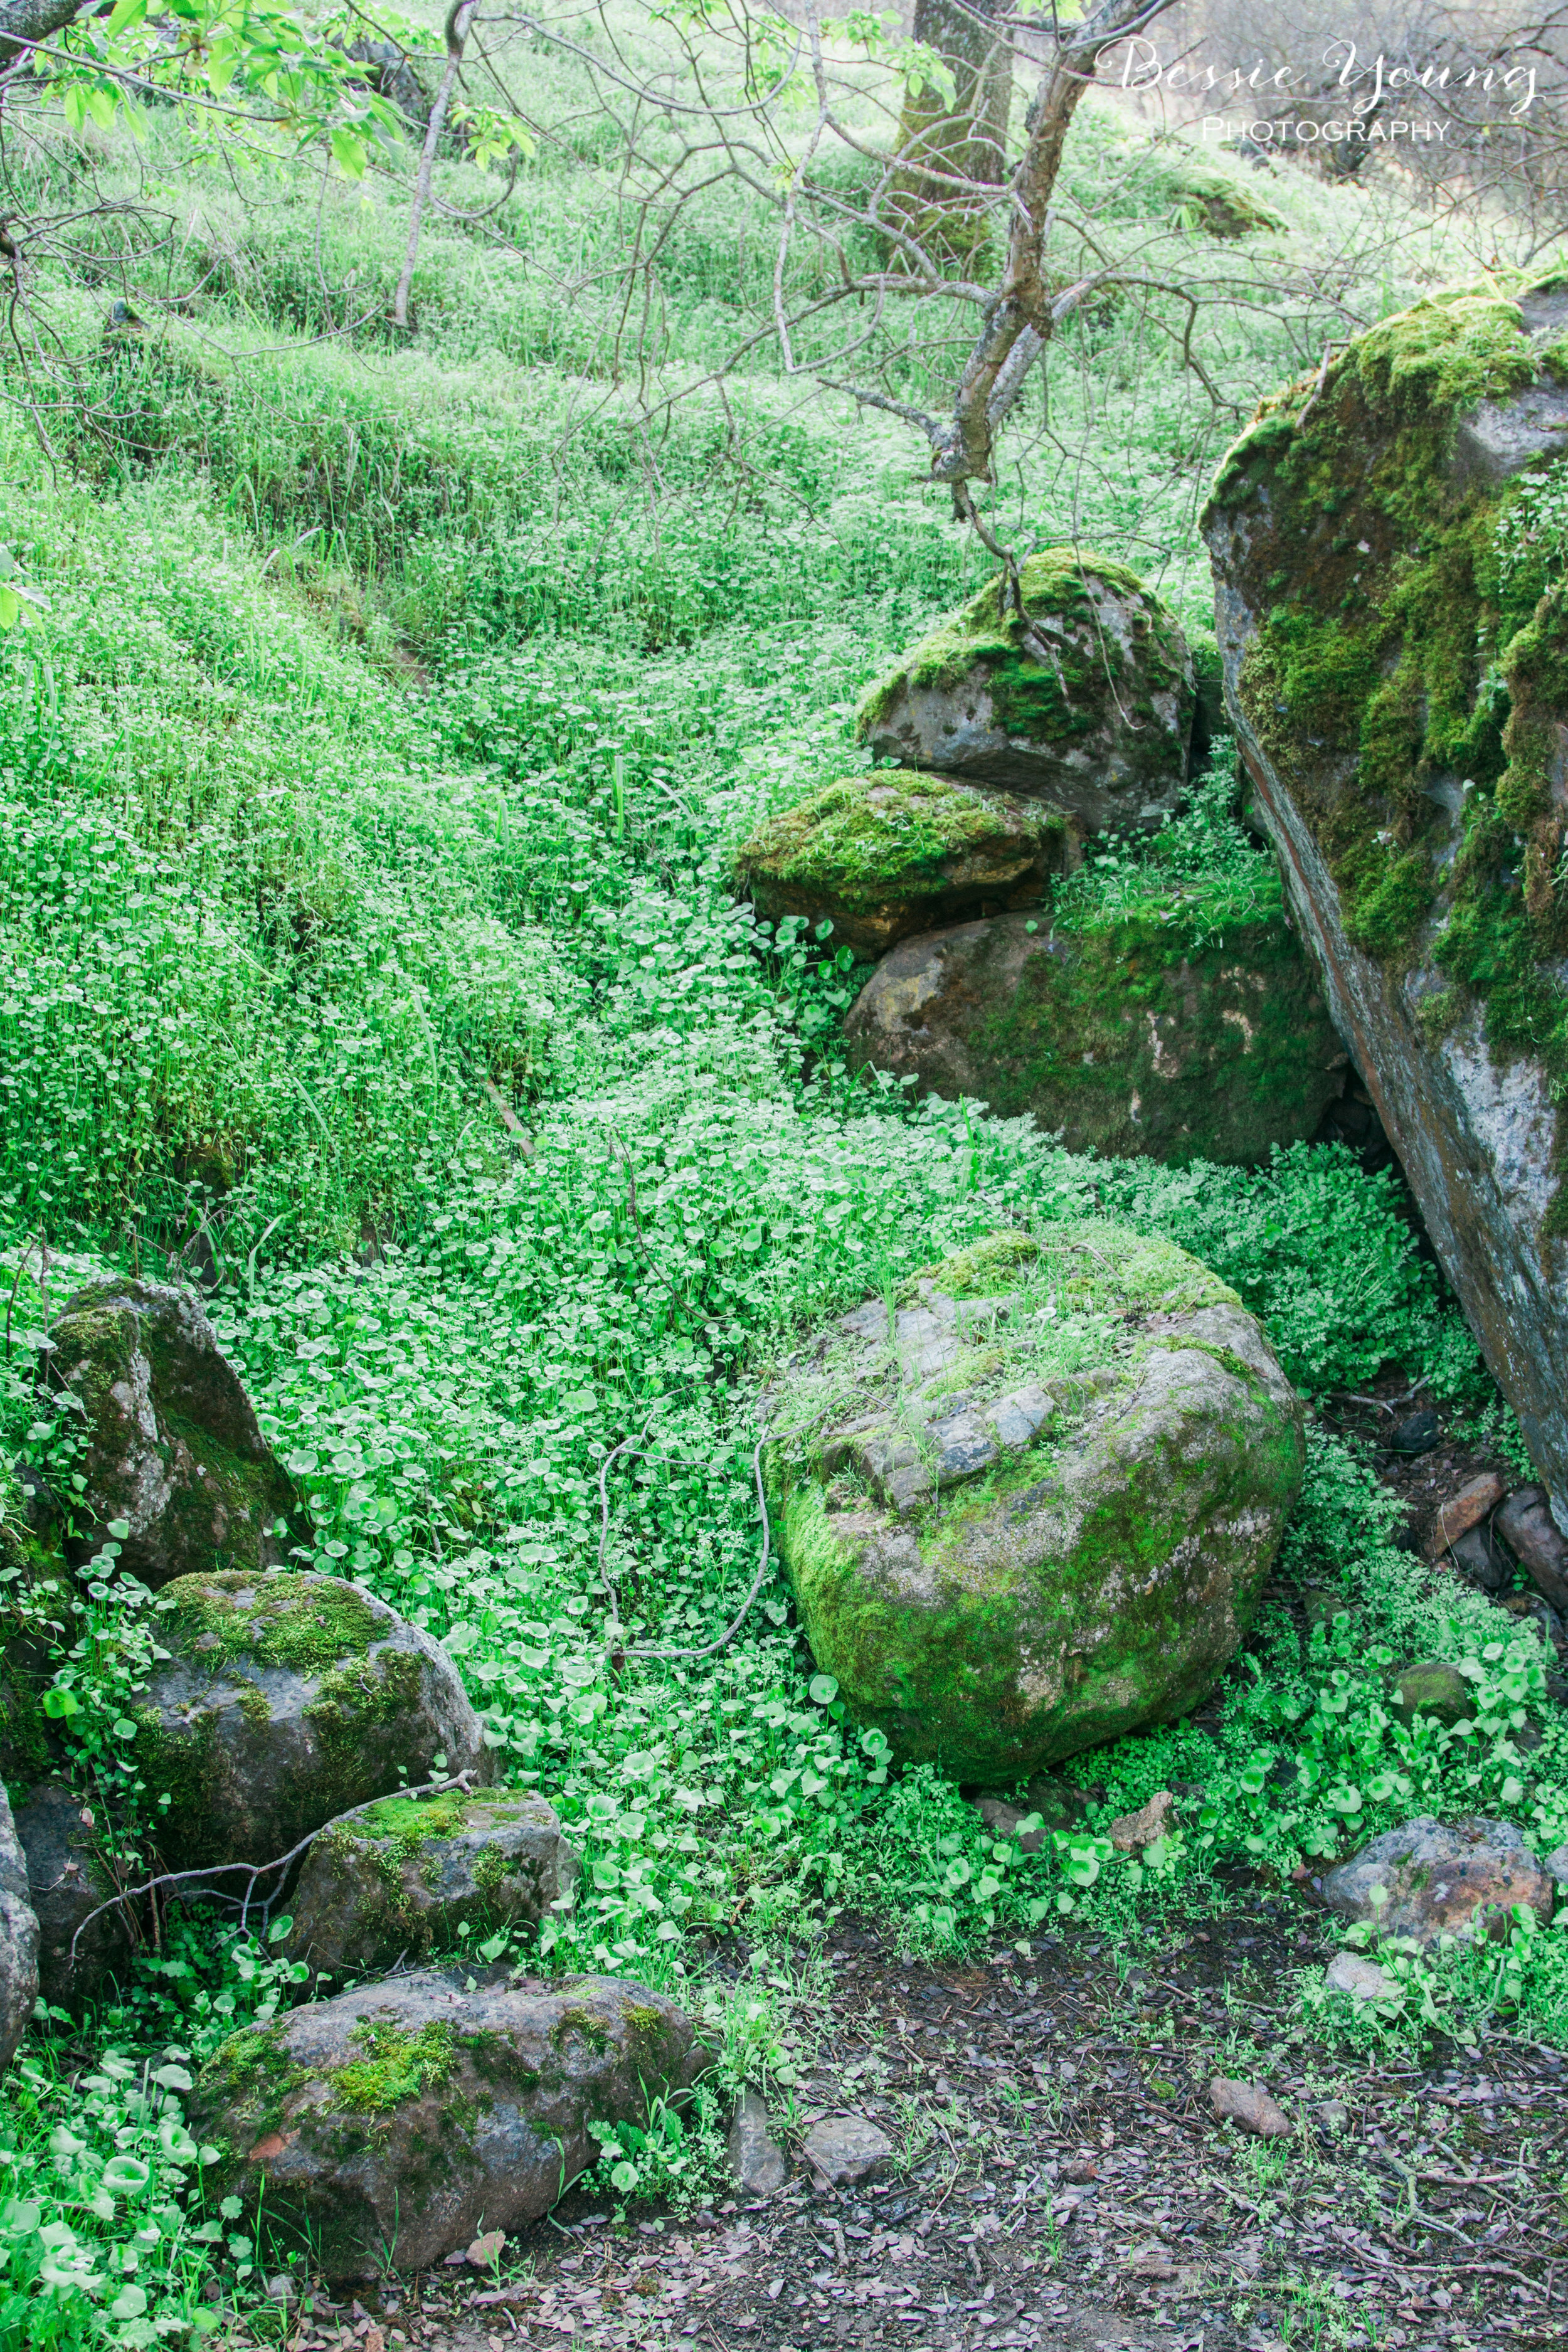
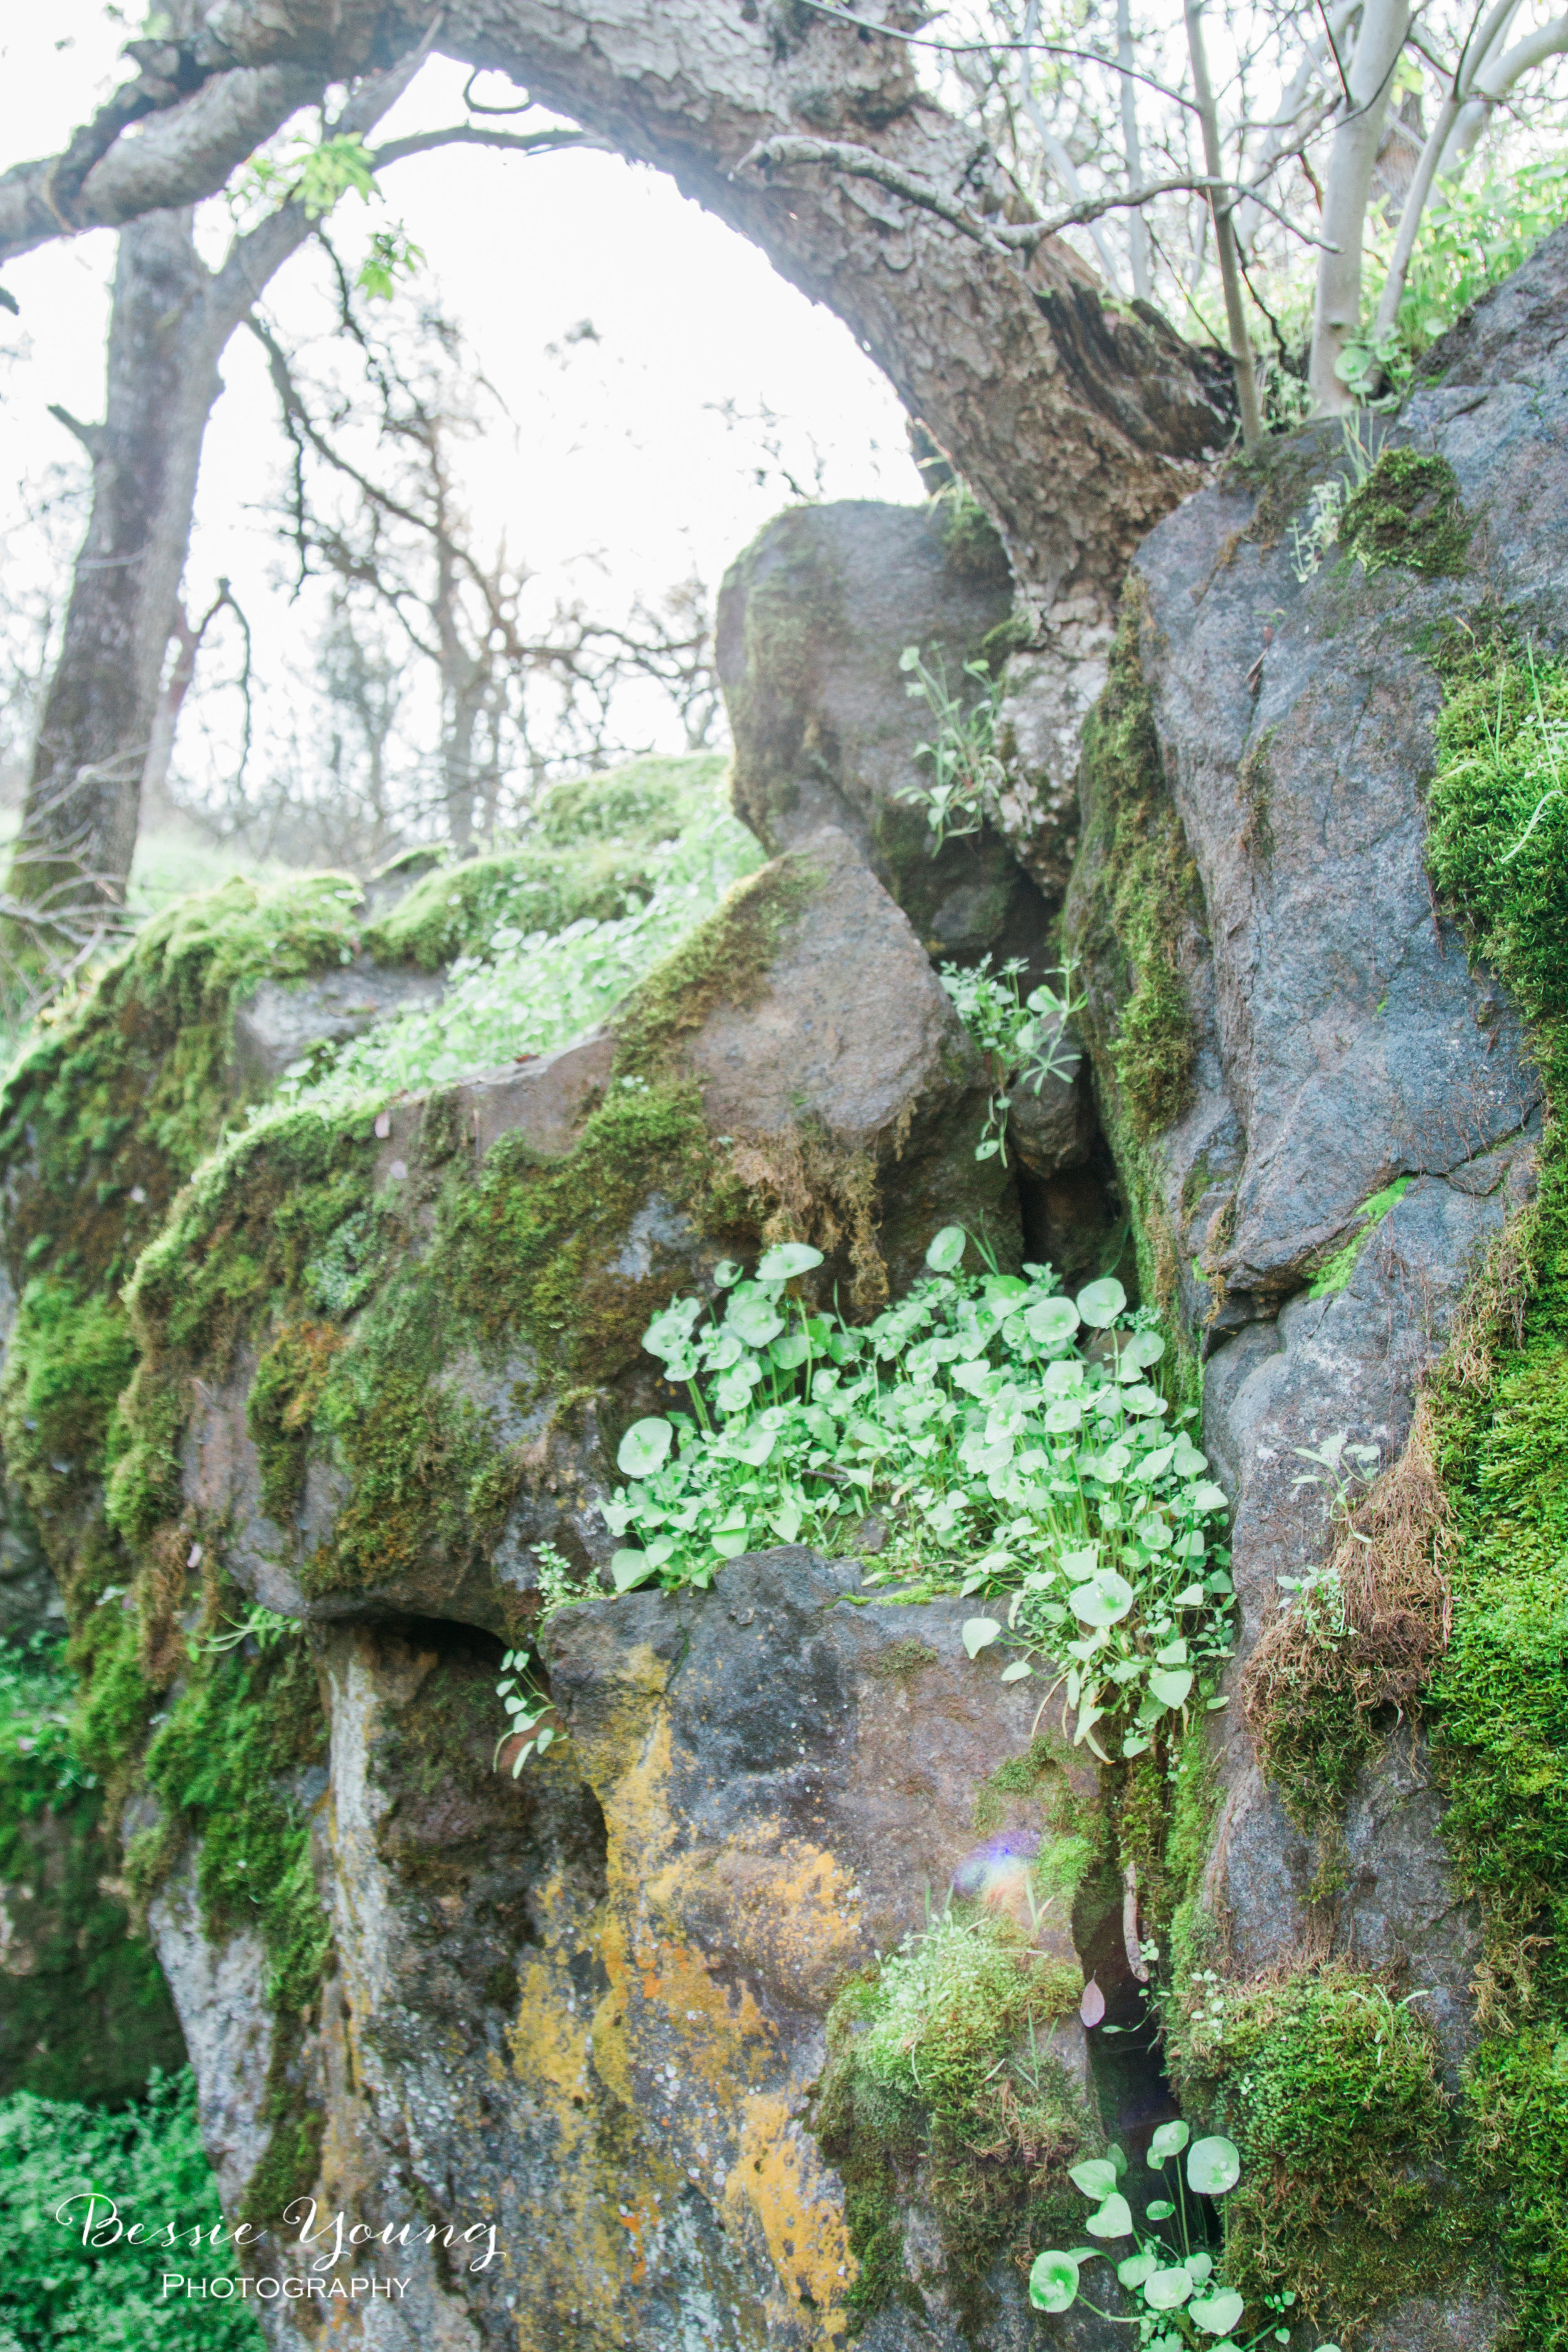
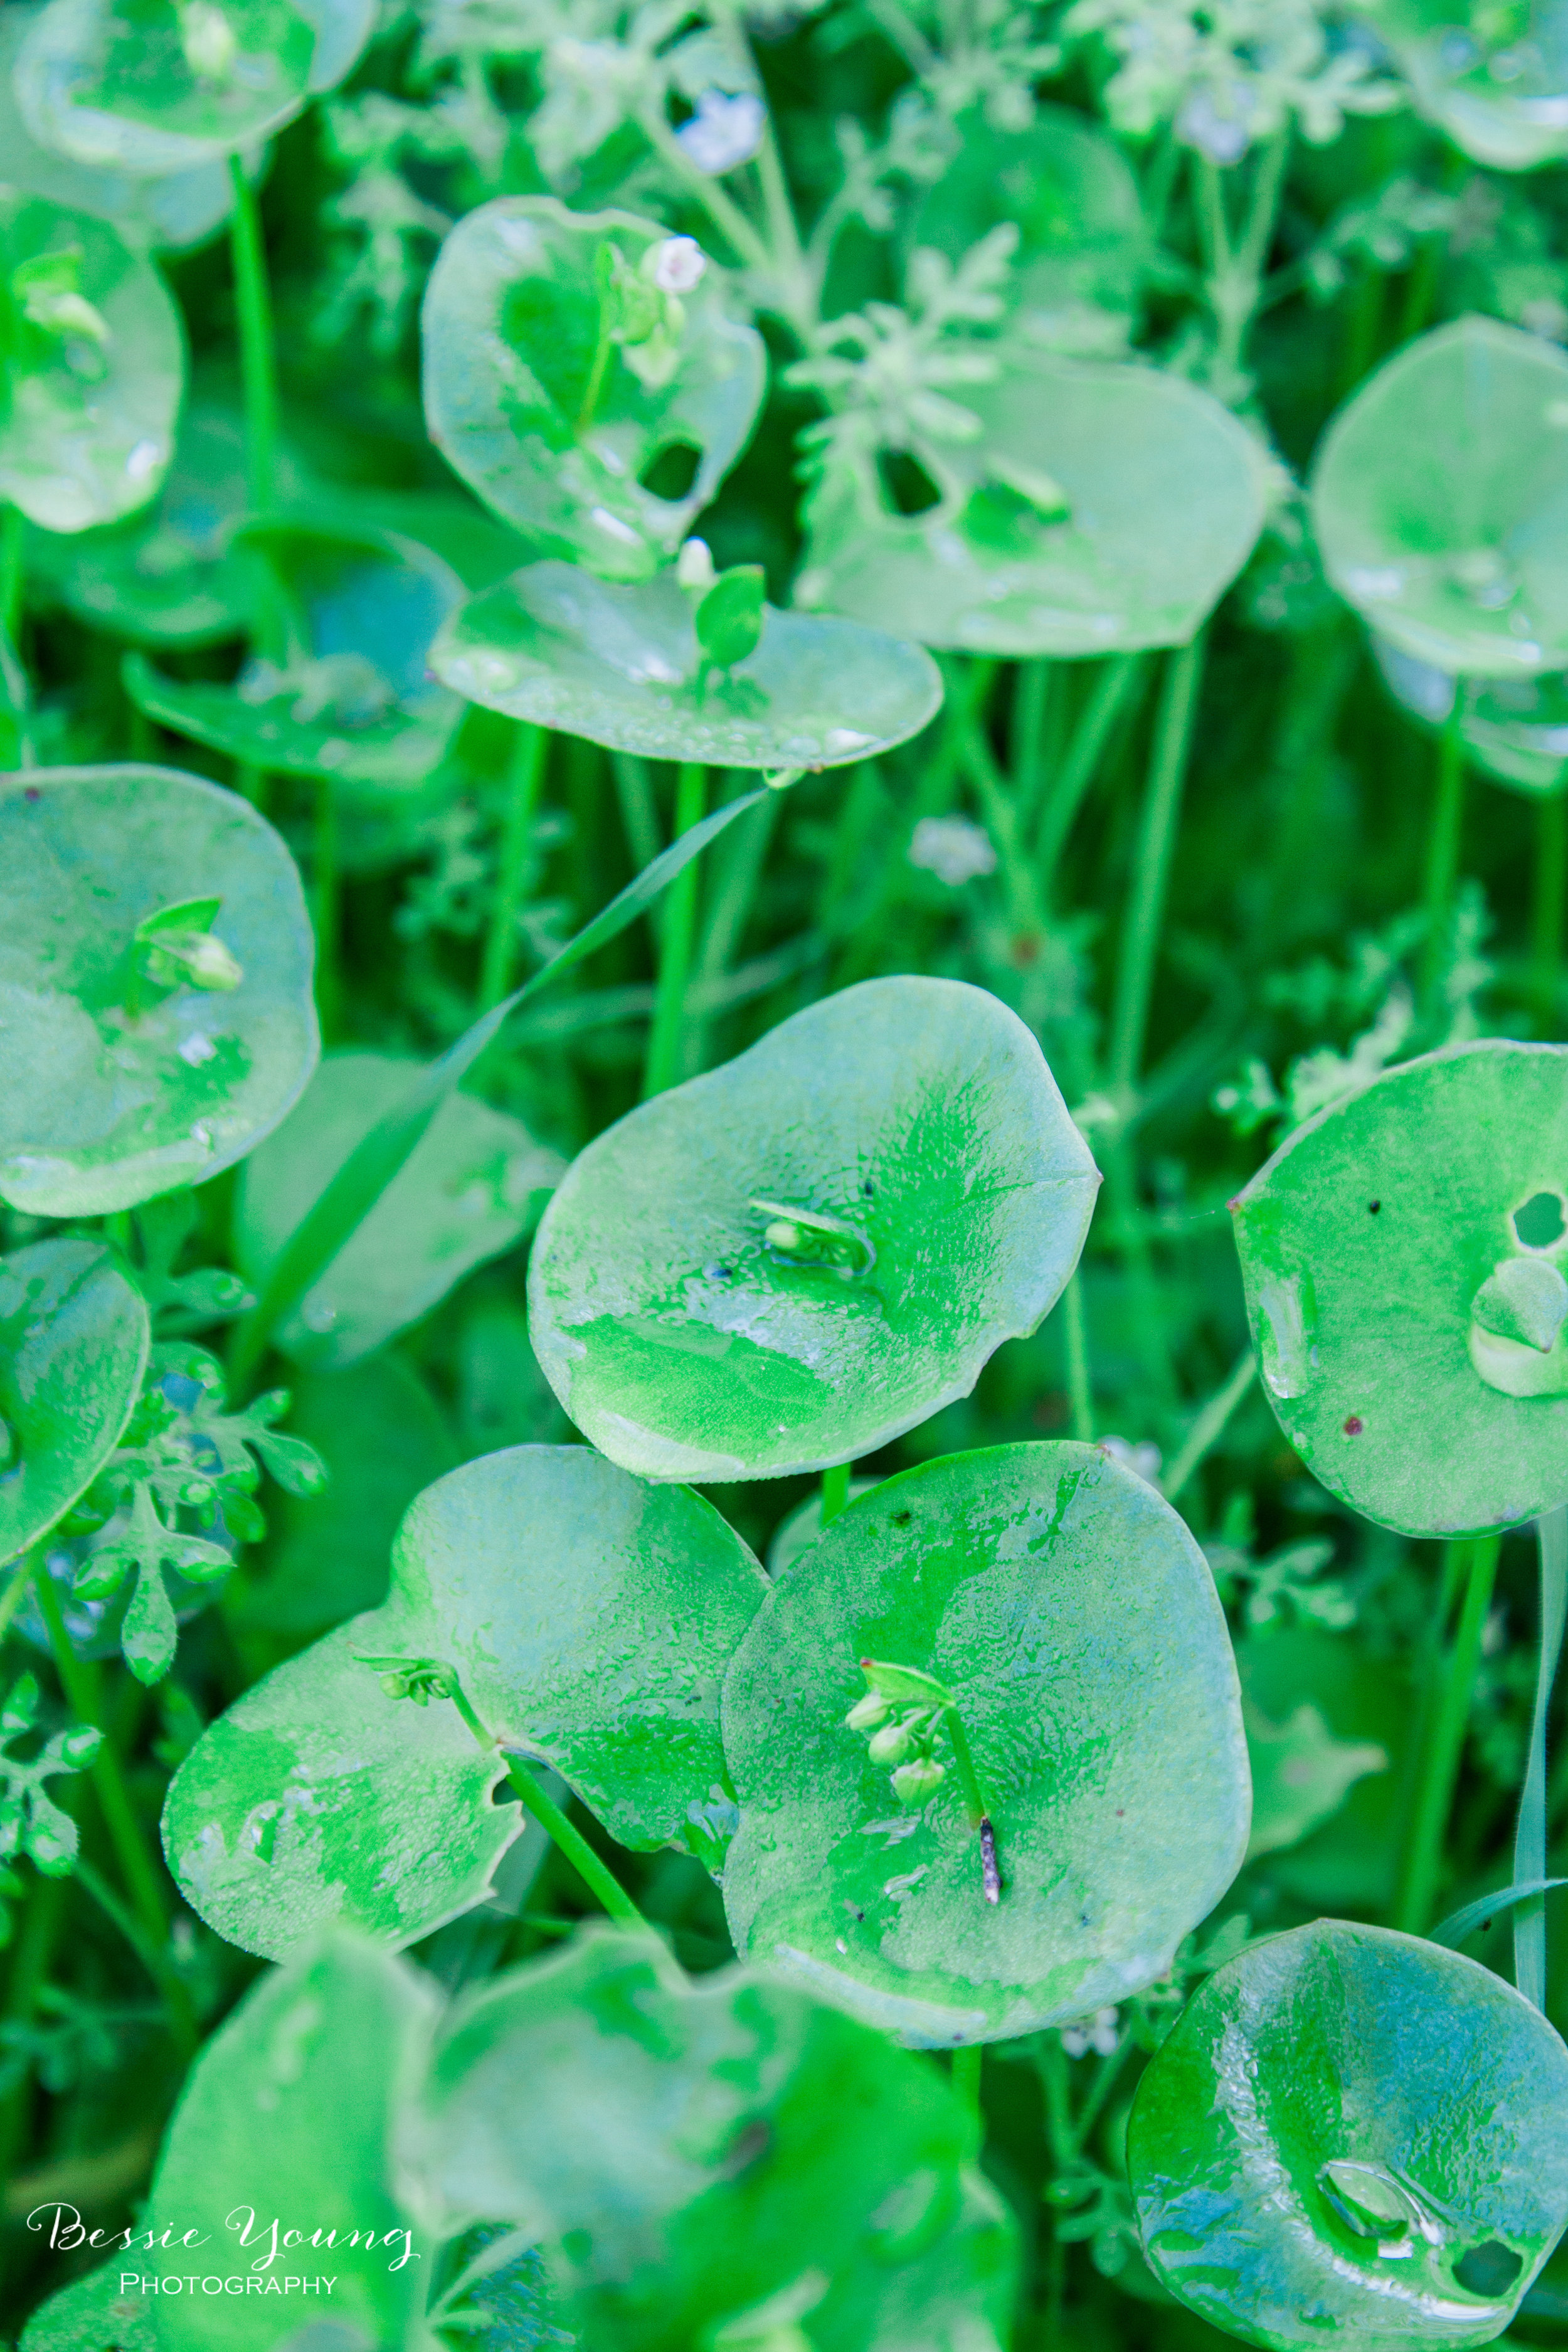
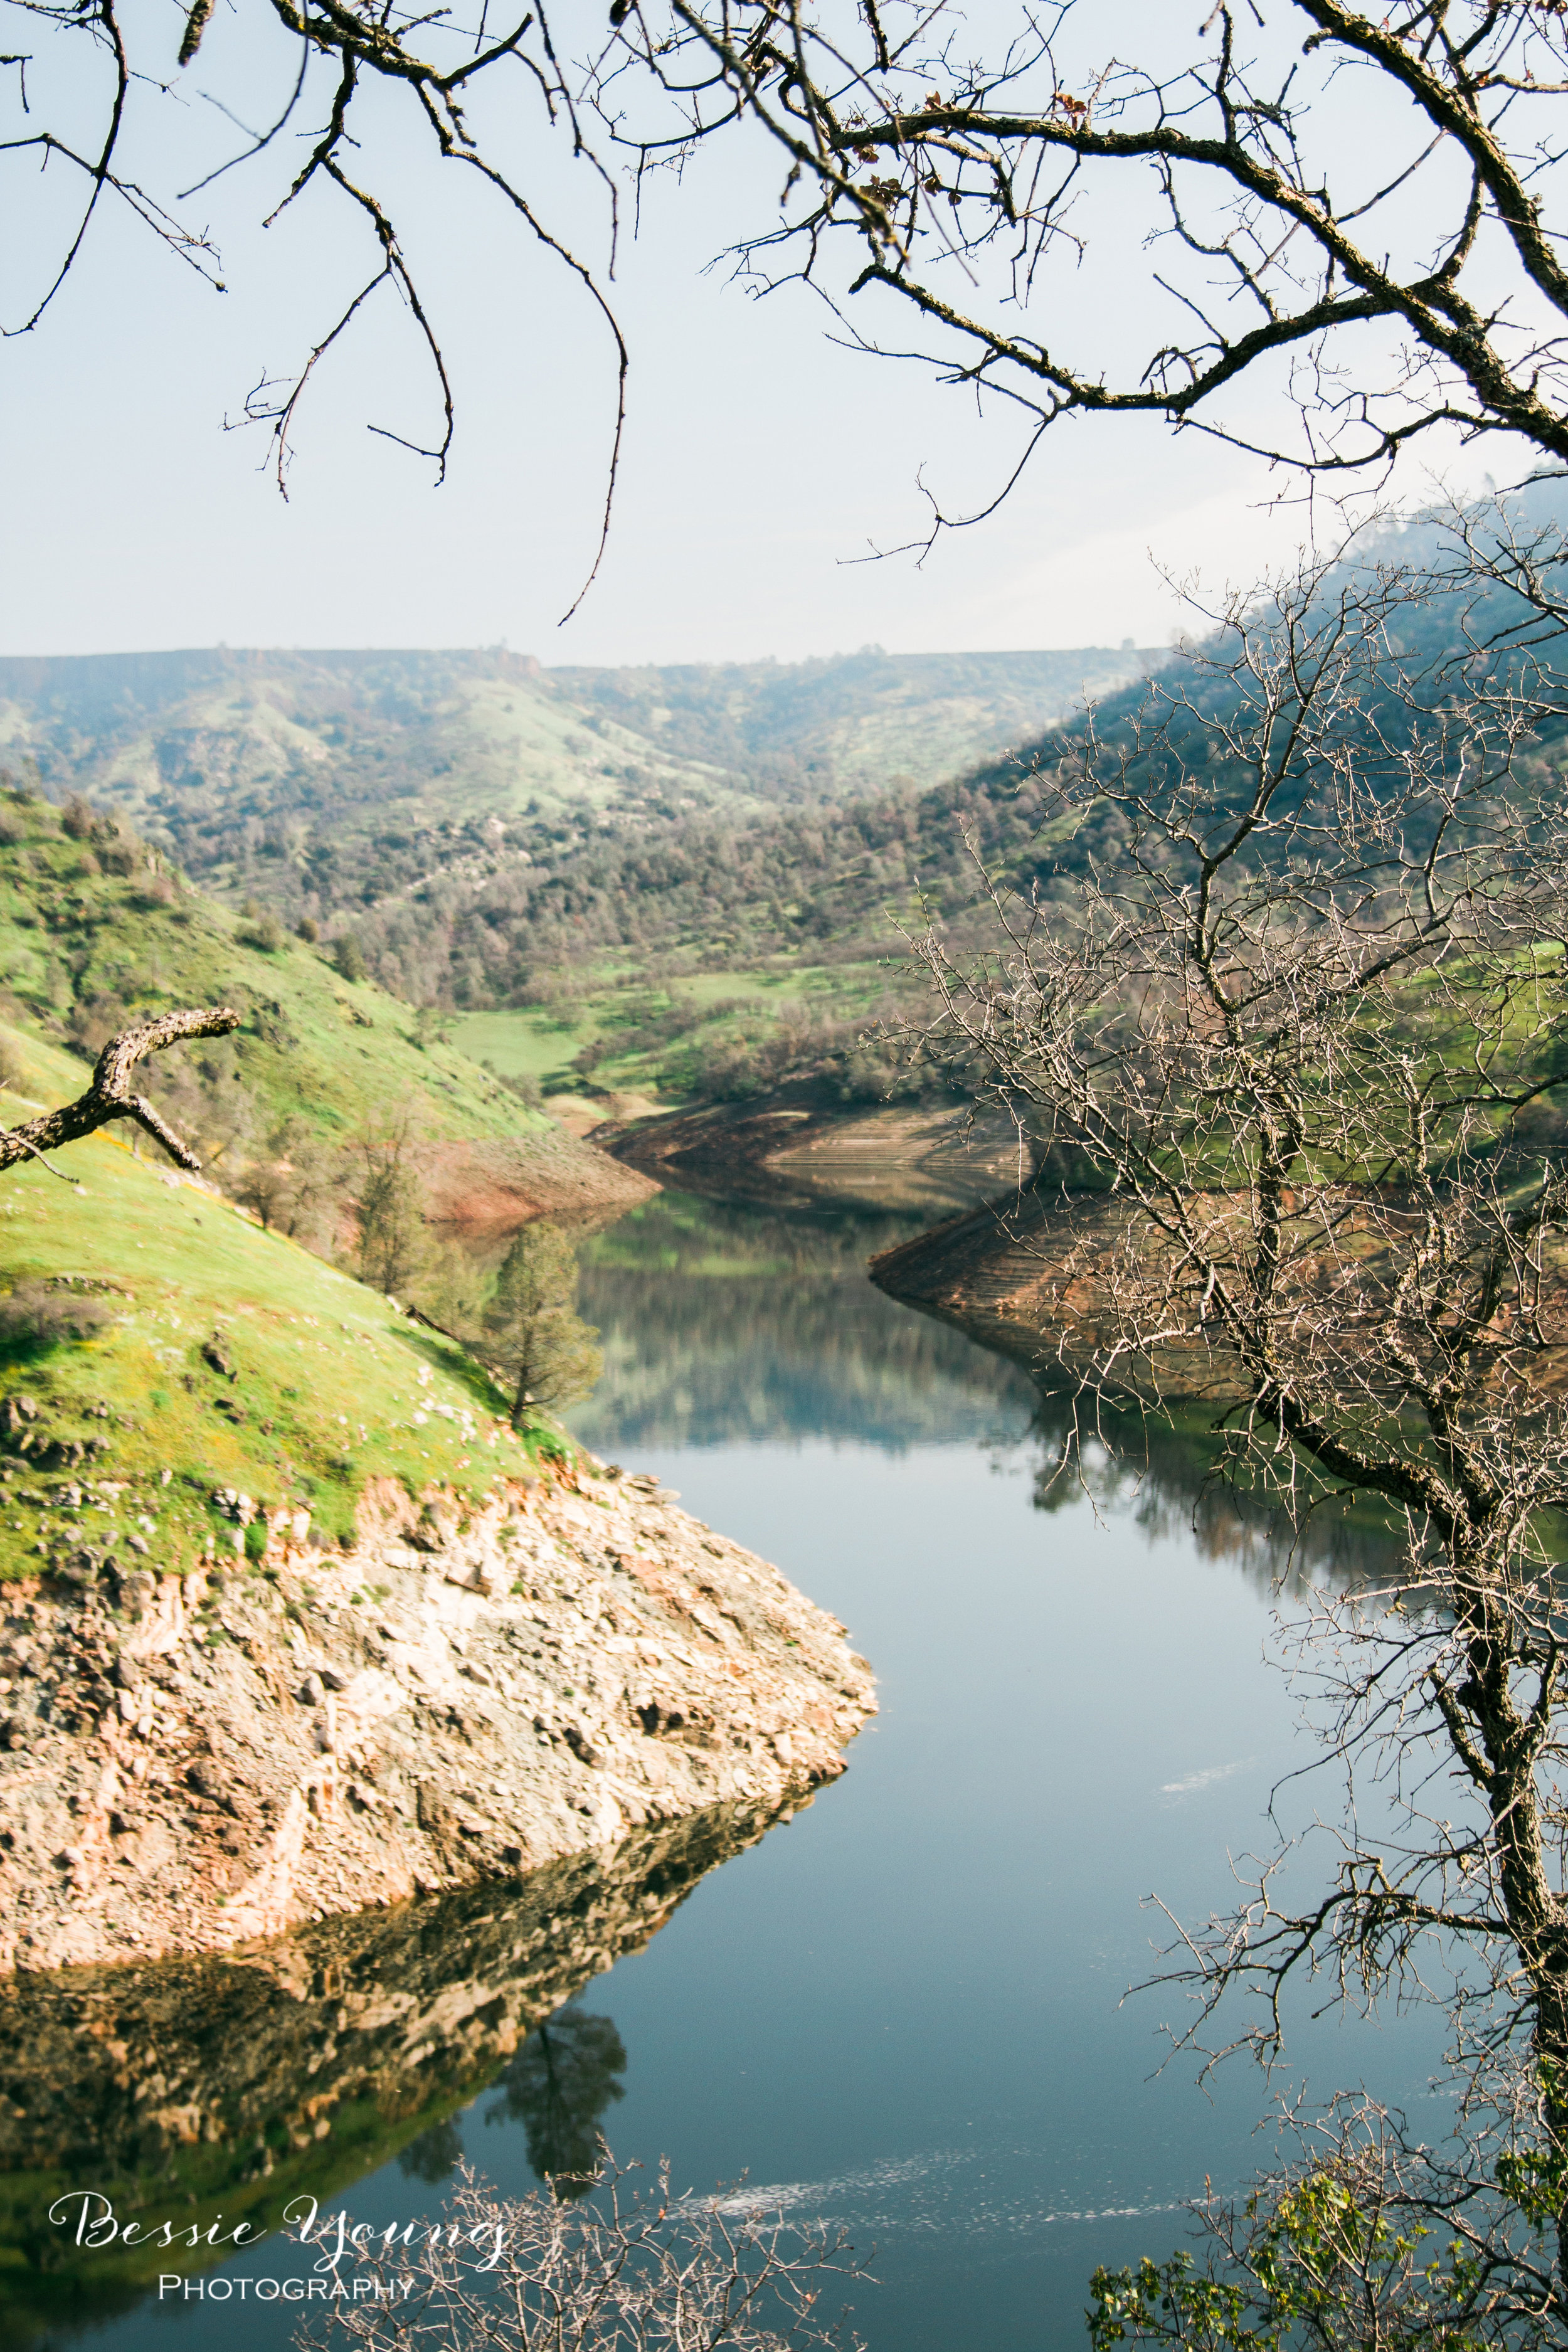
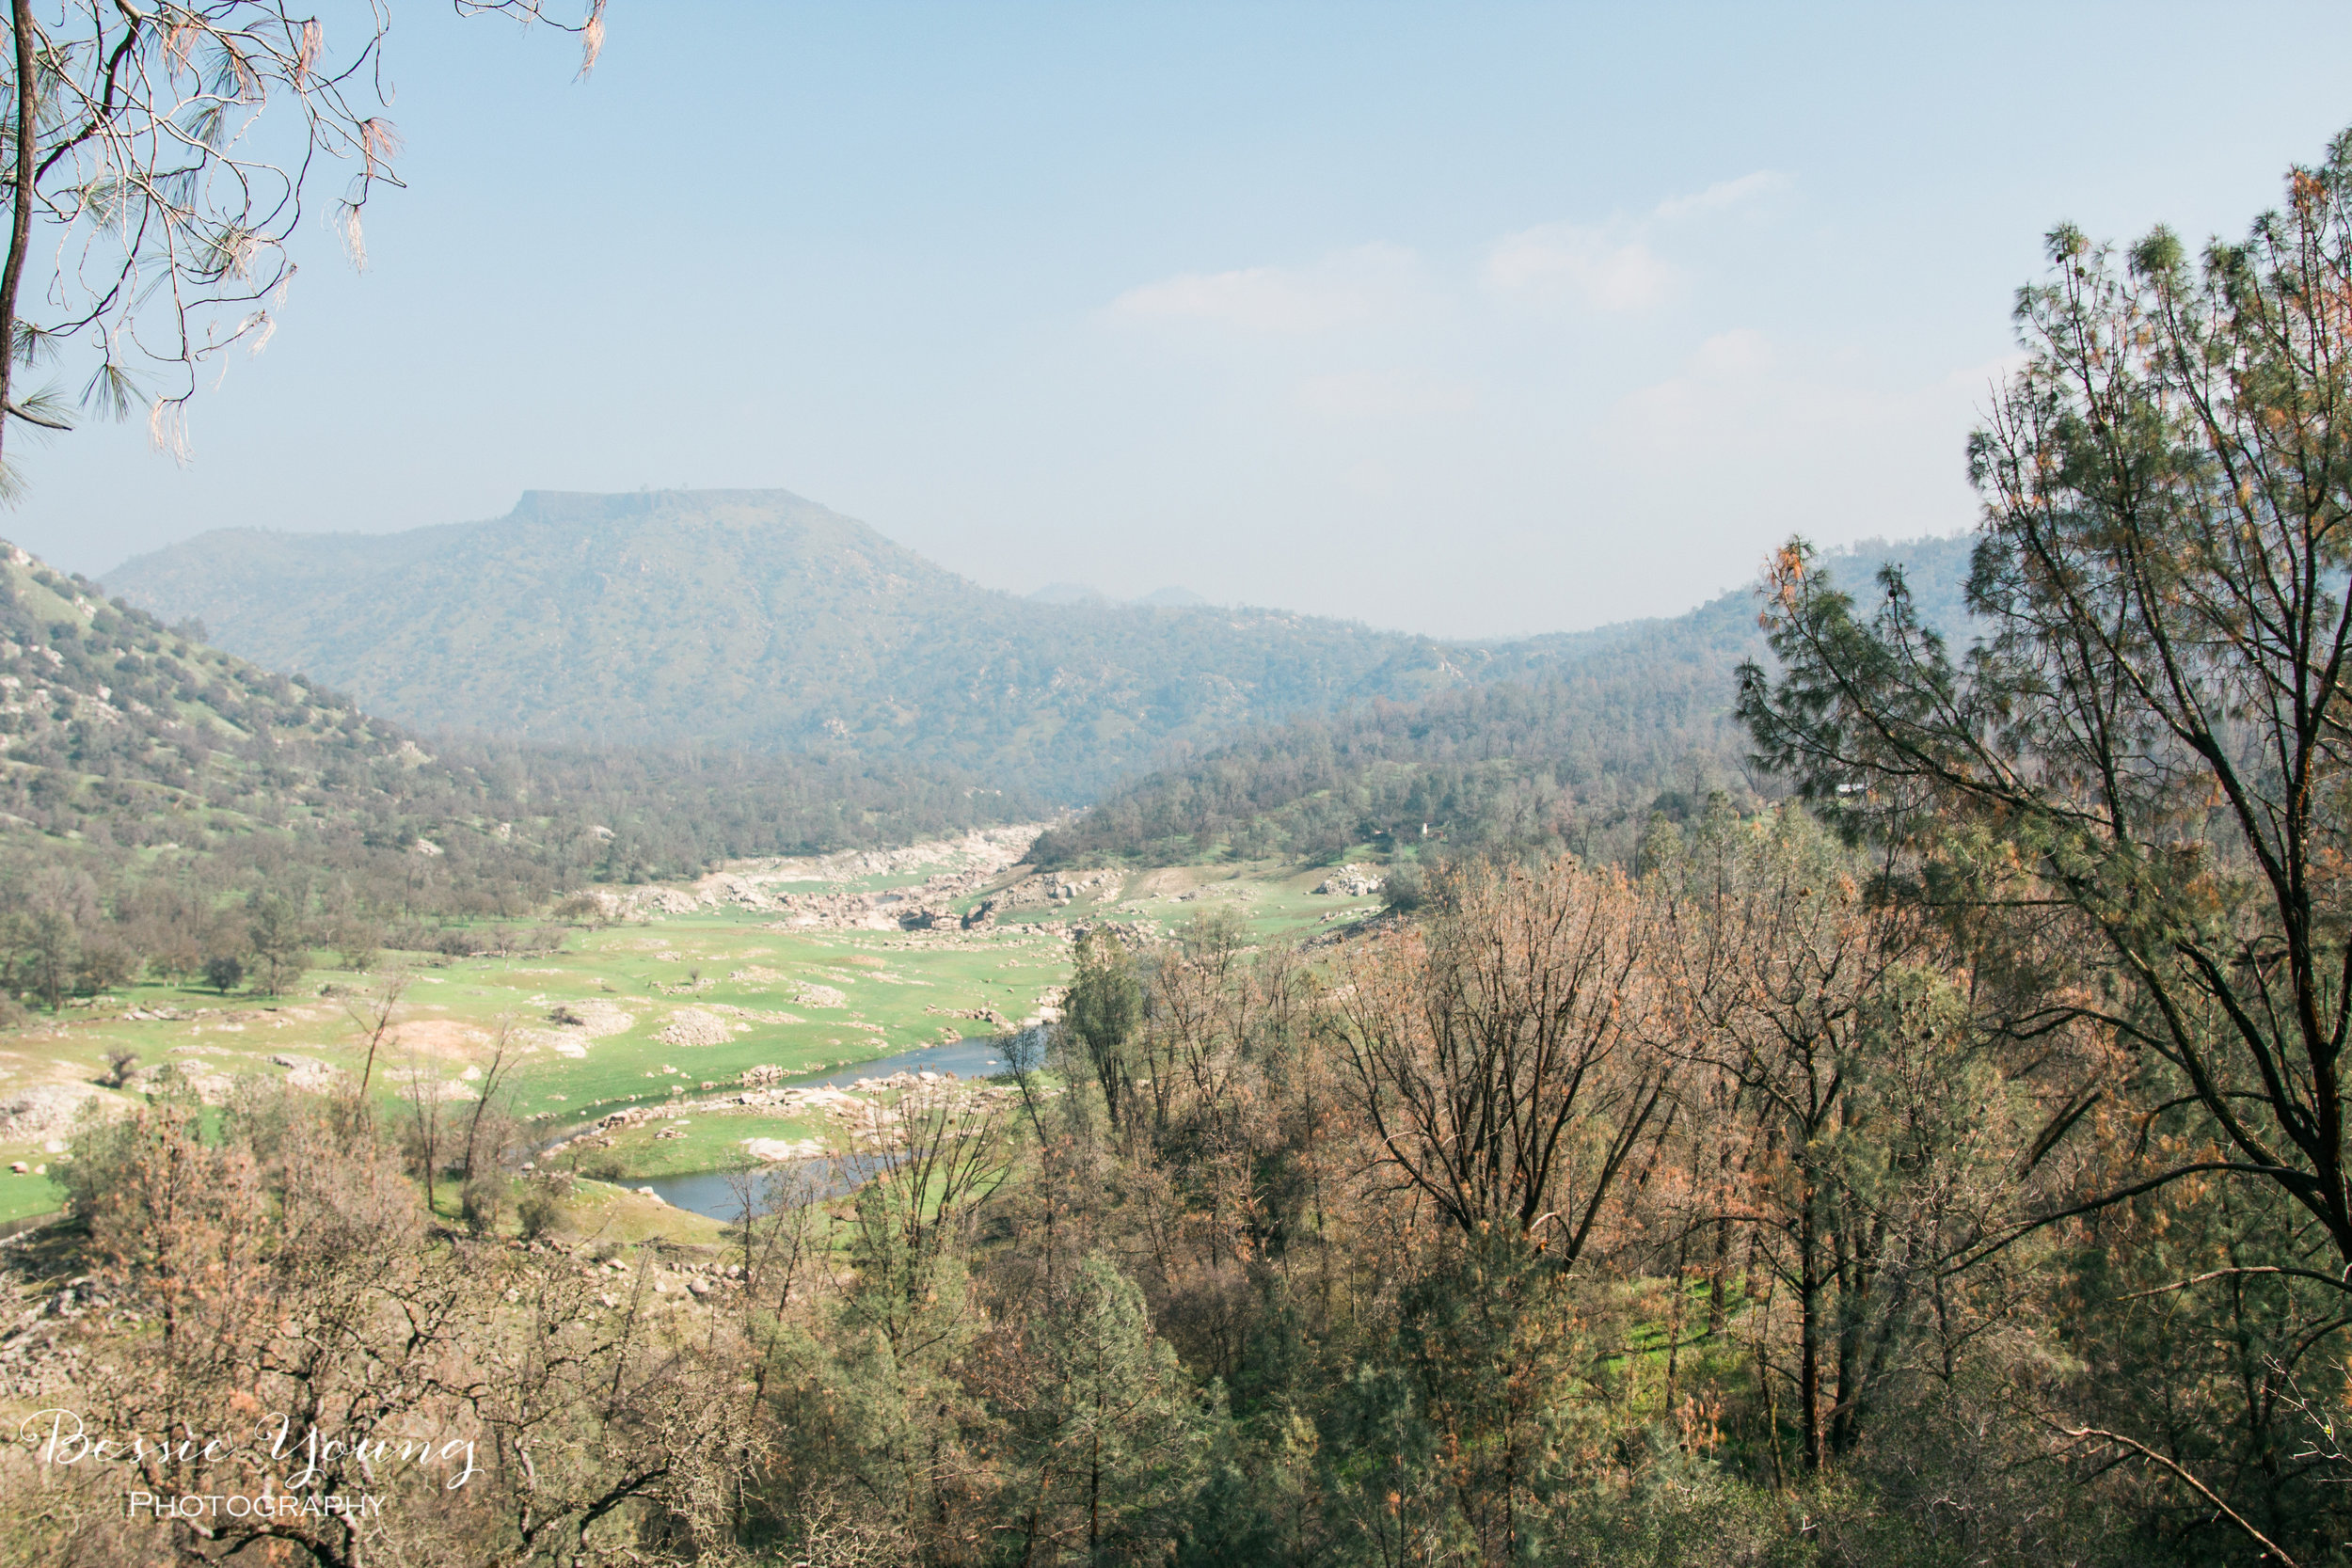
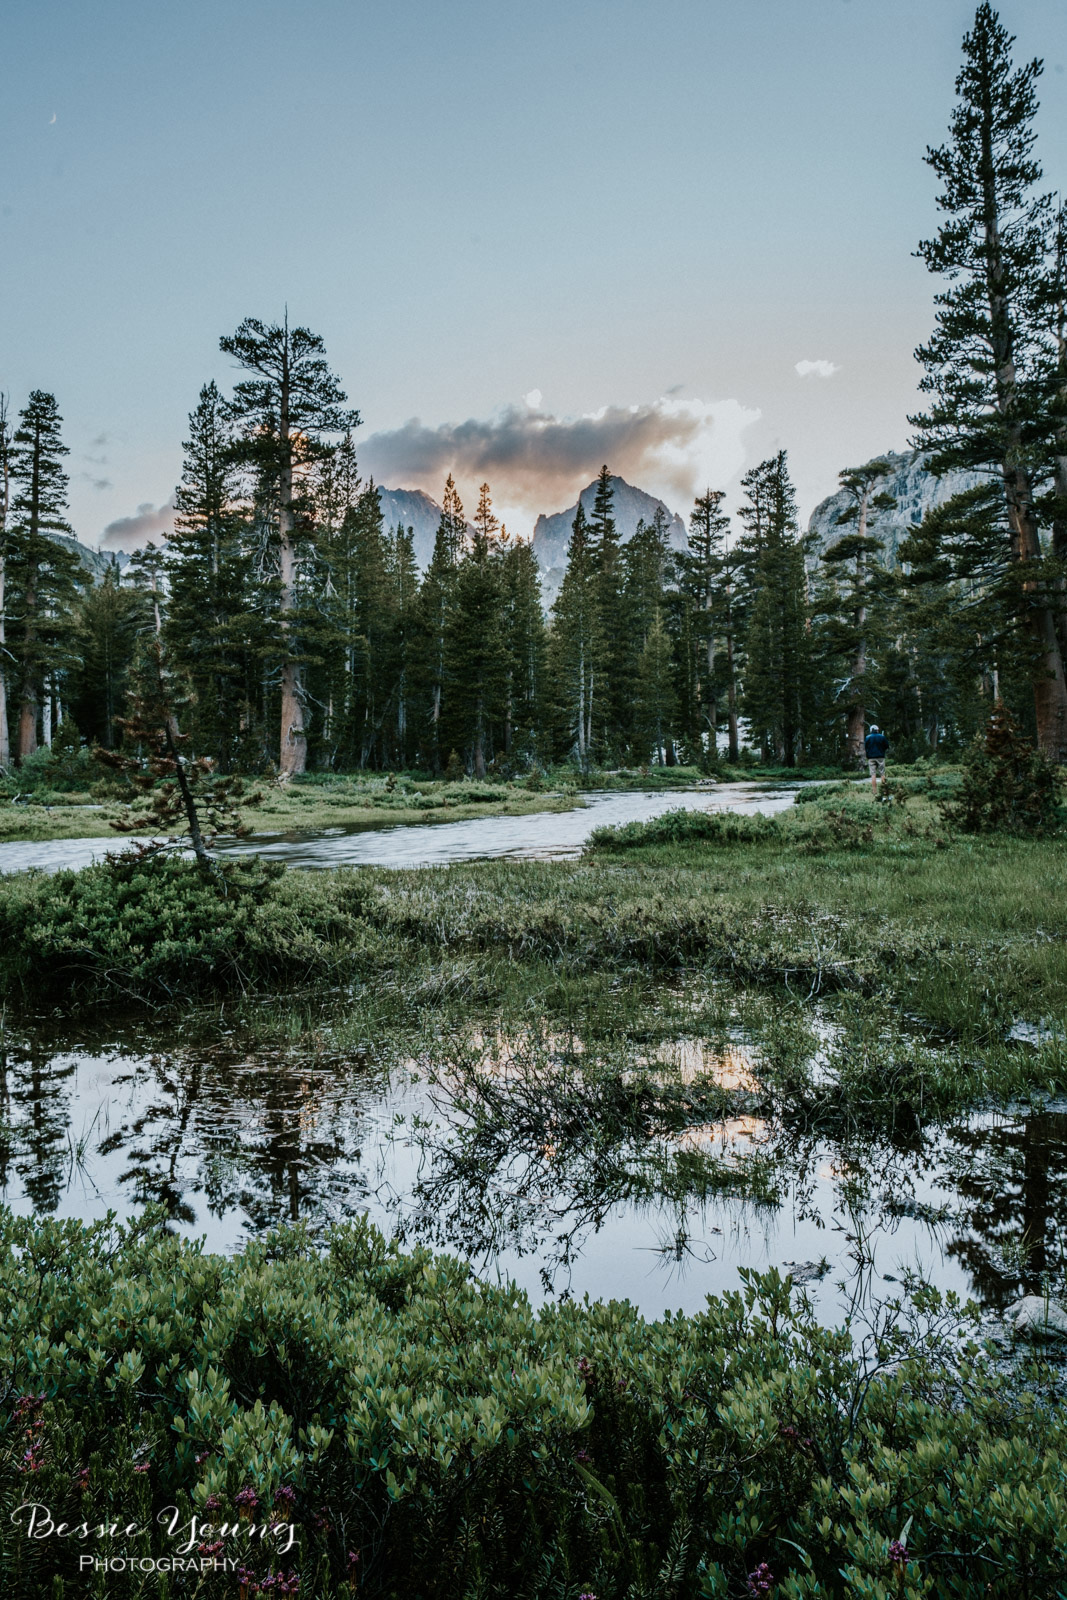
As I traveled, I found this gorgeous meadow along the river.


Making it to Ediza
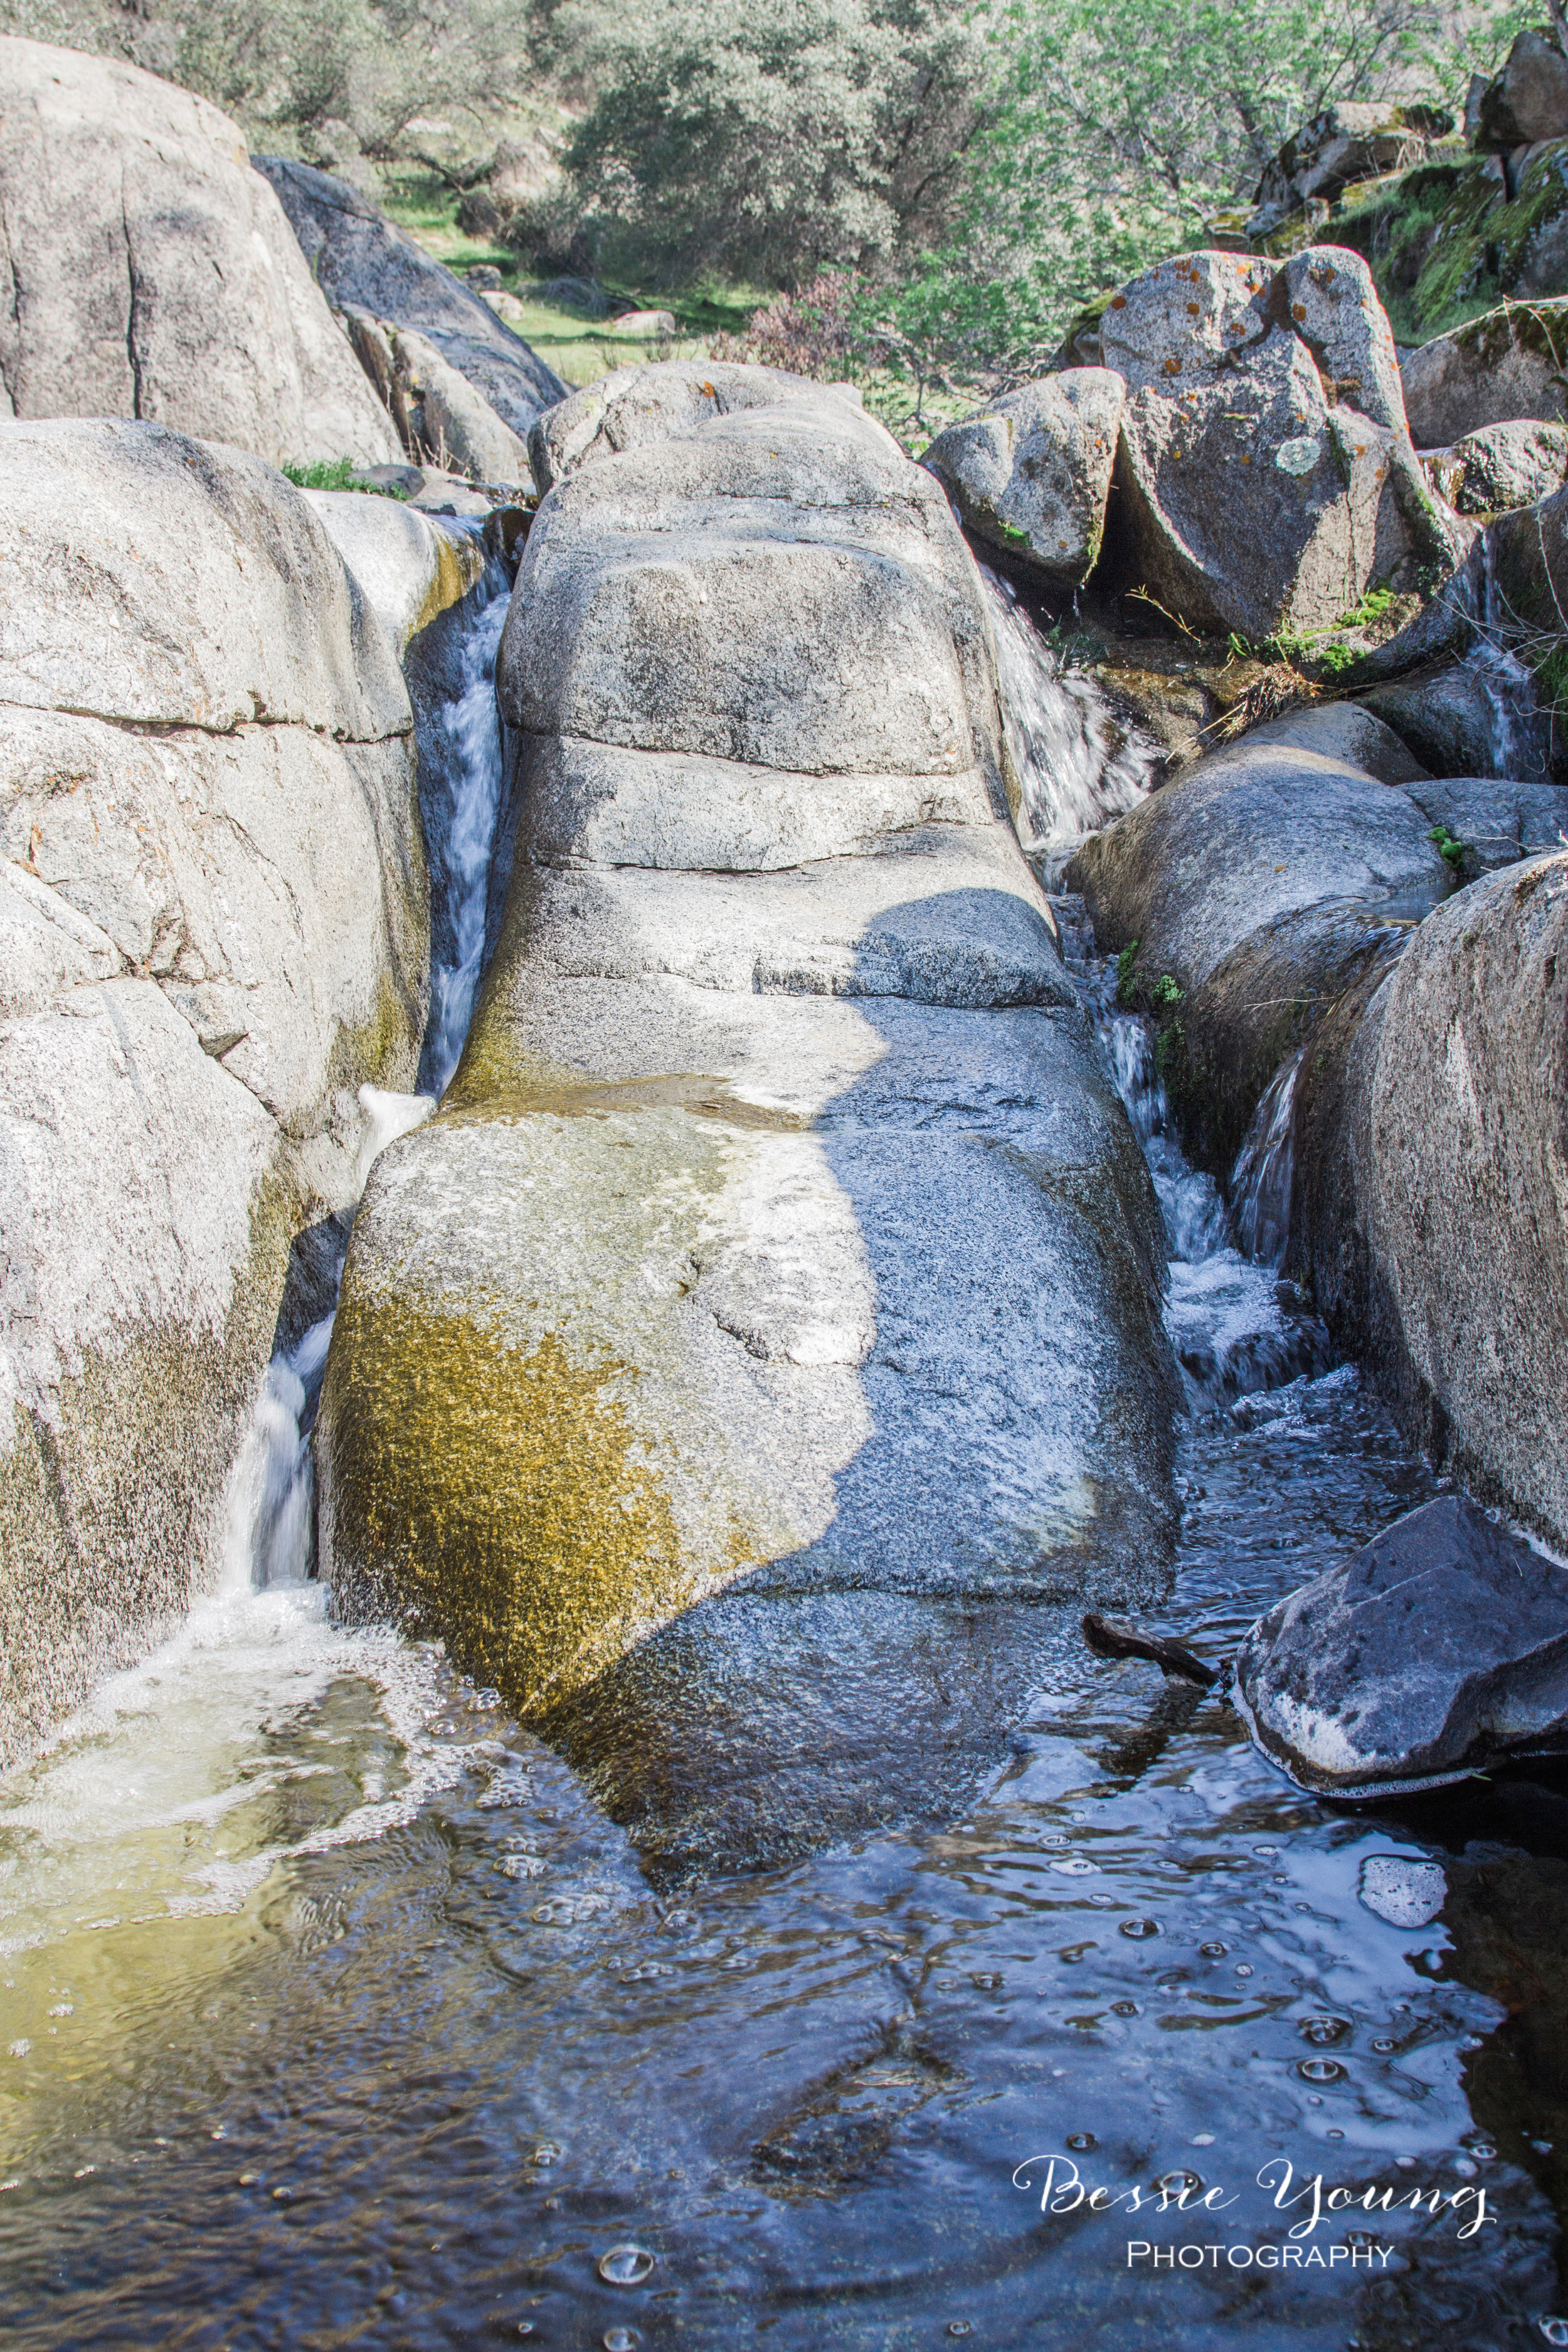
It was a difficult meadow to leave as it was absolutely amazing. I could have sat there all day, but I needed to make it to the lake. Right before the lake I had to boulder hop along the river since the bridge was gone. This was a bit difficult but let me tell you, it was completely worth it!


There wasn't alot of camping spots at this lake. All the good spots were already taken; however, some reason this didn't bother me at all. I was able to see the lake, get some amazing images andcamp at the beautiful meadow I passed along the way. The total mileage for the day was just shy of 9 miles.

Home for the night
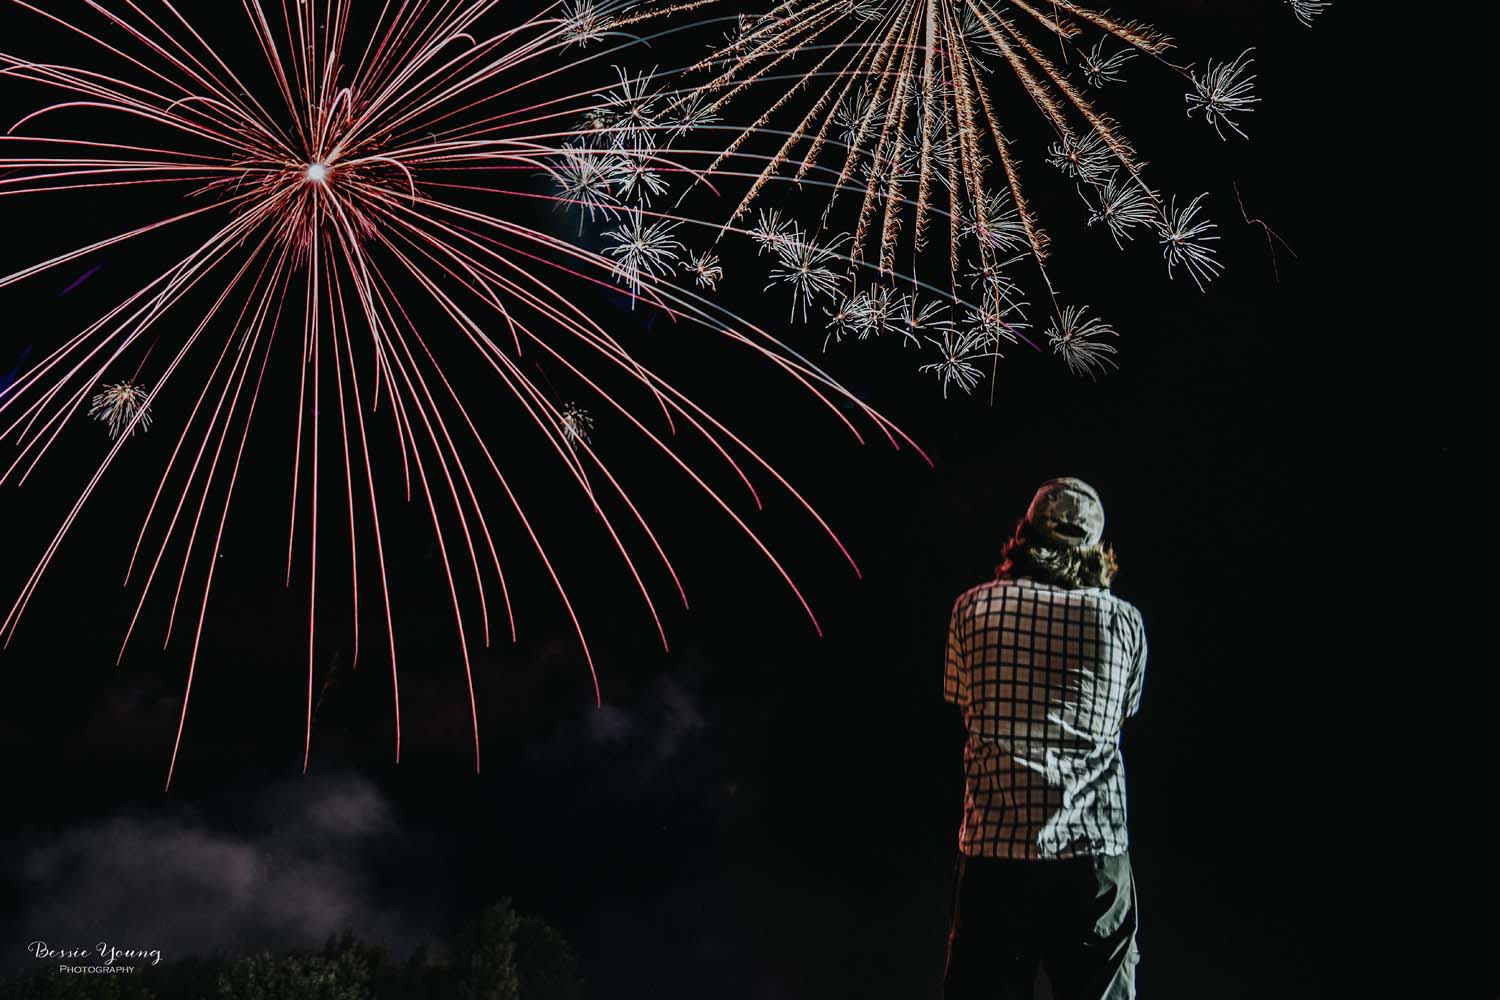
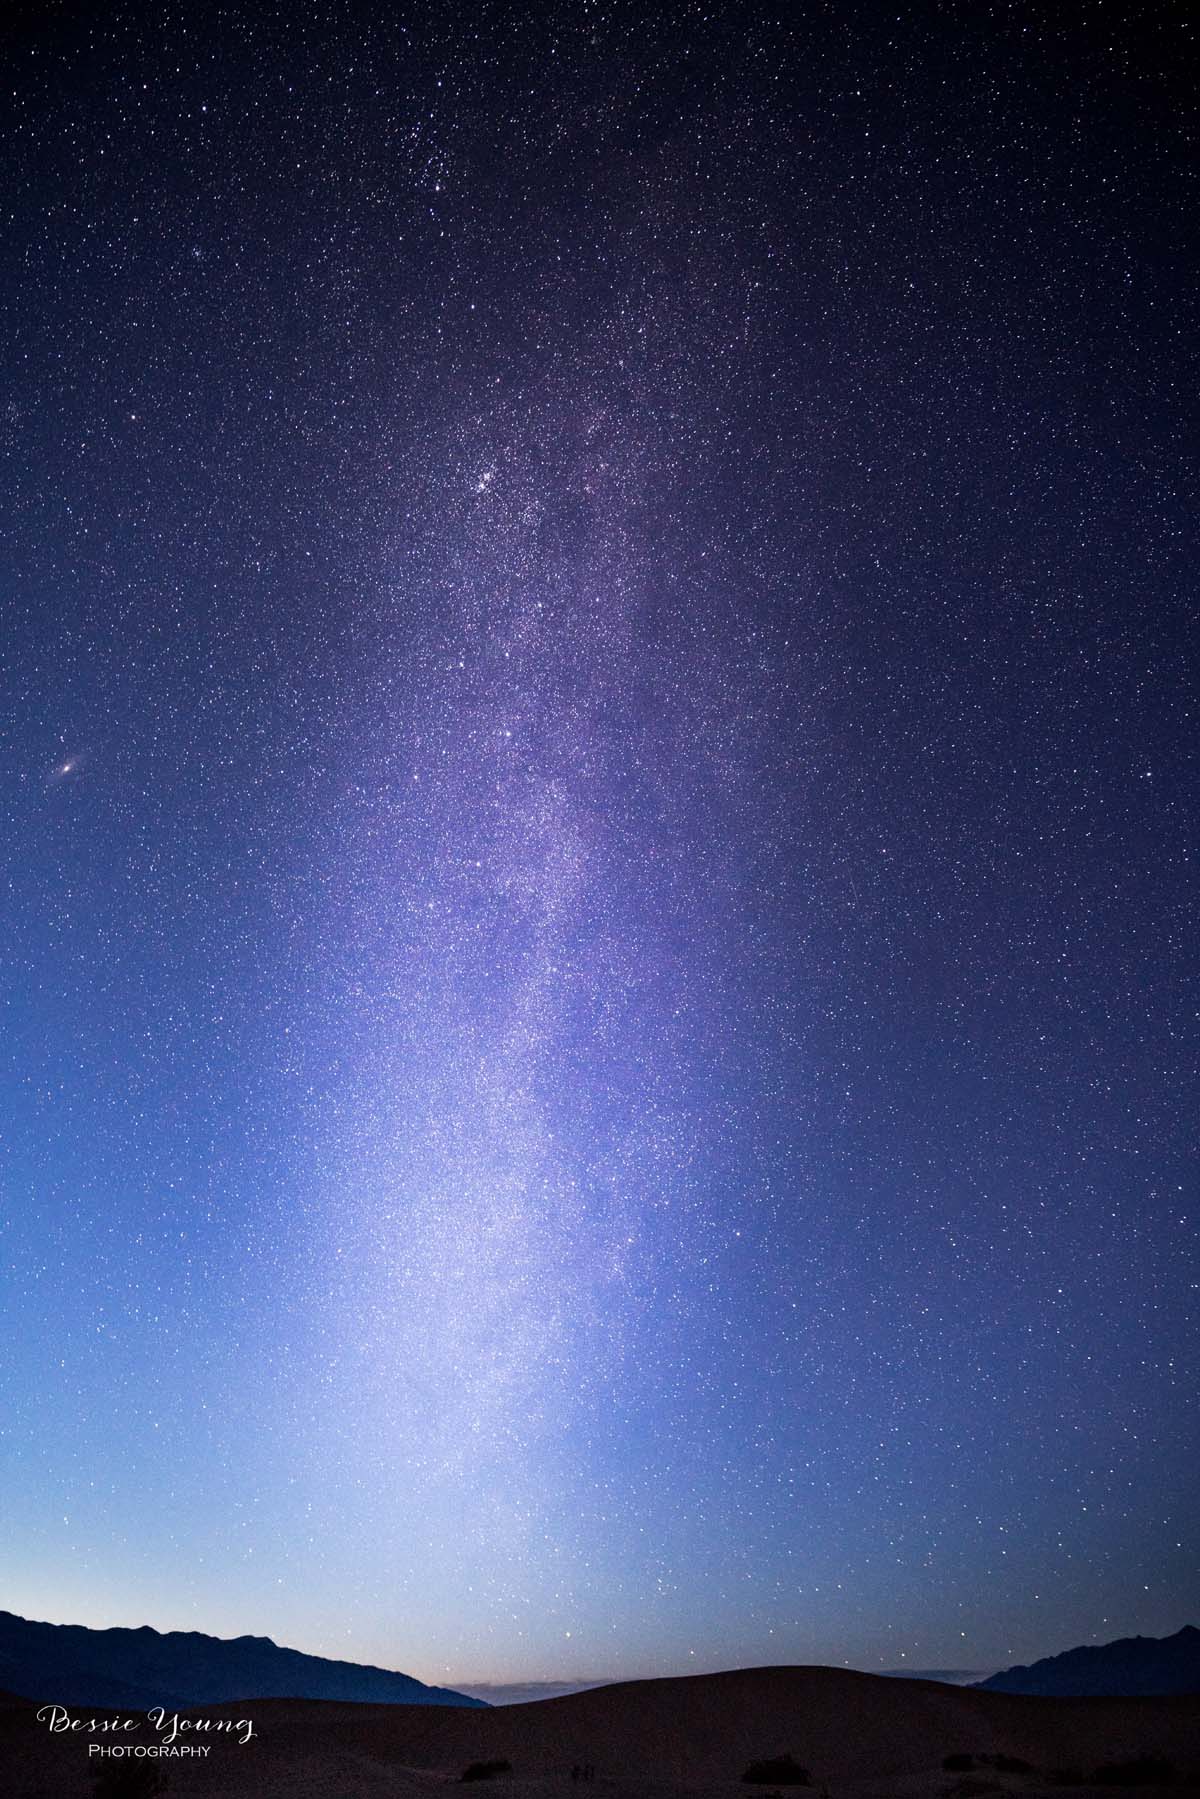
The meadow along the river made for the perfect evening. Unfortunately, there was a requirement of no camp fires in this area so instead of sitting around watching the fire I star gazed. As I sat there looking up I noticed the Milky Way just above the mountain tops.

Day 1 was a huge success for hiking and getting beautiful photos. Let me know if you have been to this area by leaving a comment below. If you want to see days 2-4 make sure you subscribe to my blog.


Wishing you nothing but absolutely amazing adventures!
Bessie
My Gear
P.S. wanna know what gear I used? Check it out here:
Kit Used:
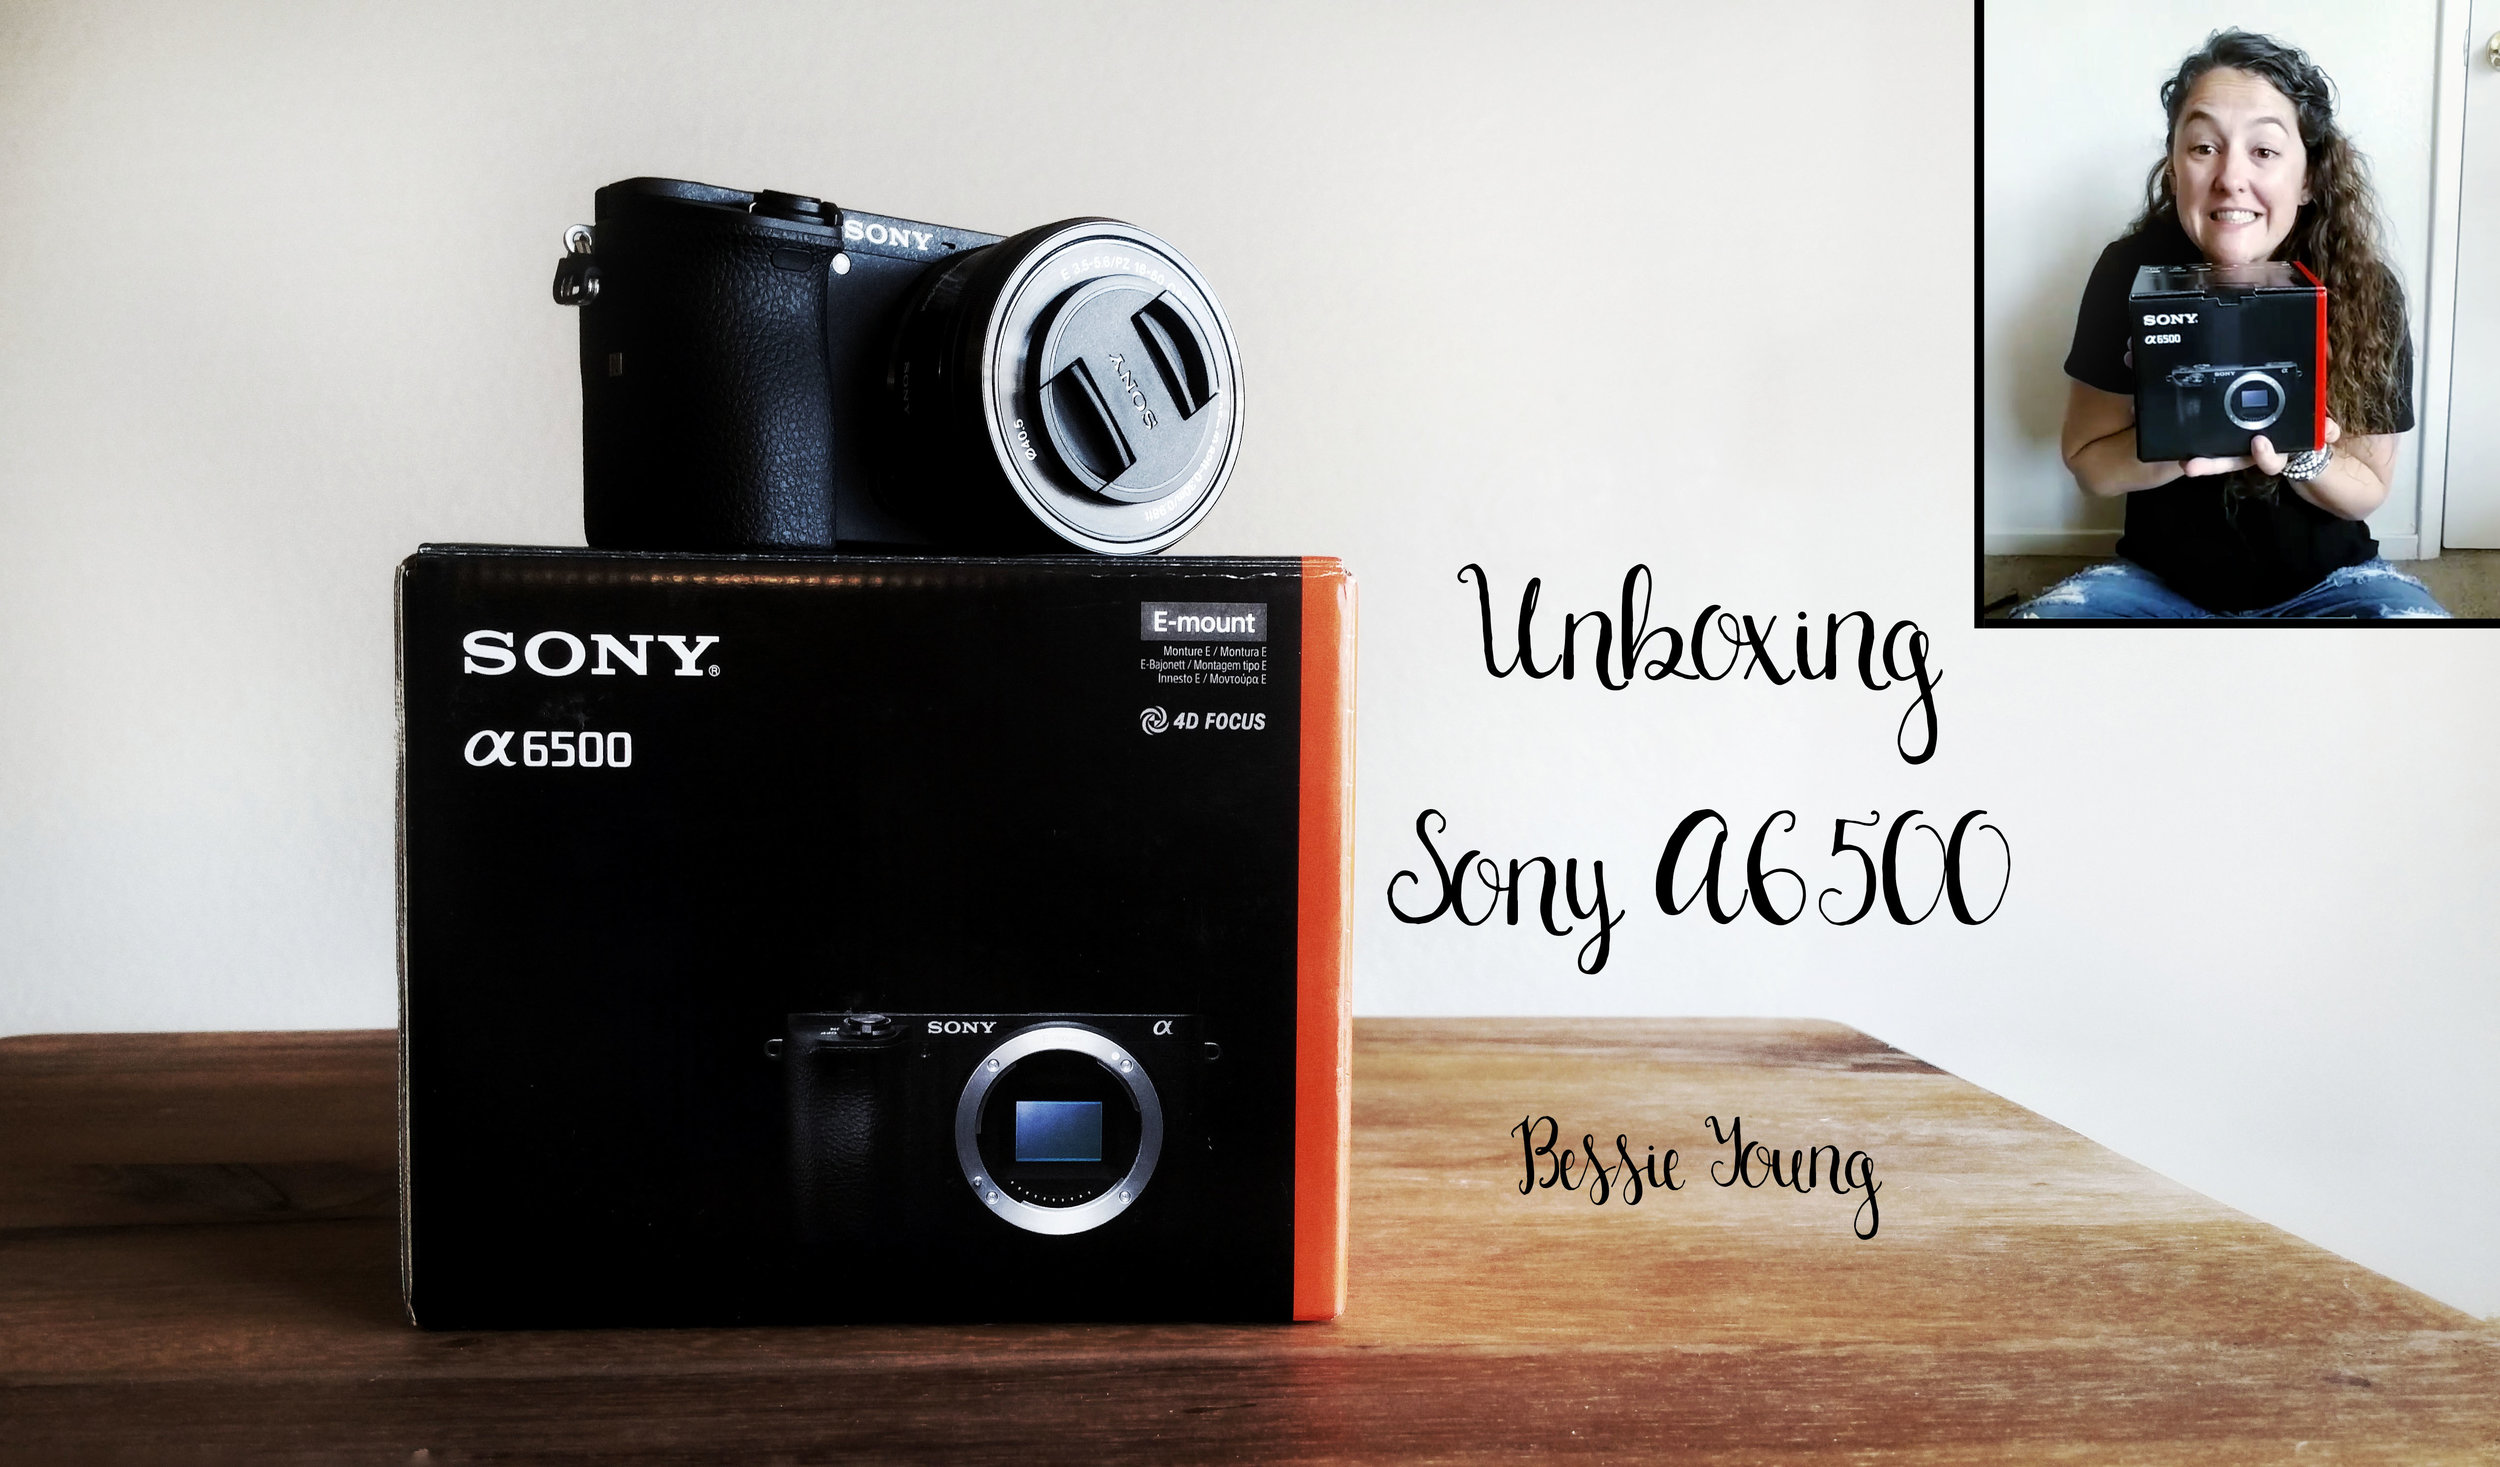
Camera: Sony A7Rii: http://amzn.to/1taGpAu
Favorite Lens: Sony FE 24-70 F2.8 G Master: http://amzn.to/2n747NJ
Wide Angle: Sony 16-35mm lens: http://amzn.to/1UBjBDW
Vanguard Tripod: http://amzn.to/2aoI5ku
Filming:
Samsung Note 4 smart phone
Editing & Processing:
Bulk editing: Adobe Lightroom: http://amzn.to/1WB7Jnc
Fine tuning: Adobe Photoshop : http://amzn.to/1WB7YPh
Viva Video Pro for combining videos